When I like something I tend to go over board. I recently discovered these amazing paint by number kits. You remember them right? From when you were a kid? Well, maybe not everyone will remember them but I do. Anyway, I thought they were so cool that I didn’t buy just one…I bought four. I’m not going to tell you how many I’ve finished or opened (psst I haven’t touched a single one – don’t tell my husband!)
Well the same thing happened after I made my first (of many) fur envelope clutches. I loved it so much that I made 12 of them. Yep that’s right 12! Stop judging and don’t ask me when I’m ever going to use 12 fur envelope clutches! It doesn’t matter. Okay so I fell down the rabbit hole on this one, but they are so easy to make. It doesn’t help that I buy the fabric pre-cut to the exact size I need, annnnnd they also have a bunch of great color and patterns. So, yes I am now the proud creator and owner of 12 fur envelope clutches.
Alright enough backstory. Let me show just how easy it to make these little bad boys.
What you Need
Today I am going to show you how easy it is to make this great fur envelope clutch. You can use fur, faux fur or leather or faux leather for this tutorial, but I don’t recommend fabric since the clutch is not lined.
Supplies
- Fur or faux fur or leather, or faux leather
- Purse clasp
- Plastic clips
- Leather needle
- Scissors
- Rotary cutter
- French curve ruler (optional)
Where to Purchase Materials for Your Fur Envelope Clutch
I purchased the fur for this project here. Everything is precut which makes purchasing multiple colors at a reasonable price easy. I purchased a 12 x 24 inch piece in the hot pink and the navy. I also have my eye on the teal for spring. Because the width of my bag is 12 inches there is less cutting involved. It also gives you enough extra to make a matching sunglasses case.
Additional Bag Tutorials
Check out some of my other bag making tutorials below.
Body of the Bag
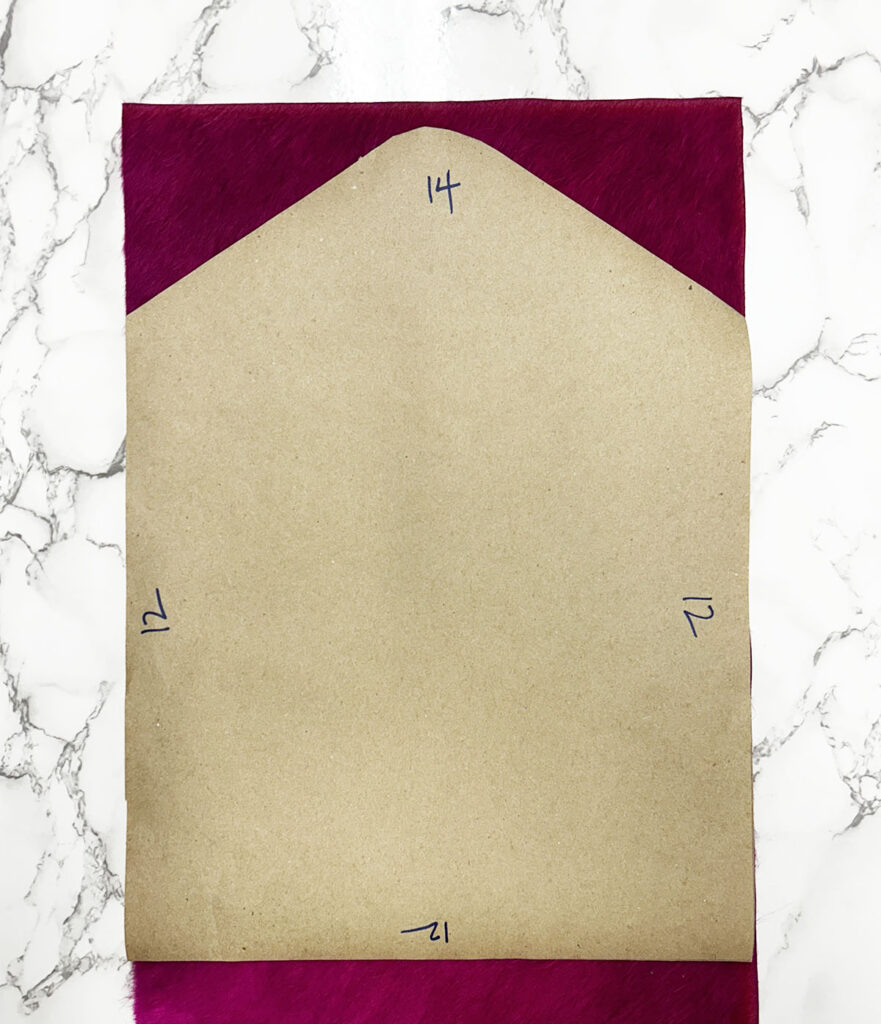
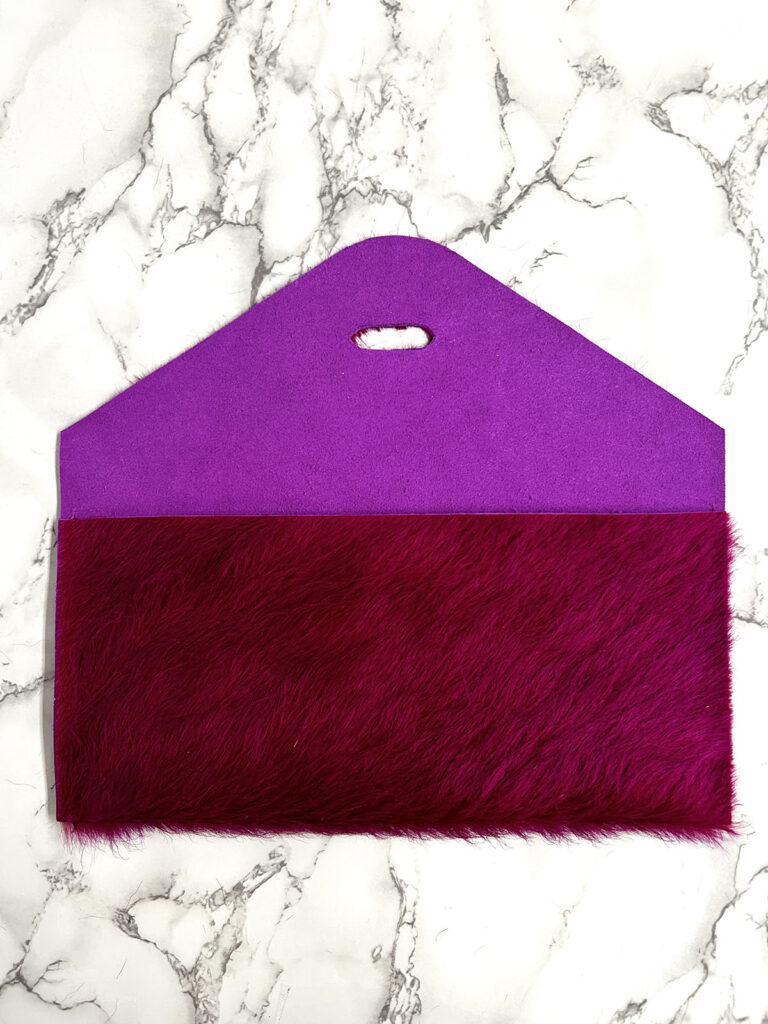
Okay let make some bags! Draw and cut our your pattern. You can see the measurements I used in the photo below. I recommend using a rotary cutter to cut the body of the bag. It will give you a clean cut.
Place you pattern on you chosen material and cut it out. I’m using this hot pink fur on leather. I purchased it here.
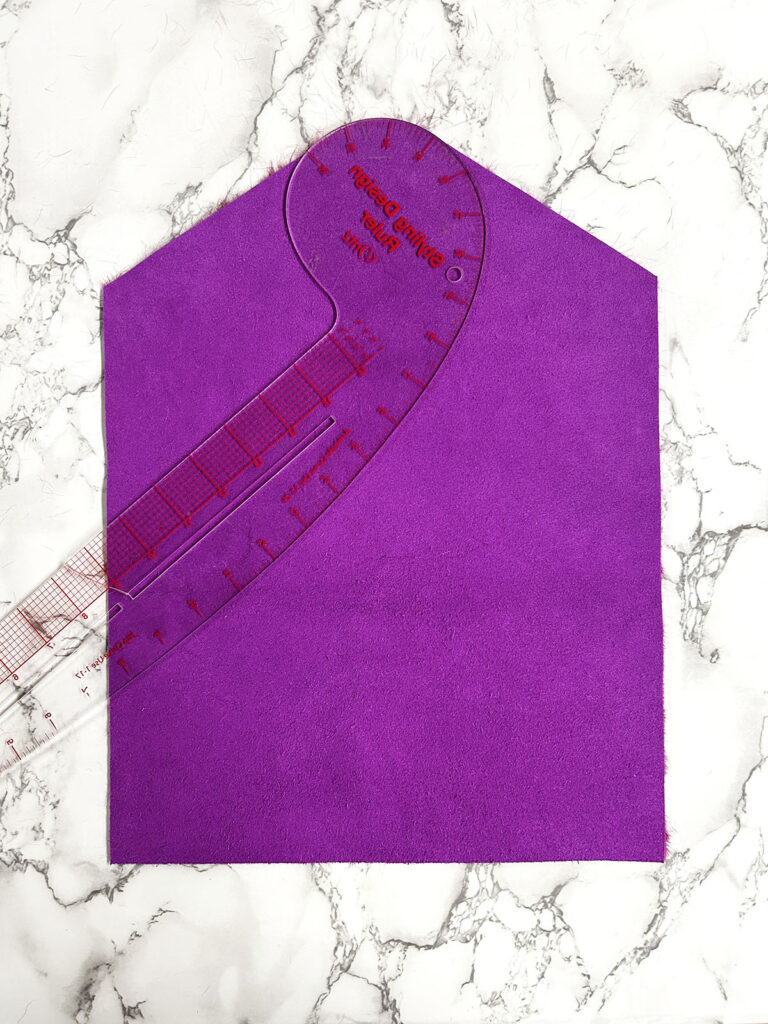
I also suggest use a french curve ruler to cut the curve at the top of the bag.
Putting the Bag Together
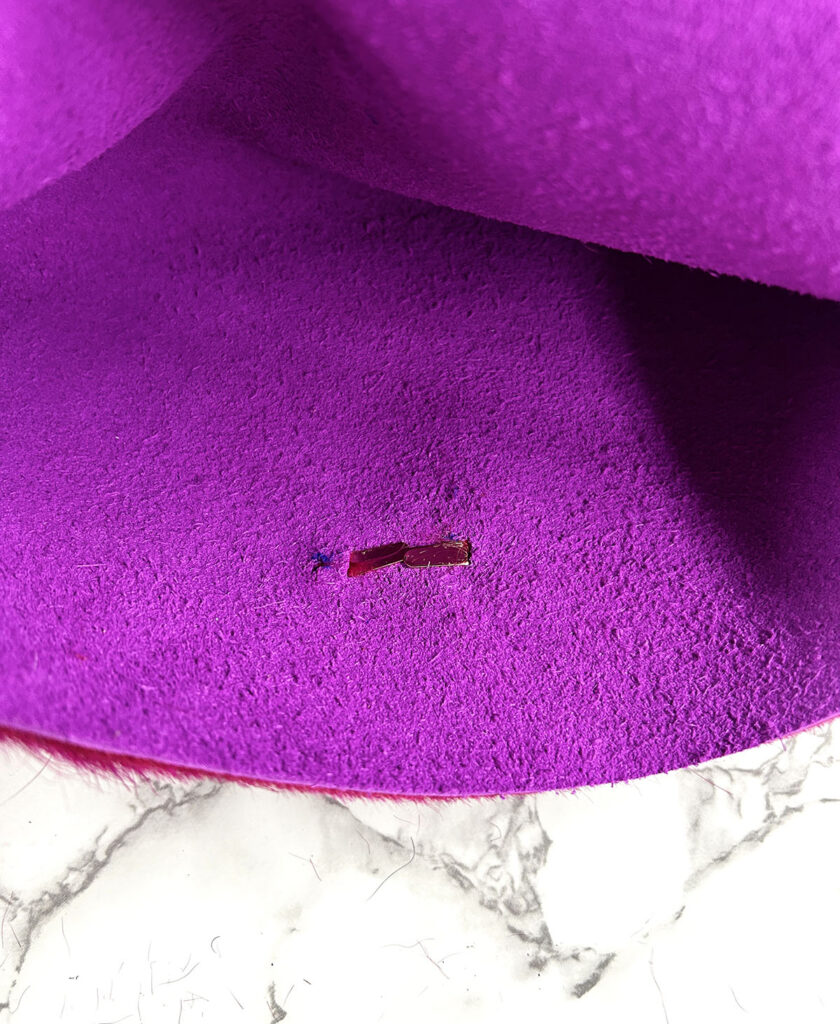
Measure and mark where you want your clasp to go. My clasp is 1.5 inches down from the top of my bag. Cut the appropriate size holes and attach your clasp to your bag per the manufacturers instructions.
Sewing Your Fur Envelope Clutch
Next fold the bottom of your bag up 5.5 inches and secure with clips. Because you are sewing with real or faux leather materials you can’t use pins for this project.
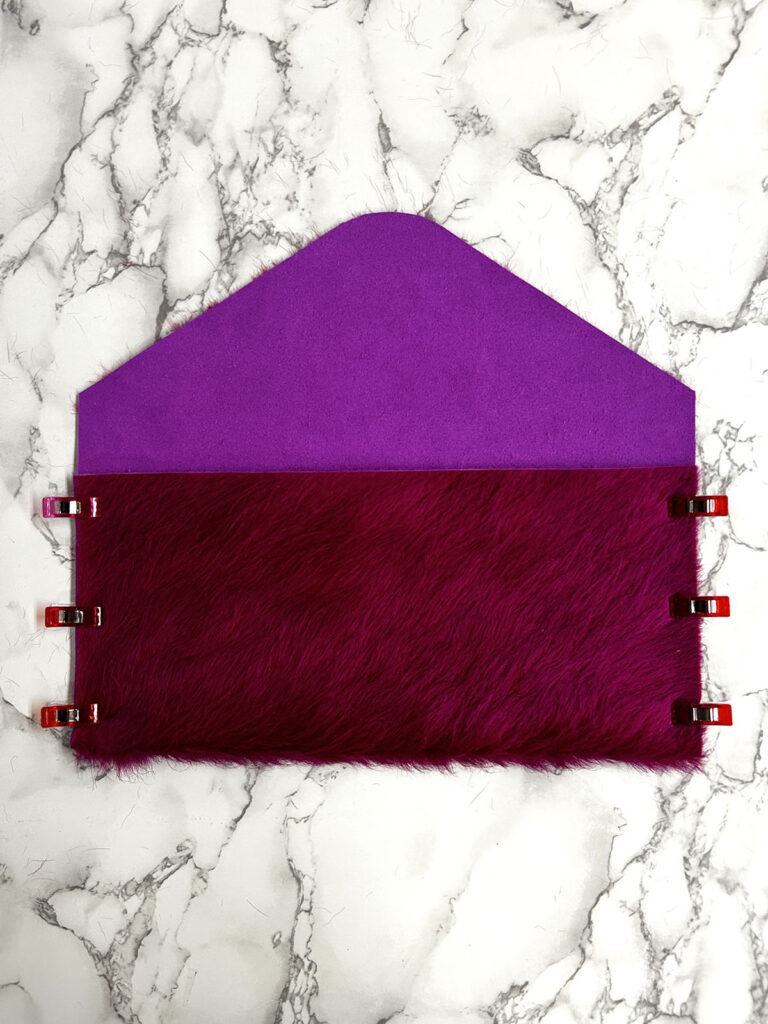
Sew the sides of the bag using a 1/4 inch seam allowance. Please be sure to use leather sewing needles in your machine. Otherwise, you will break your needle.
Now that your clasp in installed, the prongs are visible on the inside. I like to cover them up. Not only does it make the inside look cleaner, but I will also keep anything in your bag from getting scratched.
I like to cut a round piece of coordinating fur and using double sided tape cover the prongs. This step is optional but it makes the bag look more finished.
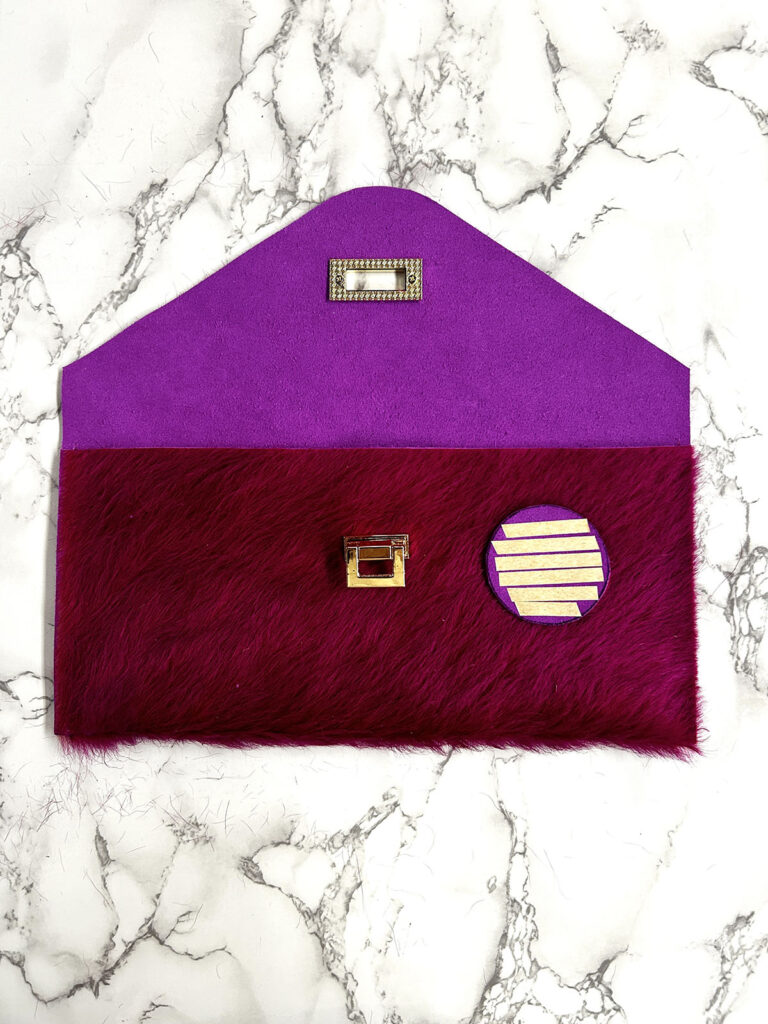
Close the claps and you’re done! This fur envelope clutch is a very easy project and only takes about 30 mins to complete. It’s perfect if you are a beginner sewer.

Thanks for reading!