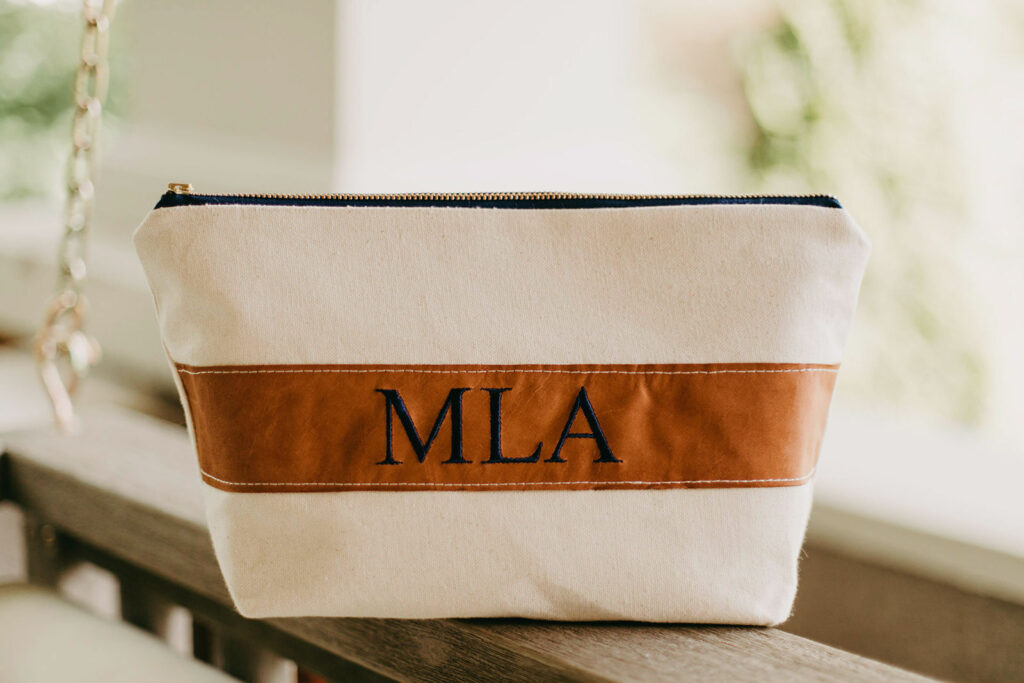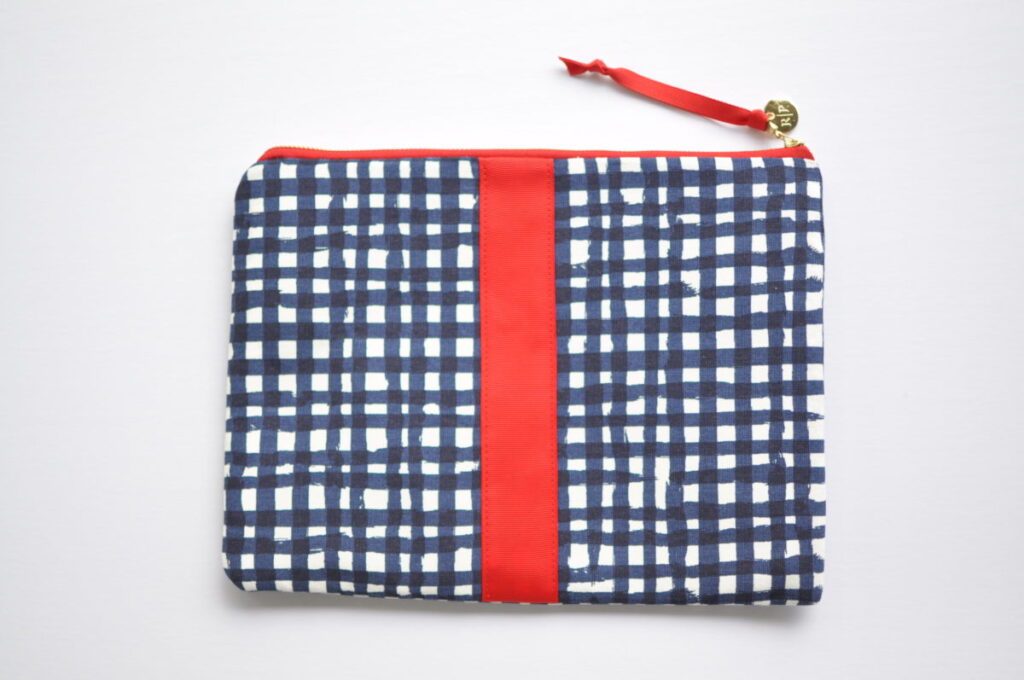
You’ve seen them everywhere, those zipper pouches that hold all the essentials. Some of them are leather some are fabric and some have a cute quotes on them. In today’s tutorial I’m going to show you how to make a simple clutch out of fabric with a grosgrain ribbon detail.
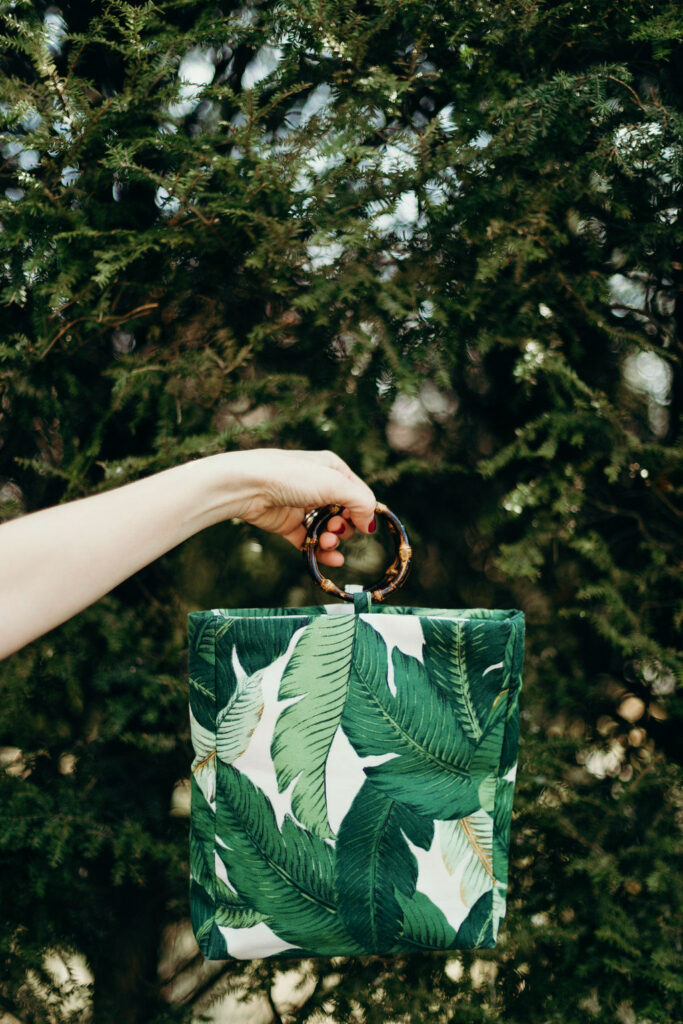
I love clutch bags. They are so versatile and useful. I have made a million of them! Well maybe not a million, but a lot. Big ones, small ones, leather ones, fabric ones, travel ones…You get the picture. They are incredibly helpful and keep me organized. Anyone who carries a large bag knows what it’s like to going fishing for your keys, lipstick, candy bar or your child’s binky. It can sometimes be a nightmare searching for that one item that you know is at the bottom of the bag. That is why I love a clutch. It can help to corral all of the little stuff and make you look more organized. Who doesn’t want that?
How to Make a Simple Clutch
These clutches very easy and fast to make. This is one of the reasons I gravitated towards making them when I first started to sew. Another reason I love them so much is the style options. They are endless with this simple little bag.
Check out the tutorial below and I’ll show you how to make a simple clutch of your own.
Materials – How to Make a Simple Clutch
- Outer fabric 1/2 yard
- Lining fabric 1/2 yard
- Medium weight interfacing 1/2 yard
- Fusible fleece 1/2 yard
- zipper
- Contrasting ribbon (optional)

Instructions – How to Make a Simple Clutch
Cut fabric and lining 9″x 14″
Cut interfacing and fleece 8 3/4″ x 13 3/4″ – I make the interfacing and fleece a 1/4″ smaller that the fabric and lining, so its less bulky and easier to sew. You can also cut the interfacing and fleece 9″ x 14″ and just trim a 1/4″ off all the way around if that’s easier.
Following the instructions fuse the interfacing onto the wrong side of the fabric followed by the the fleece.
Take the ribbon (optional) and stitch down the center of one of the outer pieces of fabric.

With right sides together, sandwich the zipper, with the zipper pull facing the right side of the outer fabric, between a piece of outer fabric and a piece of lining. Sew using a zipper foot. Flip the fabric open and repeat the same steps with the other two pieces of fabric. When finished, be sure to leave the zipper open.

Fold the bag so both outer fabric pieces are facing with right sides together, being sure to fold the zipper towards the lining. Stitch around the outside of the bag using a 1/4″ seam allowance.
Repeat with the lining pieces. Stitch around all three sides leaving a 5″ opening in the bottom of the lining.
 Flip bag right side out and sew the bottom of the lining.


I added a smaller piece of grosgrain ribbon and a Roxbury Place tag on the zipper pull. You can get creative and add whatever you would like to your zipper.

So simple and easy! Now you can make as many as you want bunch in fabulous colors and designs.
If your looking for a nice little clutch of your own you can purchase Roxbury Place leather clutches here for 30% off with the code ILOVEFALL
Interested in learning how to make more stylish bags? Check out my other tutorials here here and here.
Please let me know if you have any questions or comments in the comments section at the bottom. If you decide to make one, post a picture. I’d love to see it!
If you don’t have the time or energy to DIY (We’ve all been there I get it) you can shop similar styles below.
Hope you’re off to a great week. Thanks for reading!