Hi Friends…so it’s been minute, but I am here today to share a Valentines/Galantines DIY – how to make beaded bracelets. I have gone a bit of a bead bender in recent months. I won’t bore you with the details, but let’s just day I have managed to amass a decent stash of beads in the last 6 months. So in theory you should be seeing some fun beaded jewelry tutorials coming your way in the next few months.
Okay on to today’s project. I bought these red and pink beads at Michaels and liked the color combo. It didn’t occur to me at the time what I wold would do with them. I just liked the colors. So they sat in a pile with a lot of other beads and then Valentines Day started creeping up and I thought I could take soothing fun to give to someone or keep for myself. Below you will find everything you need for this fun Valentines/Galantines DIY.
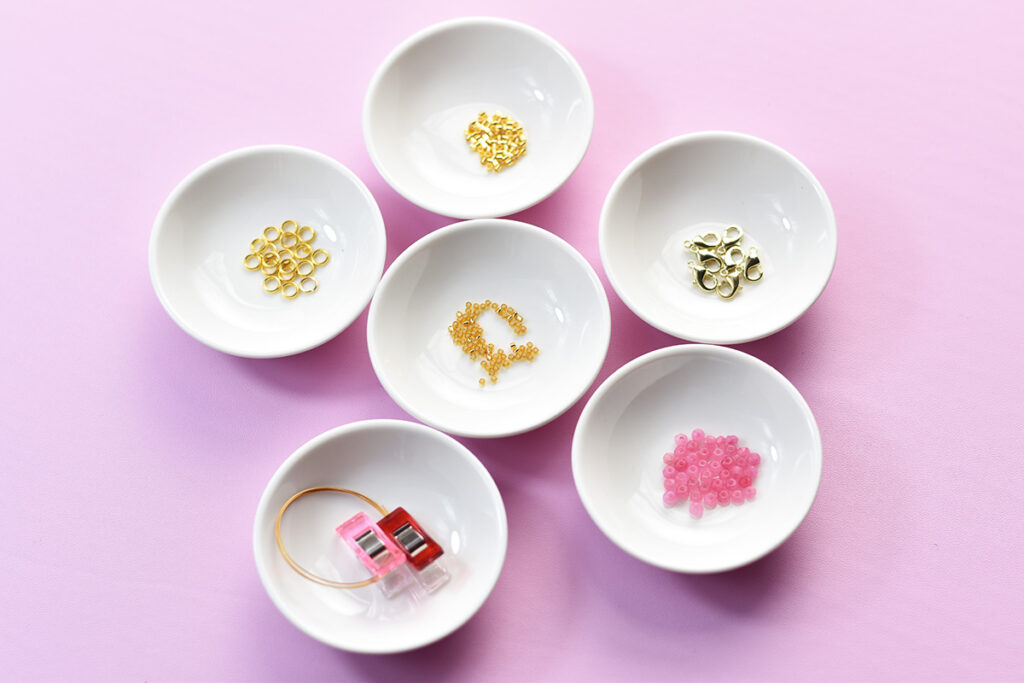
Supplies
Pink beads, red beads, gold beads, wire, jump rings, clasp, crimp beads, clips, crimp pliers, flat nose pliers
Measure your wrist
Take a tape measure and measure your wrist. Then add 1 inch to that measurement for the clasp and jump ring. Then add another few inches so you have enough length to work with. There is nothing more frustrating than stringing your beads and not having a wire long enough.
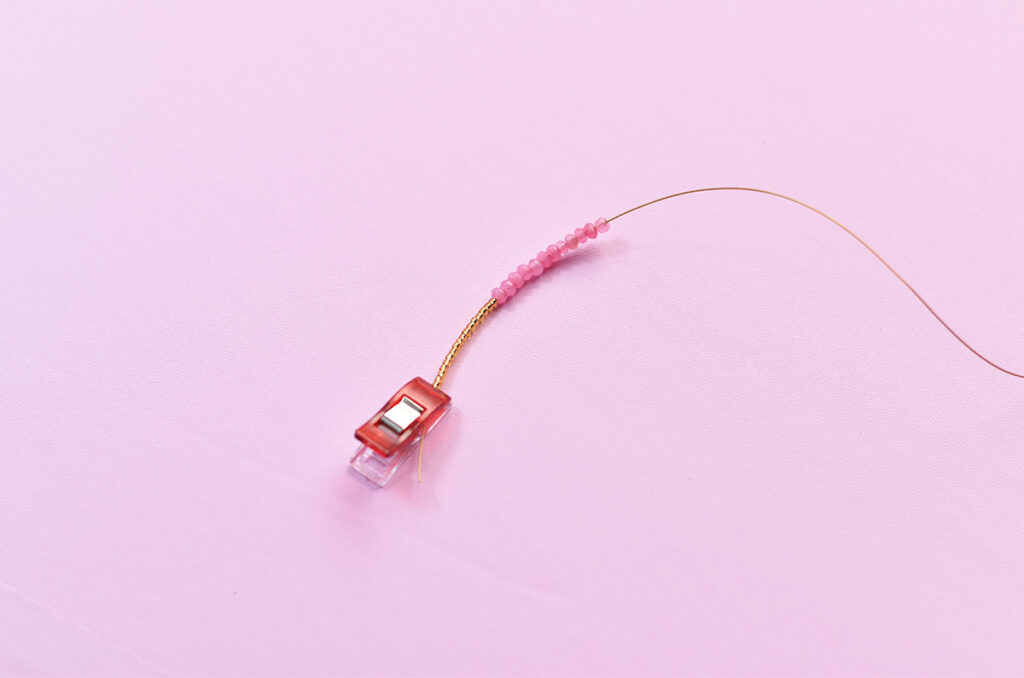
Stringing your beads
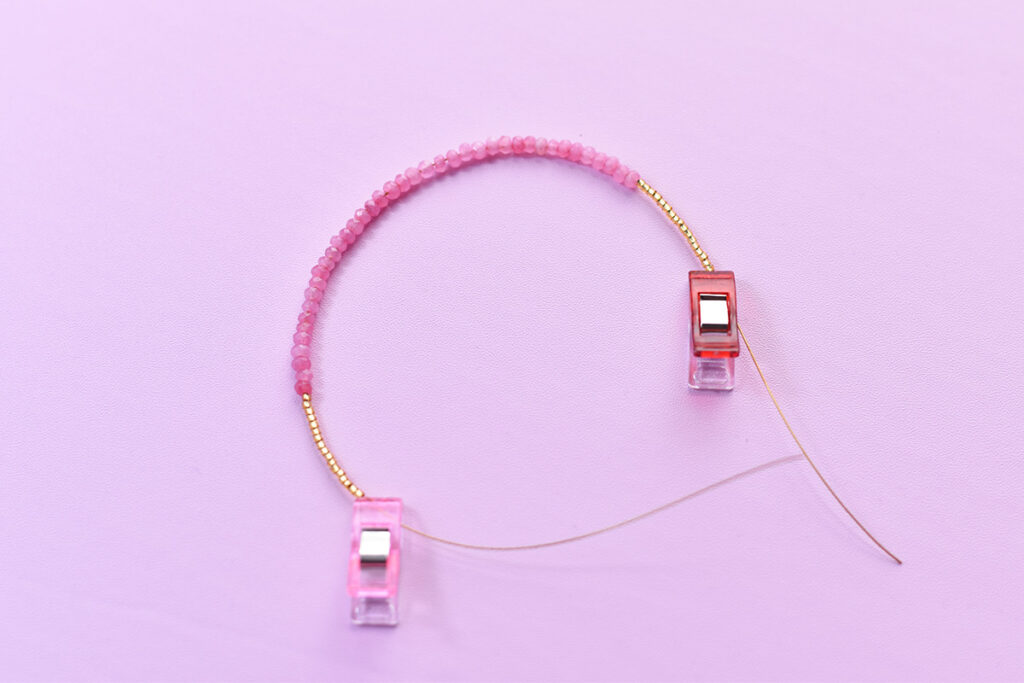
Now that you have your piece of wire, put one of the clips on the end so the beads don’t slide off. String your beads in your selected design. I ended up using two different color of beads for my bracelets, because there wasn’t enough of each color to make one bracelet that would fit my wrist. When you are done stringing the beads put a clip on the other side of your finished bracelet and wrap it around your wrist to be sure it fits.
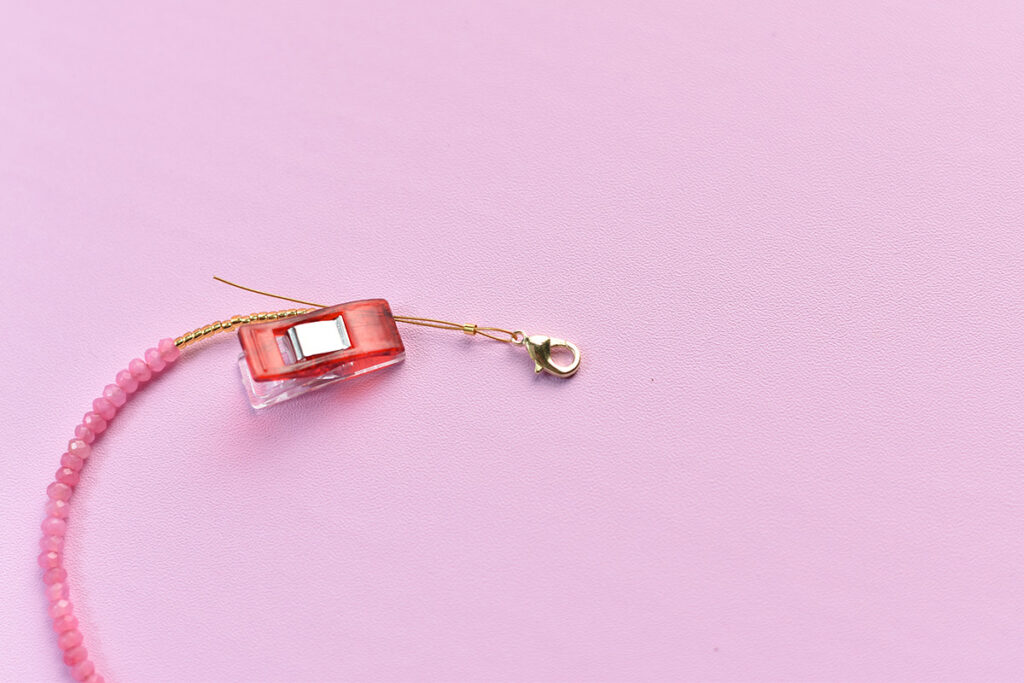
Attaching the clasp and Jump rings
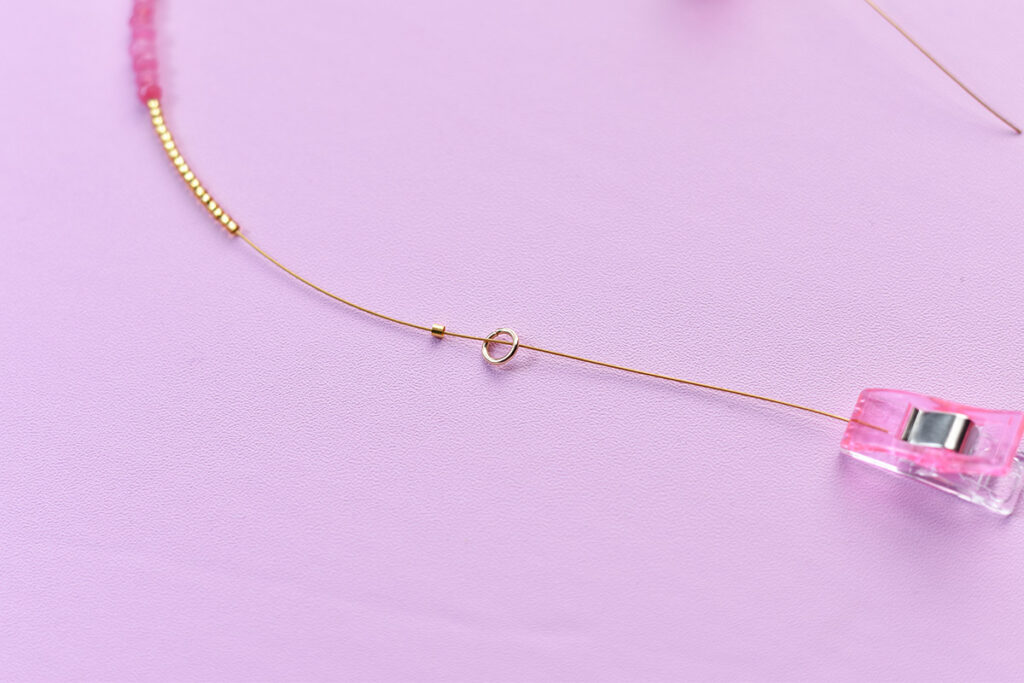
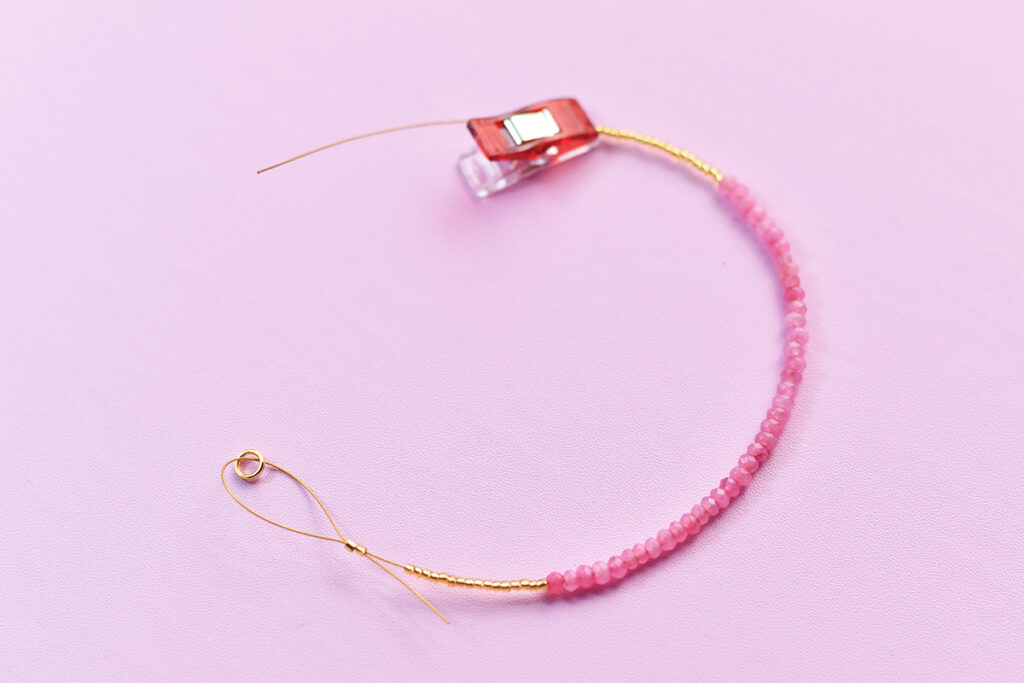
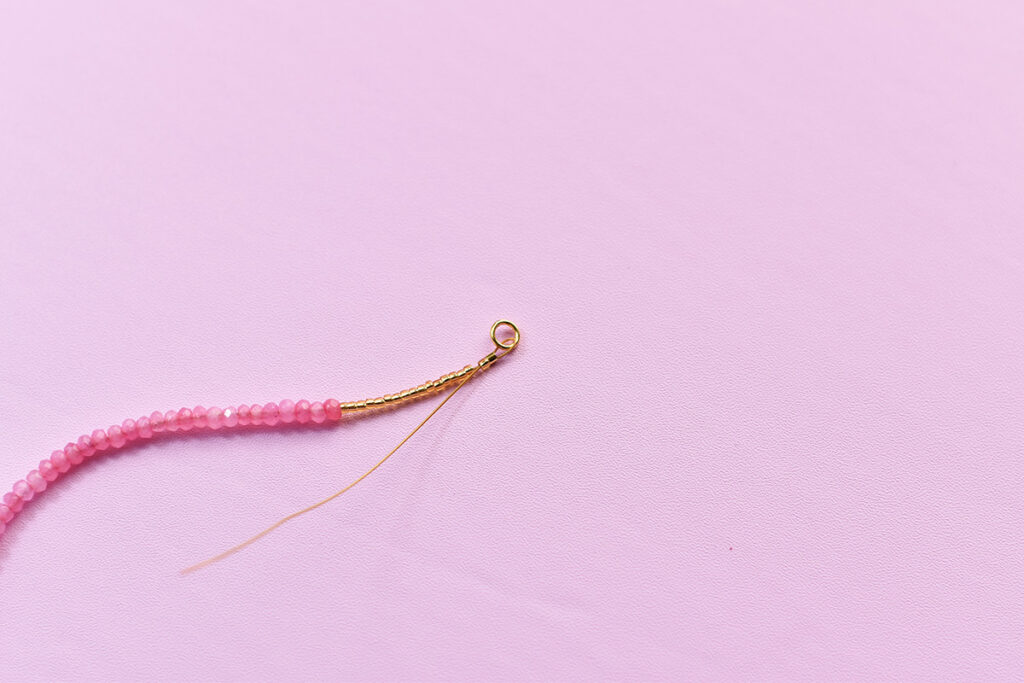
Now remove one of the clips and string a crimp tube and jump ring on the wire. *Side note I realized as I was making this that the crimp tube looks like the gold beads I used, but if you look closely at the photos you should be able to tell the difference. Then you are going to loop the wire back through the crimp tube and one or two of the beads next to it. *Another side note – the gold beads I used were very small and I struggled a little trying to get the wire back through them. If you choose to use small beads you should be fine as long as you can get the wire through the one bead closest to the crimp tube. Next use a pair of flat nose pliers pull the wire so the beads are snug.
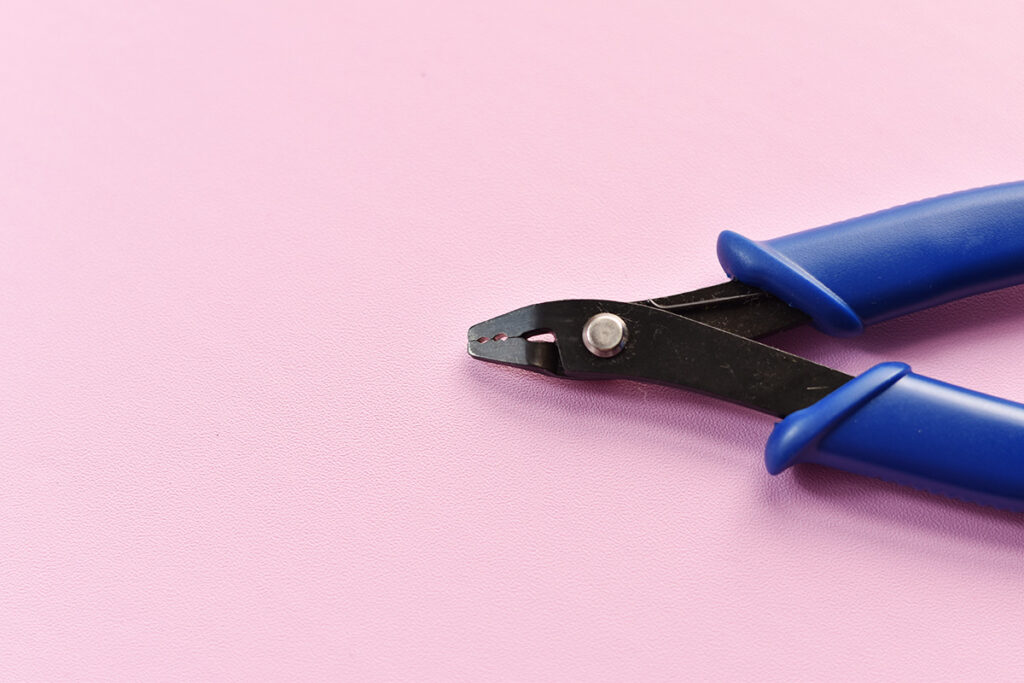
Using Crimping Pliers
When you look at a crimping pliers you can see that there are two divots. Take your bracelet and lay the crimp tube in the divot closest to the handle and squeeze. This will crimp the tube flat in half with one wire in either side of the crimp tube. Now take the bracelet and lay crimp tube and lay it in the divot closest to the end of the pliers. Make sure the tube is laying perpendicular in the divot before you squeeze it. If it’s not perpendicular it won’t close the crimp tube tight and your bracelet will come apart.
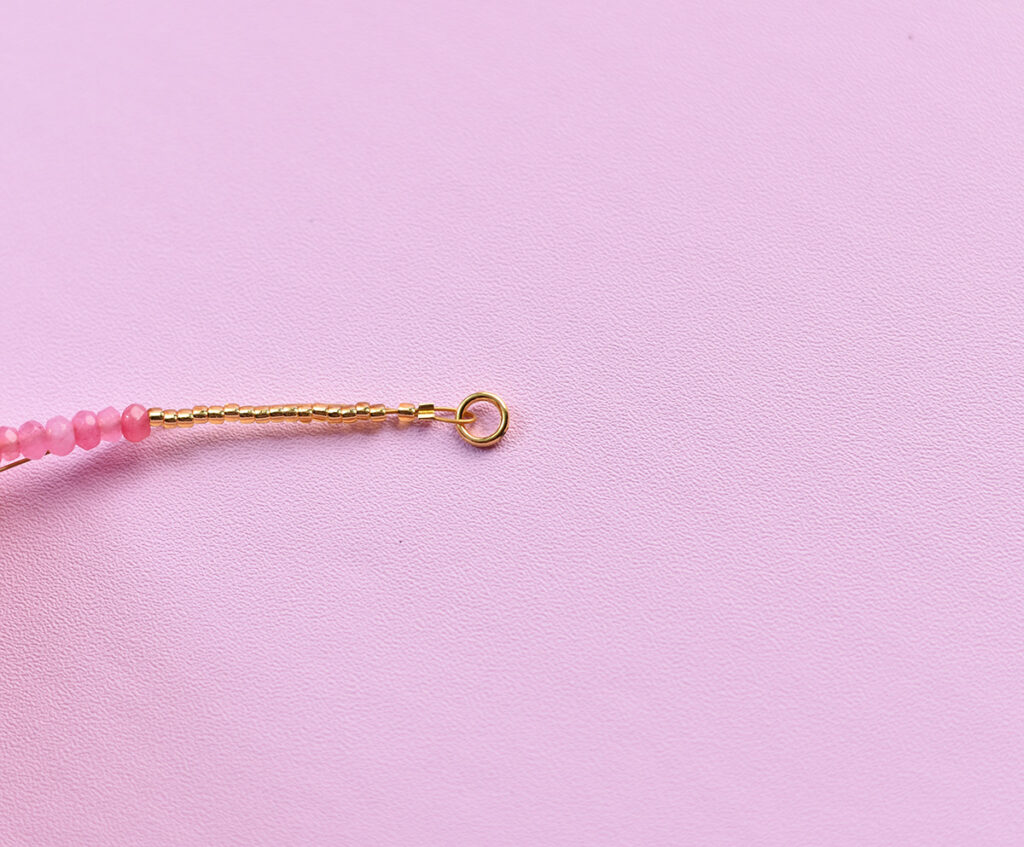
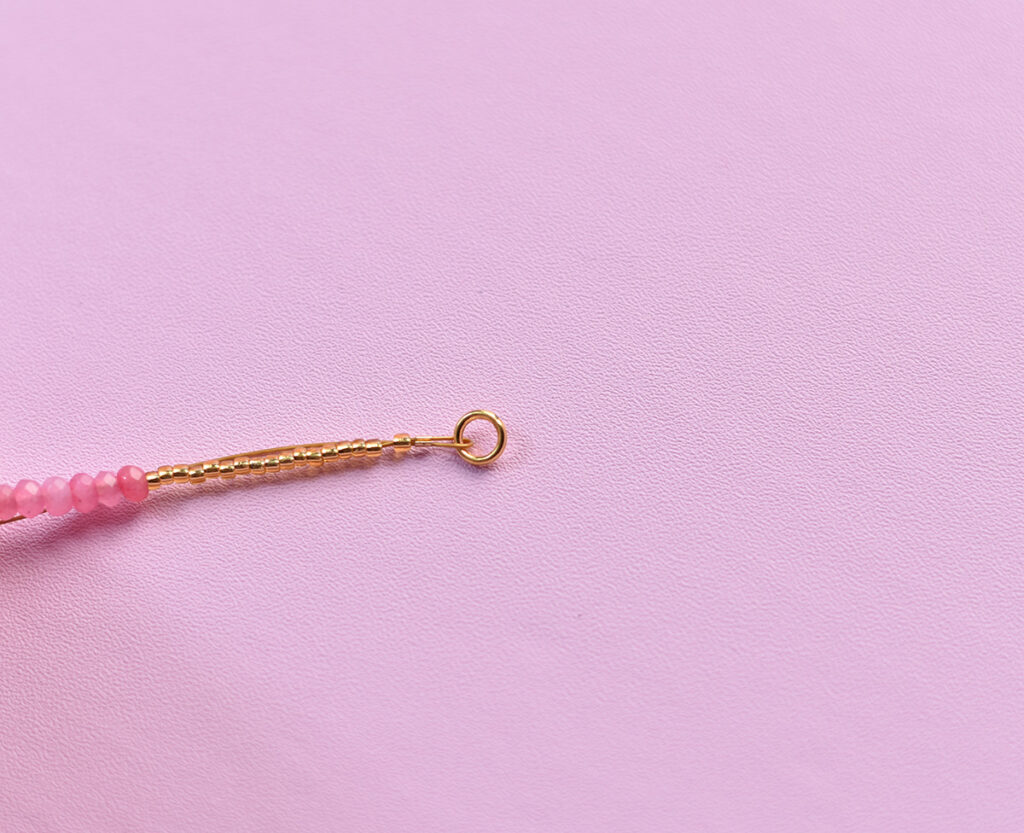
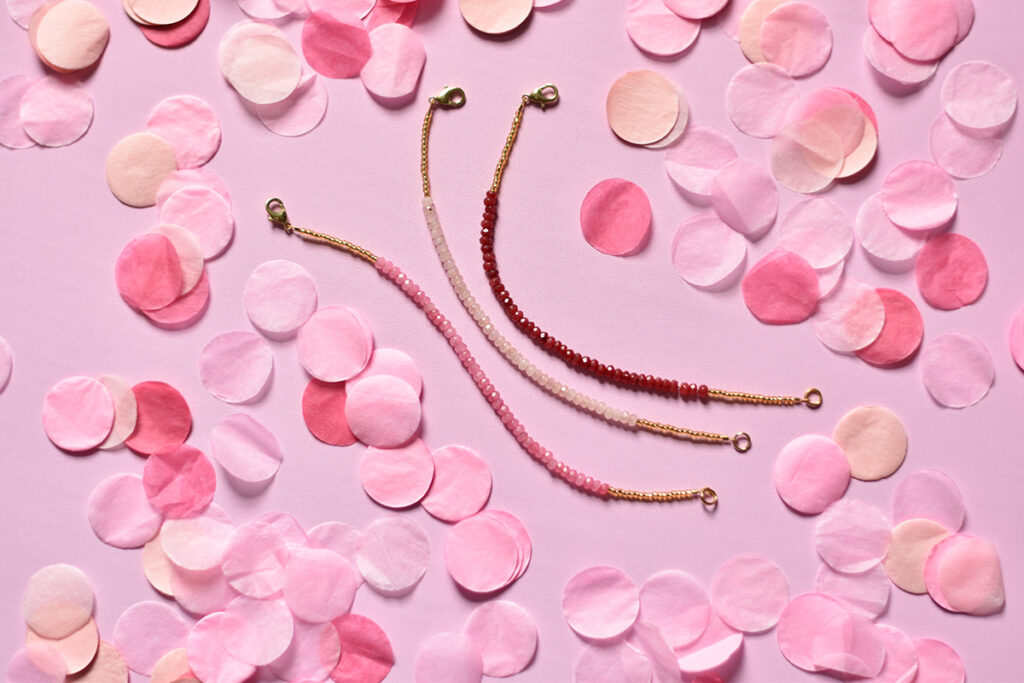
Now repeat these steps on the other end of the bracelet using the clasp. Clip the extra wire on either end and you are done!
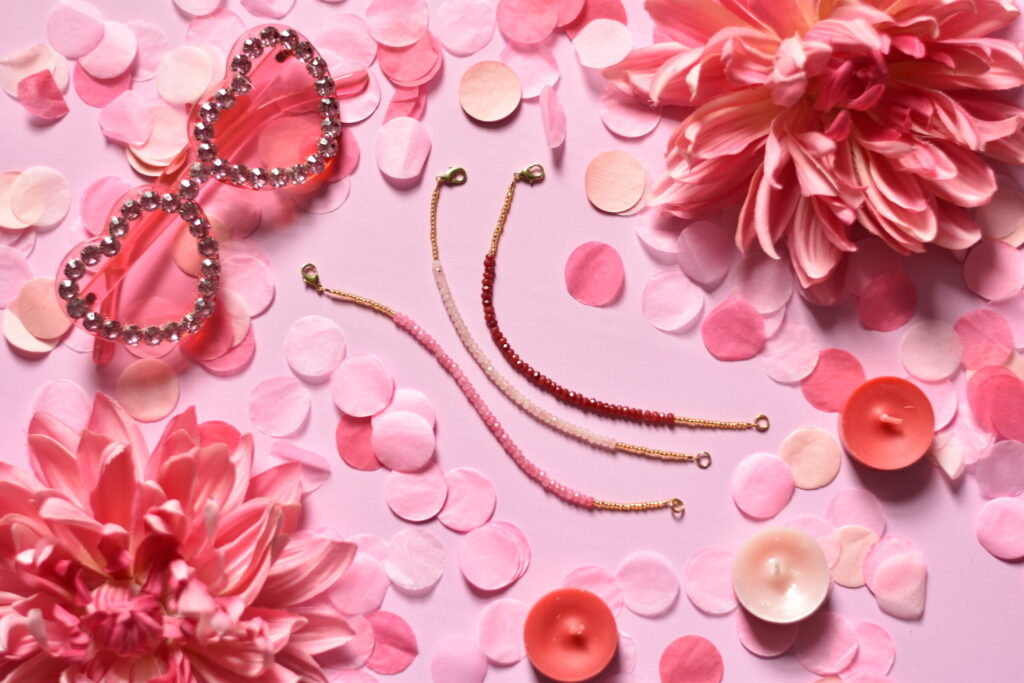
Voila! All done. Now you can share with your Galantines or wear them out for your Valentines Day dinner! If your interested in some other fun jewelry DIYs check out my statement earring and acrylic earring tutorials!
Thanks for reading. Hope you have a great Valentines/Galantines Day!