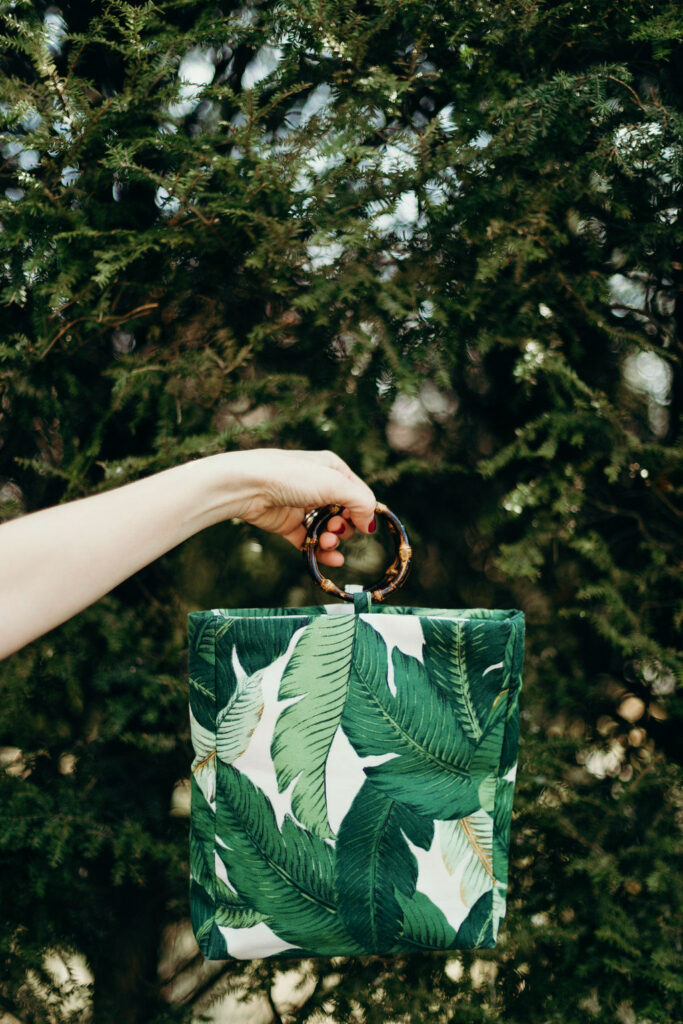
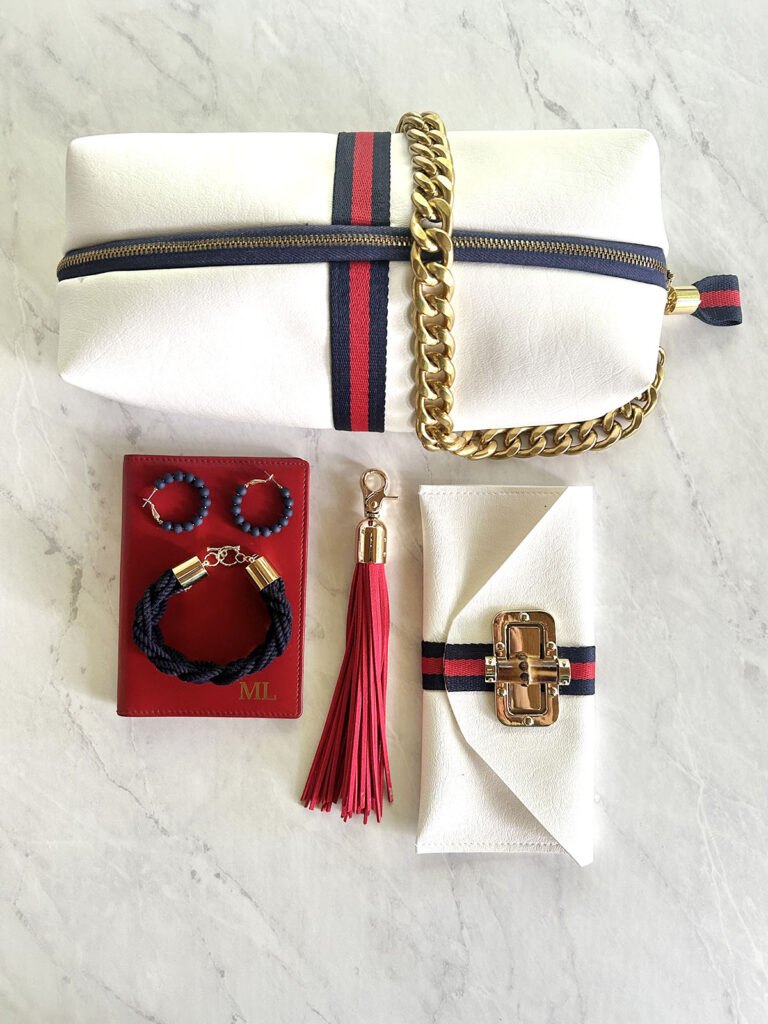
Today we are making baguettes. No we are not making bread. Today I am going to show you how to sew a box clutch. I affectionately call them baguettes because that’s what the shape reminds me of. Some people call them dopp kits and use them for toiletries, but I think they look really cute when used as a small hand bag.
A few things to note before we get started. I used vinyl for this tutorial. In the photo above I used leather. That being said you can also use fabric. It will be easier to work with fabric especially if you are a beginner. You’ll need to use glue if you decide to use leather, but you won’t with fabric. I’ll walk you through it in the tutorial but wanted to give you a heads up before we get started.
Supplies
- Exterior fabric white vinyl
- lining fabric
- zipper
- D-rings
- a strap
- super glue – if sewing with faux or real leather
- stripe webbing – optional
- bias tape – optional
Where To Purchase Supplies for your Box Clutch
I’ve had this white vinyl fabric for a while. I can’t remember exactly where I got it from but you can find similar options here and here. The patent leather option could be fun too. I used this fabric previously for this tote bag. As you can see it has a similar design vibe.
I also don’t remember where I purchased the leopard fur in the photo above but you can find similar options here.
Additional Bag Tutorials
If you’re looking for more bag DIYs check out some of these posts.
- How to Make a Flex Frame Bag
- How to Make a Fur Envelop Clutch
- How to Make a Quilted Tote Bag
Body of the Bag – How to Sew a Box Clutch
Cut your exterior fabric and lining fabric into a square that measures 15″ x15″. If you don’t have a piece 15″ x 15″ you can use two pieces each measuring 8″ long and 15″ and use a 1/2″ seam allowance to sew the bag together. That is what I did when I sewed this box clutch and for the leather leopard bag.
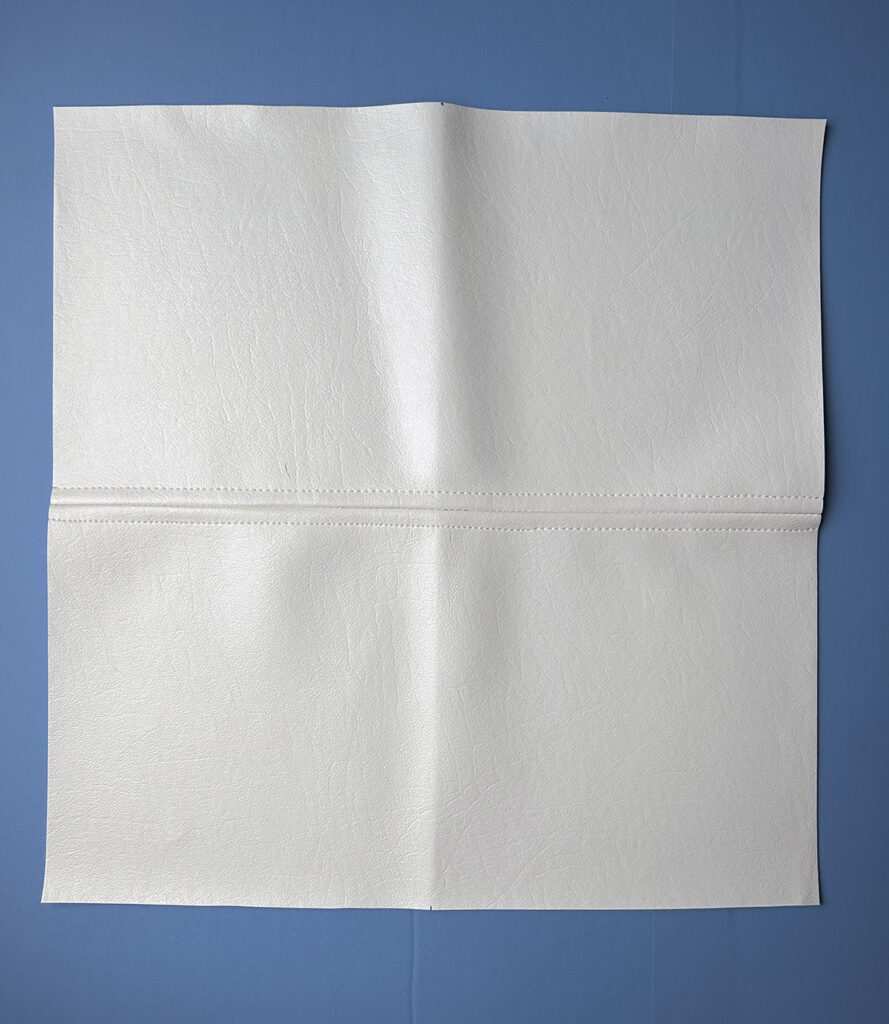
If you are using stripe webbing, fold your vinyl in half and mark the center. sew down each side of the webbing.
Using double sided tape secure the webbing down the center of the vinyl.
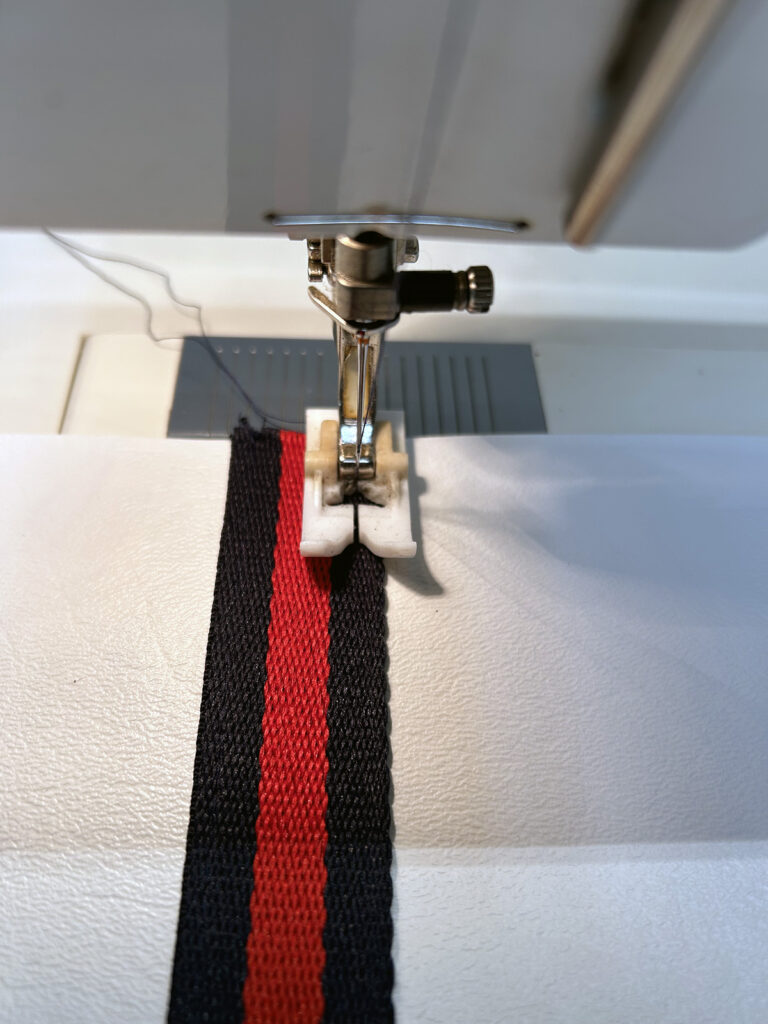
Sew down each side of the webbing.
With right sides together, sandwich your zipper with the zipper pull facing your exterior fabric, in-between the exterior fabric and the lining and sew. You can see what it looks like in my Bamboo clutch tutorial. Repeat with the other side. Remember to leave your zipper open when you sew the second side. Now your purse baguette looks like a tube.
This next step is optional. You can sew the lining and exterior fabric together around the edges using a 1/4″ seam allowance. It isn’t necessary but it keeps your lining and exterior fabric from slipping.
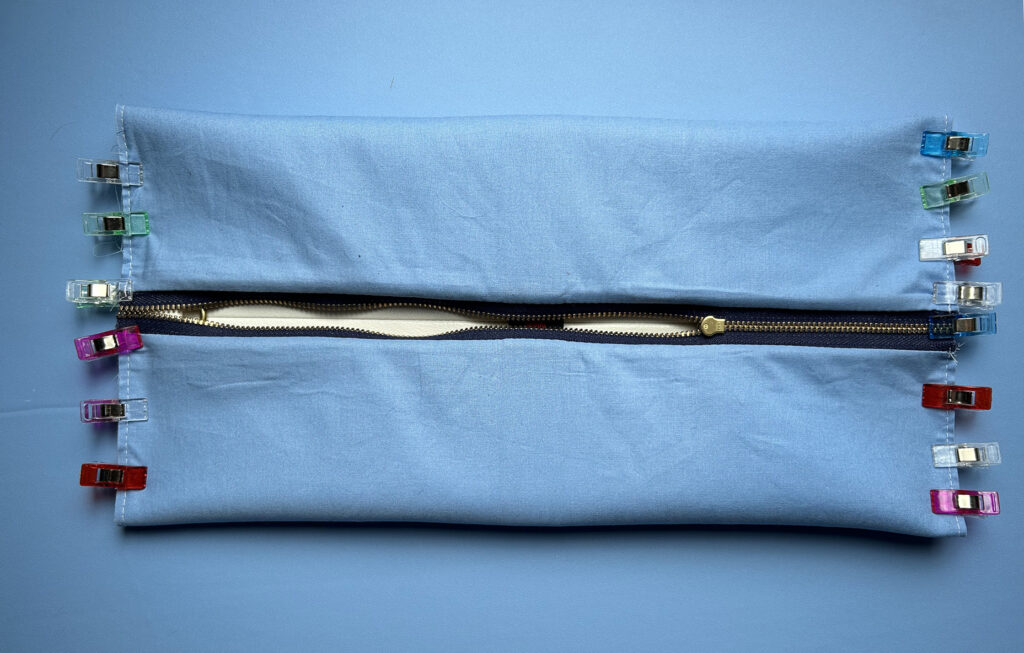
Next lay your box clutch flat with the zipper down the middle but open part way.
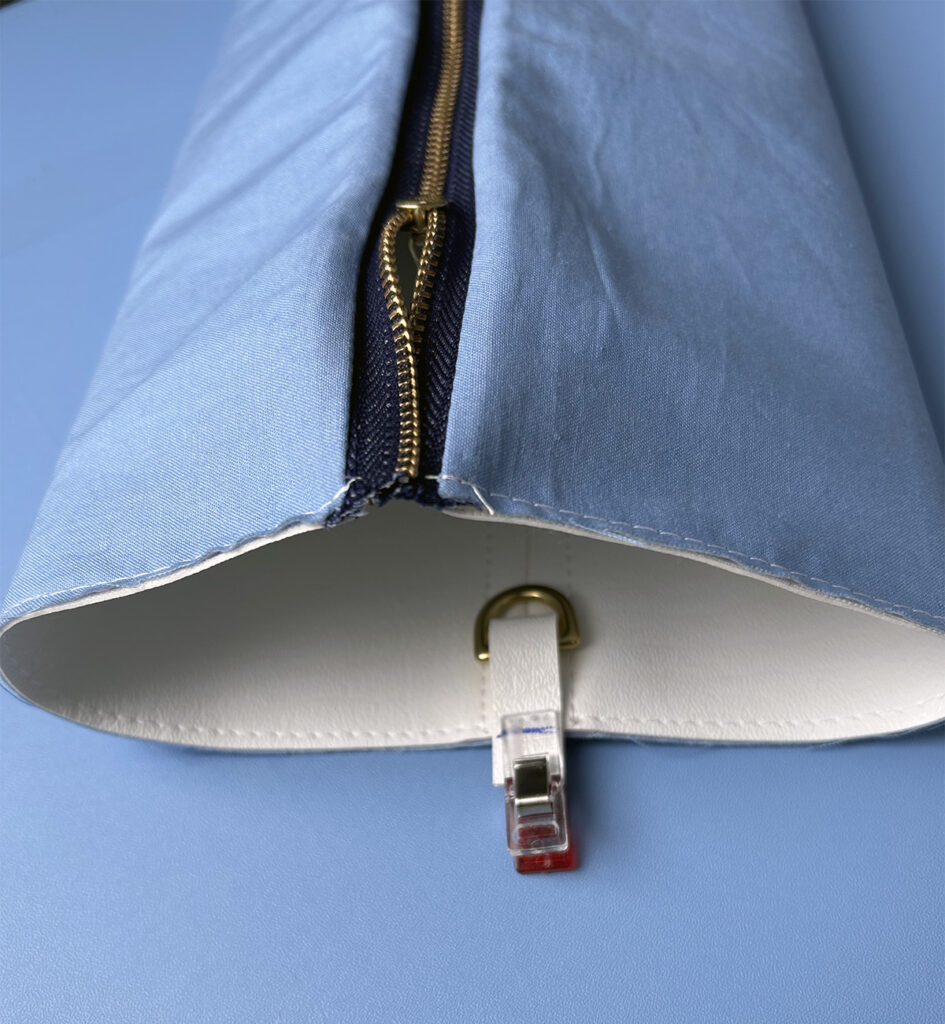
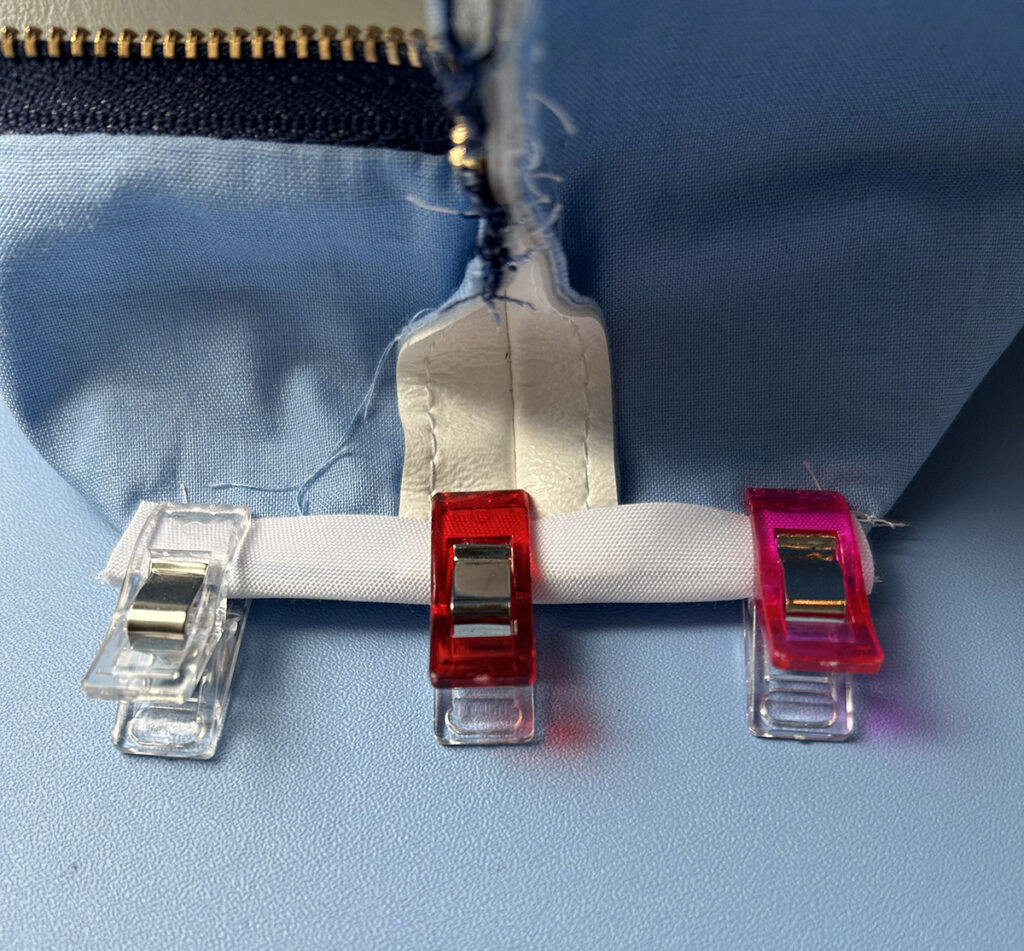
Cut a two 1″ long pieces of exterior fabric that fits inside you d-ring. Thread the fabric through the d-ring and fold the fabric over. I put a piece of double sided tape inside to hold it in place.
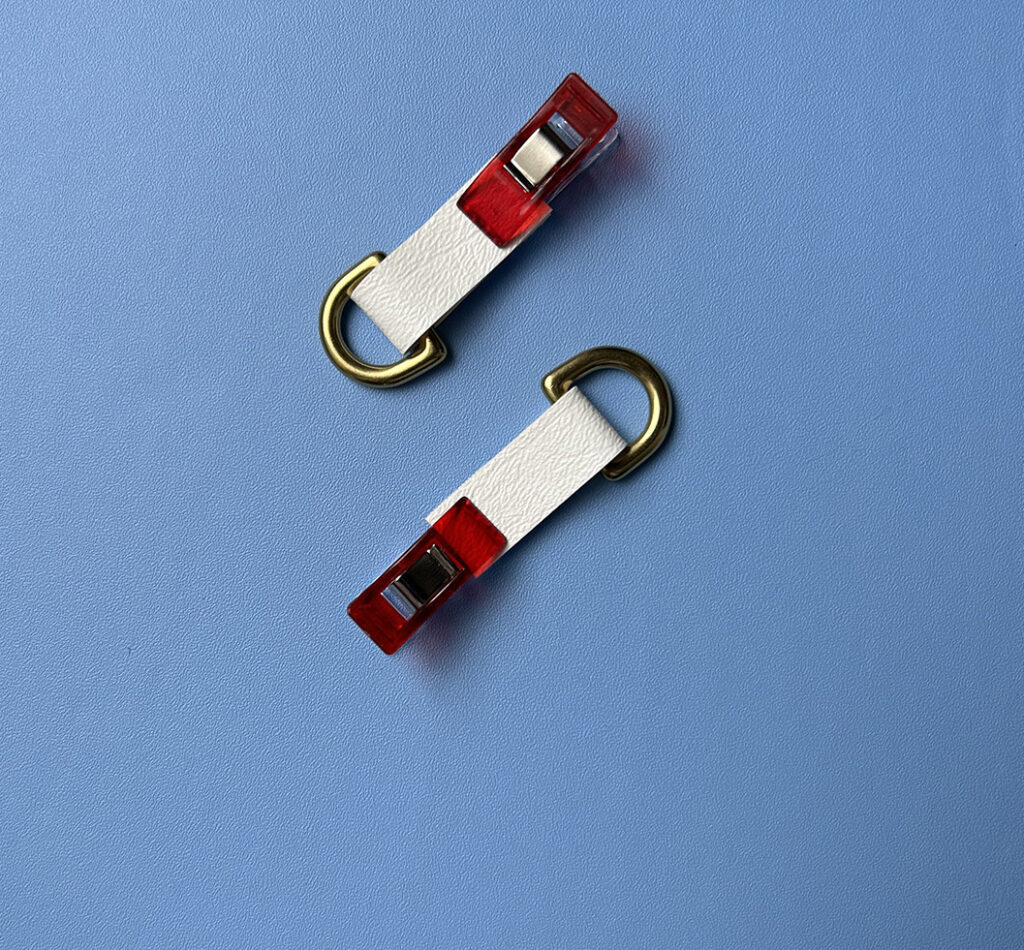
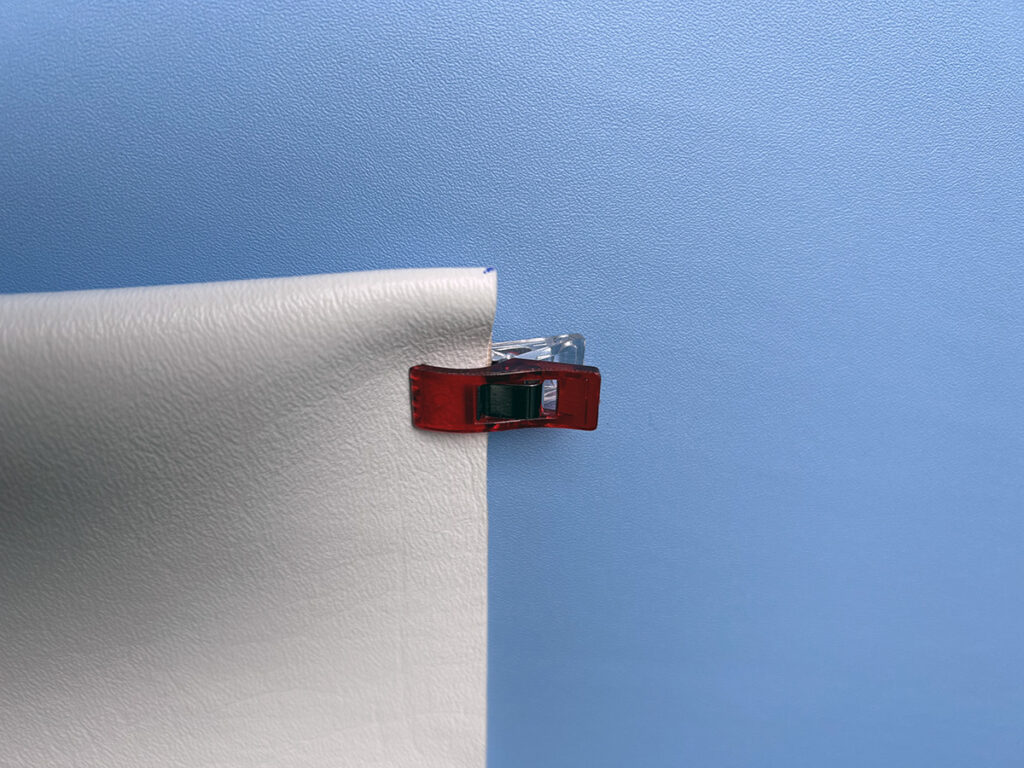
Now place the d-ring, with the d-ring facing the inside of the bag, in the center of the bottom of the bag. Make sure it lines up with the zipper on top. Place another small piece on double sided tape in-between the bag and the exterior fabric, and stitch it to the bottom of the bag. This will keep it in place when you stitch the sides together.
Sewing the Zipper – How to Sew a Box Clutch
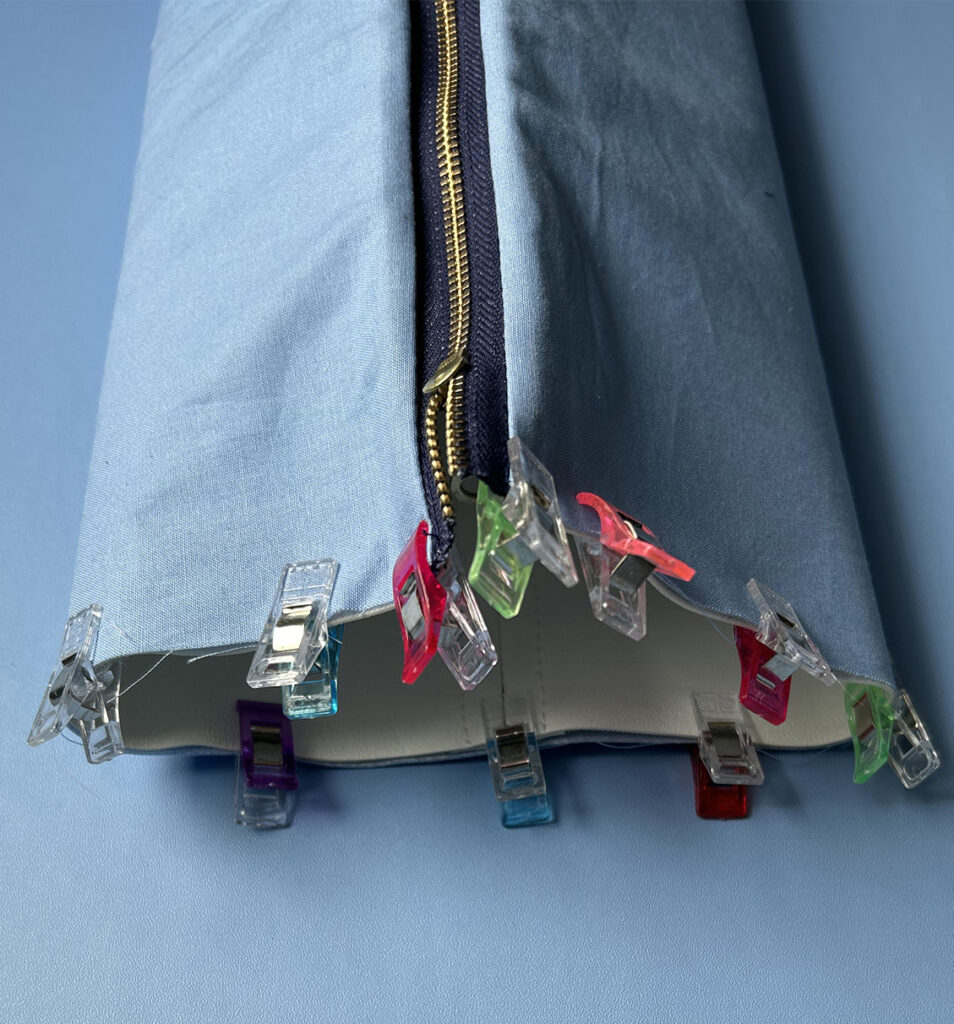
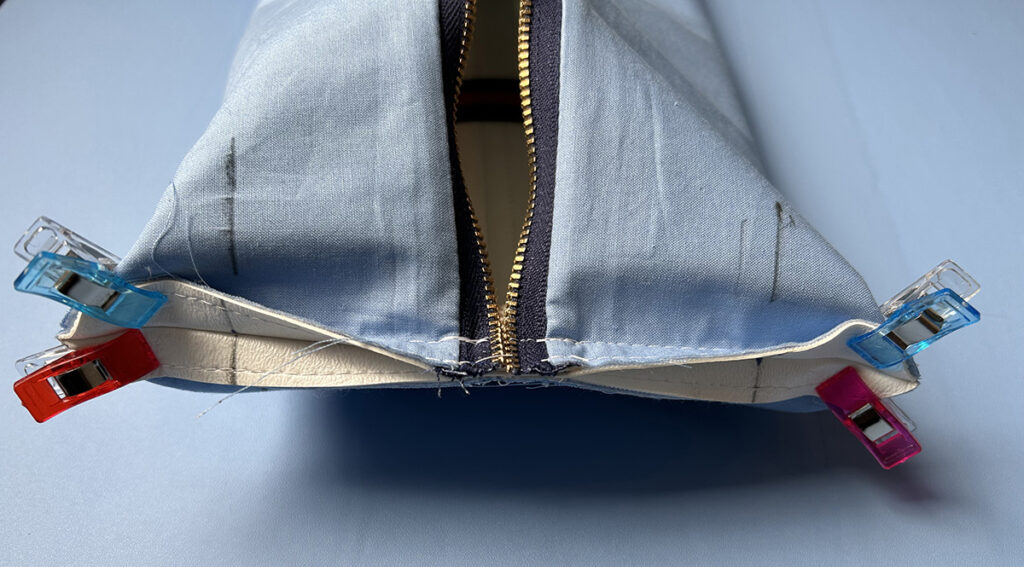
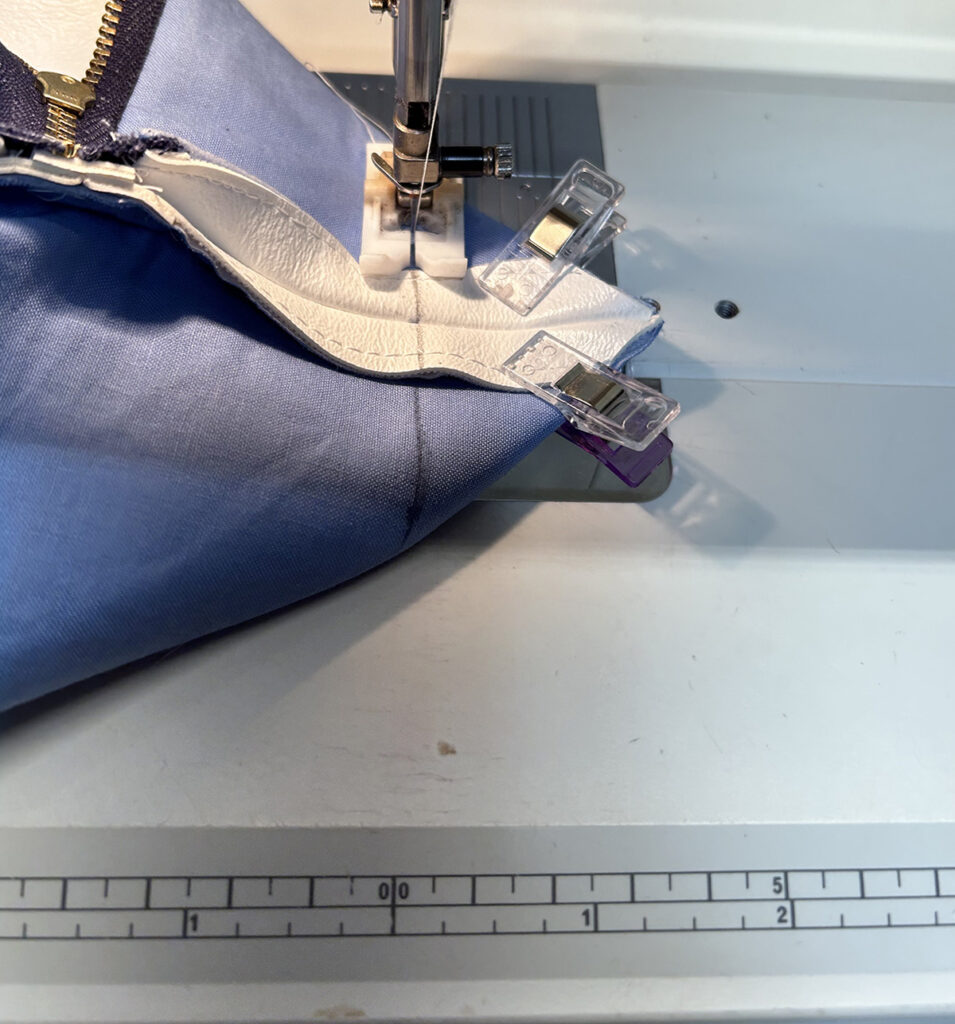
Secure the ends of the bag and stitch across with the d-ring tucked inside.
Note – if you are using leather now is the time to glue your bag. The combination of leather and metal zipper can be hard to sew. Because of the bulkiness of some types of leather and the metal zipper sometimes your stitches won’t catch and you’ll end up with a hole in the end of your bag. So I glue the zipper into place let it dry and then stitch the bag closed. You won’t need to use glue if you are using a plastic zipper. These are much easier to sew over.
Sewing the B
Once you have stitched the ends together, pinch each corner, measure down 1.5″ and mark a line.
Sew all four corners and trim the seam allowance.
You can either run a zigzag stitch over the raw seam edges, or you can cover them with bias tape to give it a nice finished look.
Finishing Touches – How to Sew a Box Clutch
Turn your bag right side out, push out the corners, and attach a strap and zipper pull. I used a piece of the stripe webbing and made a zipper pull. You can do this or use any kind of tassel you might have laying around.
These are so easy to make! I’ve already made four and I have a feeling I’ll be making more. They are just the right size to hold all the essentials and are super cute!
Thanks for reading. Hope you’re having a great day!