Happy Fourth of July week! Hope you guys have great plans for the upcoming holiday. July 4th is one of my favorite holidays. Every year we drive 7 hours to my parents who live on Lake Erie to visit for the week. It is the best place to celebrate. They live right on the lake with an amazing view of the water. Most of the people in the neighborhood are retired and their kids and grand kids come to visit like we do every year. Not only do I get to catch up with one of my best friends, whose family lives just a few doors down, but now my kids get to play with his kids. It’s really lot of fun.
The week is filled with swimming, boat rides, bonfires, s’mores and fireworks. Lots and lots of fireworks. Not only do the surrounding towns have their firework displays, which we can see from the house, but the neighbors shoot off their own display which is pretty amazing. All in all it’s a really great week!
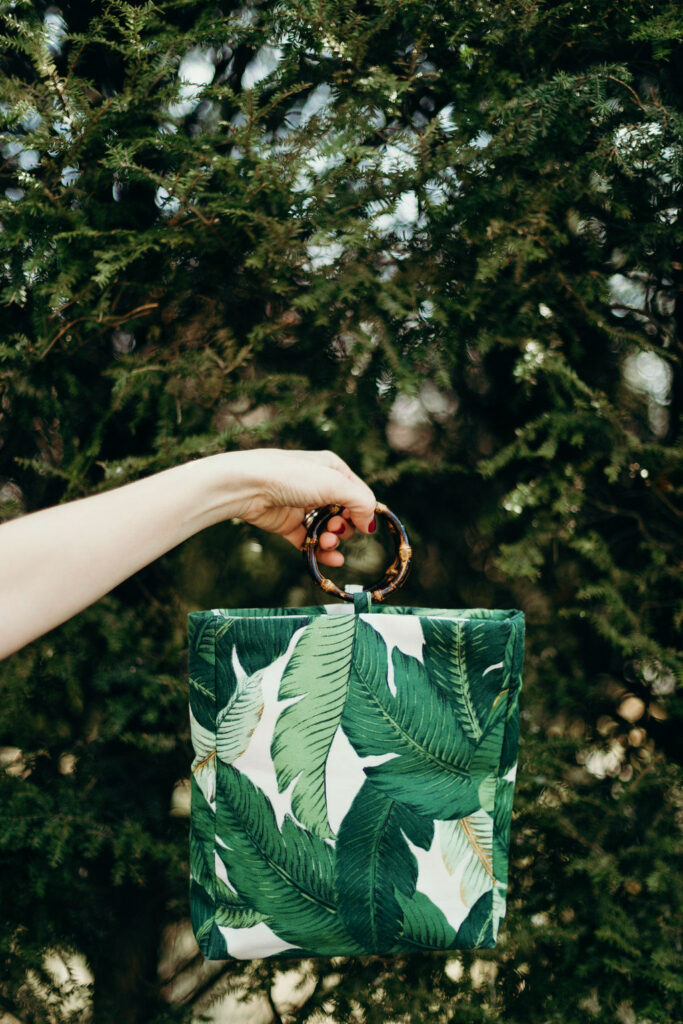
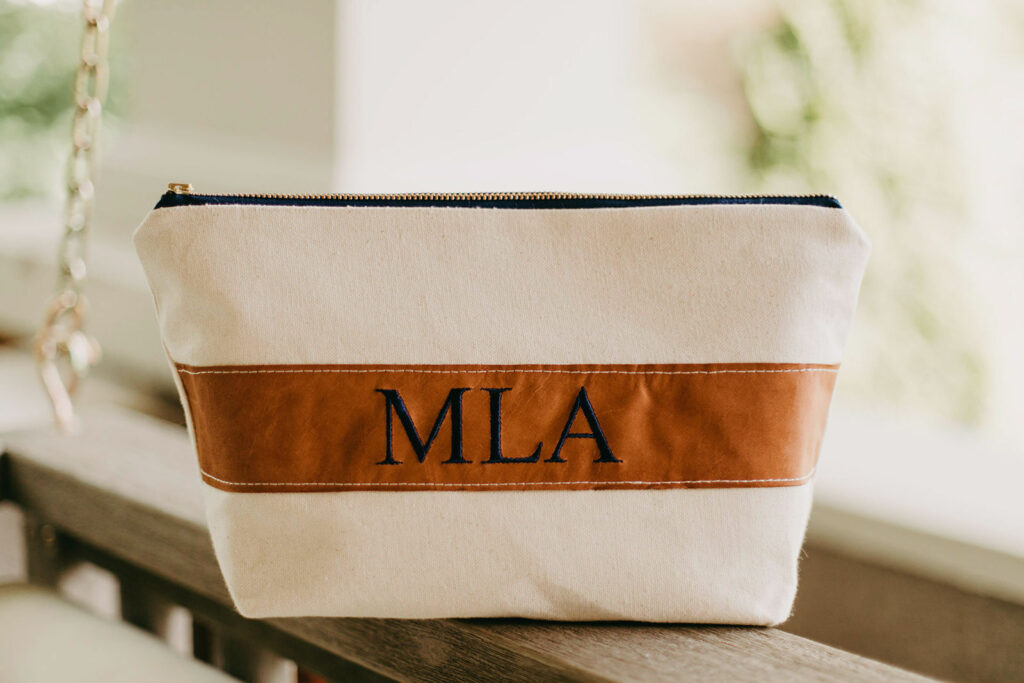
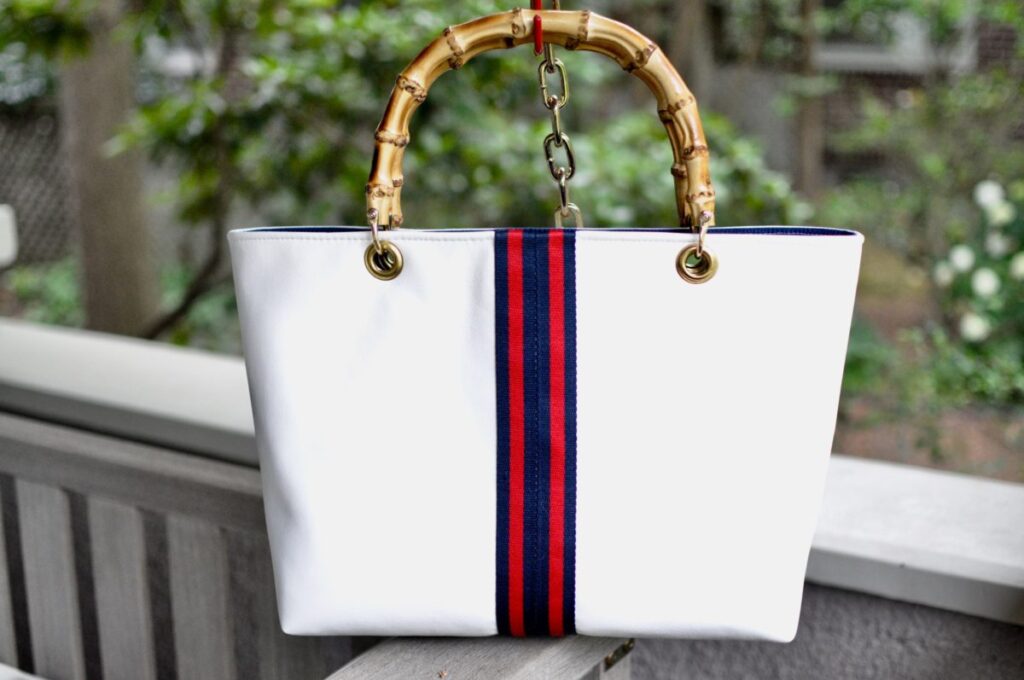
What better ways to celebrate America’s birthday than with a red, white and blue DIY Clare V. inspired stripe tote bag! Not only is this a great 4th of July (and summer bag), but is also inspired by not one but, two of my favorite handbag designers Care V. and Mark & Graham. They both have the most beautiful bags. You can check out my other Mark & Graham tutorial here.
See the tutorial below to learn how to make your own Clare V. or Mark & Graham inspired tote bag:
Materials:
- 1 yard of faux leather or vinyl or real leather
- 1 yard lining fabric
- 1 yard lightweight interfacing
- 1 yard medium weight interfacing
- 1 yard fusible fleece
- 1 yard of stripe cotton webbing 1.5″wide
- 1/2 grommets
- 8″ bamboo handles
- Plastic cutting board (optional)
Instructions:
*Notes – The faux leather can be thick so I recommend using a leather or denim needle. Trim the side seam allowances to reduce bulk when topstitching. Also use clips instead of pins as the pins will pierce the fabric.
- Cut all fabric, interfacing and fleece 18″x14″ and cut a 2.5″x2.5″ square in each bottom corner. Following the directions fuse the lightweight interfacing to the wrong side of your lining. Fuse the medium weight interfacing to the wrong side of your faux leather and the fusible fleece on top of the interfacing. If your faux leather is on the thicker side feel free to skip this step. My faux leather was pretty flimsy so I used the fusible fleece to give it some extra stability. Use a 1/2″ seam allowance for all seams unless otherwise specified.

- Stitch striped cotton webbing down the center of one side of your faux leather. Use double sided tape to hold webbing in place while sewing. Stitch along the edge of the webbing using 1/8″ seam allowance. I used two pieces of webbing side by side to make a bigger stripe on my bag. 1.5″ webbing is a good wide for this size bag.

- With right sides together sew the sides and the bottom of the faux leather. Do the same with the lining but leave a 4″ hole at the bottom.

- Pinch the bottom corners together and sew.

- Turn the faux leather bag so the right side is facing out, and turn the lining so the right side is facing in. Place the faux leather bag inside the lining so the right sides are facing. Sew around the top of the bag. Take your time around the side seams. Depending how thick your faux leather is, it can get bulky.

- Flip the lining right side out. Understitch the lining of the bag with matching thread, so it lays nice and flat. For the tutorial I used different color thread so you can see it.

- Topstitch around the top of the bag using a 1/4″ seam allowance and matching thread. Once again I used contrasting thread so you can see it. On my finished bag I didn’t stitch over the stripe webbing, because you would have been able to see the white thread. I started at one side of it and stitched all the way around to the other edge and stopped.

- *This next step is optional if you would like to make a bottom for your bag so it doesn’t sag when you fill it up. Cut a piece of a plastic cutting board to fit the bottom of the bag. Cut some of the fusible fleece to match the size of the cutting board. Fuse the fleece to each side of the cutting board. I ran out of fleece so I used some thin foam I had in my stash, and stitched it to the cutting board. It doesn’t look pretty but that’s okay. No one is going to see it. Insert it in the bottom of the bag inside the lining, and stitch closed .

- Next insert the grommets. I put mine 4″ from the center of the bag and 1/4″ down from the top of the bag. Be careful not to insert them too far down on the bag. If you do your handles won’t fit right and will rub along the top of the bag. If you’re unsure how to install grommets check out youtube. There are a lot of quick, easy tutorials.

- Attach bamboo handles.

DONE! Now you have the perfect summer tote bag!
If your not into sewing you can check out similar Clare V. and Mark & Graham bags here, here (I think I’m going to make one similar to this for fall), and here.
Don’t forget all Roxbury Place bags are 30 % off all this week! on sale this week! Pick a red to complete your 4th of July outfit.
Thanks for reading. Enjoy the holiday week, and HAPPY 4th OF JULY!