Ever notice how the best bags are the ones that make life a little easier? That’s exactly what a flex frame purse does. With its clever snap-shut design, it keeps everything secure and saves you from fishing around at the bottom of your bag. The best part? They’re simple to sew, endlessly customizable, and just plain fun to use. Once you’ve made one, you’ll be snapping it open and closed like a pro—and probably planning your next. Ready to give it a try? Let’s dive in and learn how to make a flex frame bag step by step.
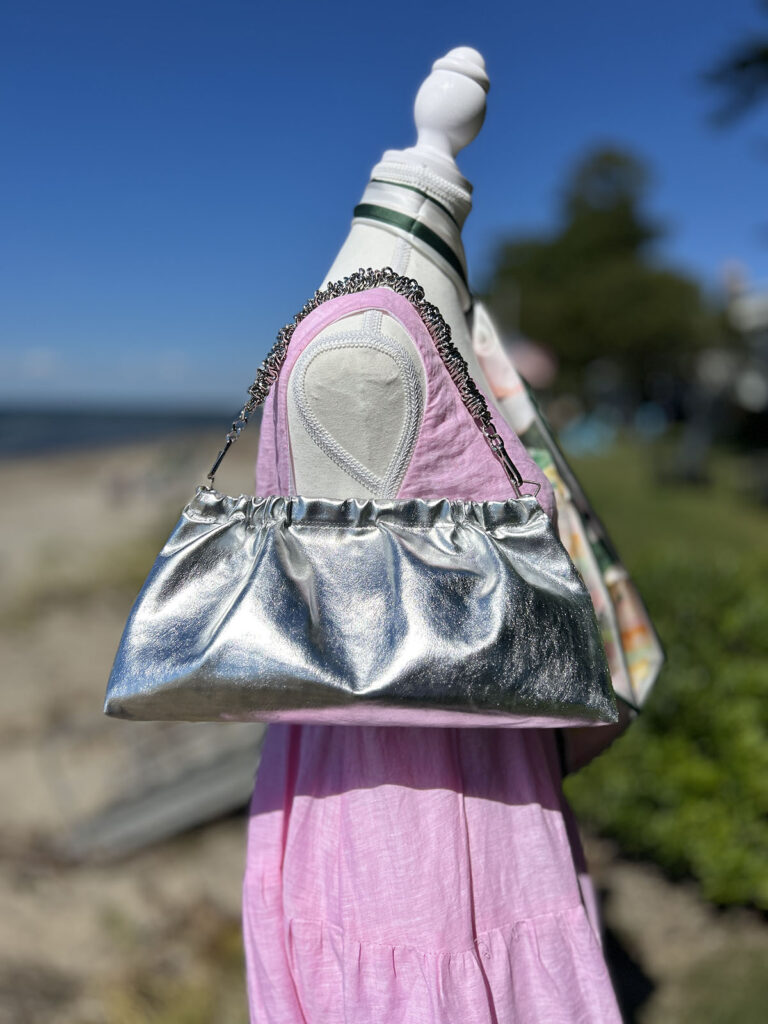
I picked up these flex frames a while back, and they’ve quickly become my go-to for this kind of bag. The nice thing about this style is that it gives you the option to add a strap which makes the purse even more versatile. You can buy frames without the strap option, but since the price is about the same, I’d say go for the ones with it. If you’re new to sewing, this flex frame bag tutorial will guide you in creating a polished, professional looking purse without stress.
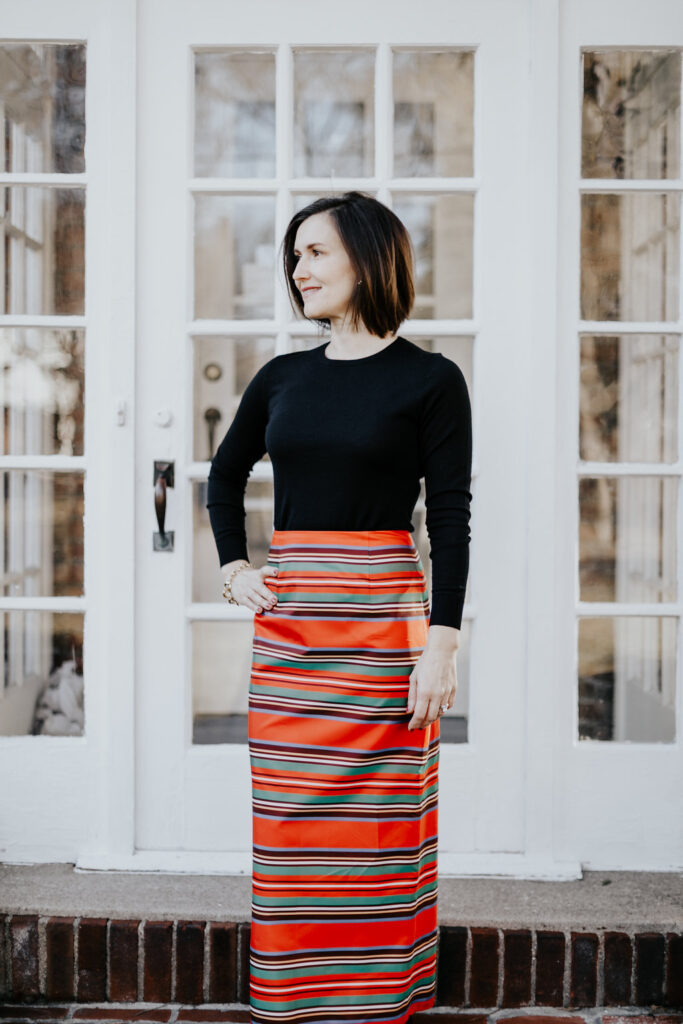
I found mine on Etsy in two sizes: 10″ and 12″. I grabbed one of each to try out, and liked the results so much I immediately ordered a couple more. If you’re curious, you can check out the other bags I made in the posts linked below. This is a great starting point for anyone interested in a DIY flex frame purse project.
Now gather your supplies, and I’ll walk you through how to make a flex frame bag step by step. If you’re in the mood for more bag projects, check out my other tutorials below for when you want a quick win or a weekend make.
Additional Bag Tutorials
Step-by-Step Guide: How to Make a Flex Frame Bag
Supplies for Your Flex Frame Bag Project
- Fabric
- Flex frame (essential for your handmade frame bag)
- Purse strap
- Rotary cutter
- Clips
Optional Supplies – Bag Bottom
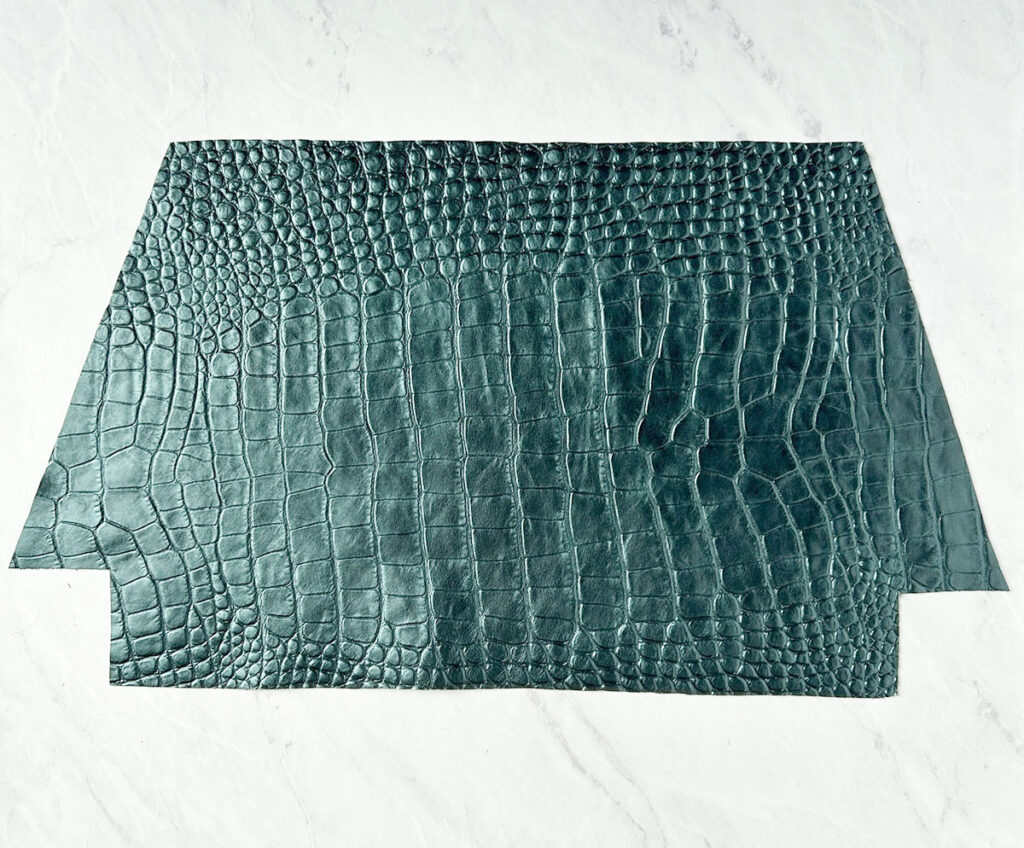
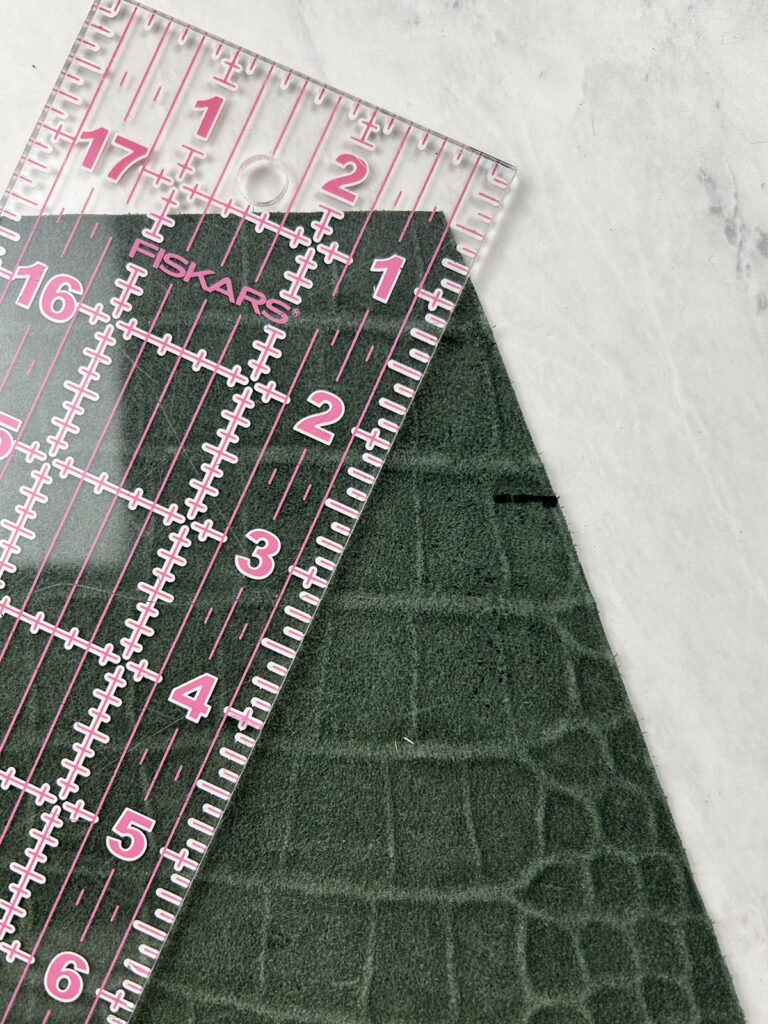
Body of the Bag – Cutting Your Suede
You’ll see in this tutorial that this is not my silver bag. I made this bag for my mom as a gift before I made the silver one. For this bag I used the smaller 10″ frame (same as the silver) and cut my faux leather using these dimensions. When cutting faux leather I always recommend using a rotary cutter.
- Top – 13″
- Sides – 8.5″
- Corner notches – 2″
- Bottom – 14.5″
Once you cut your main body of the bag, measure down 2″ from the top and draw a line 3/8″ long on each side. Cut along the line, fold inward, and secure with clips.
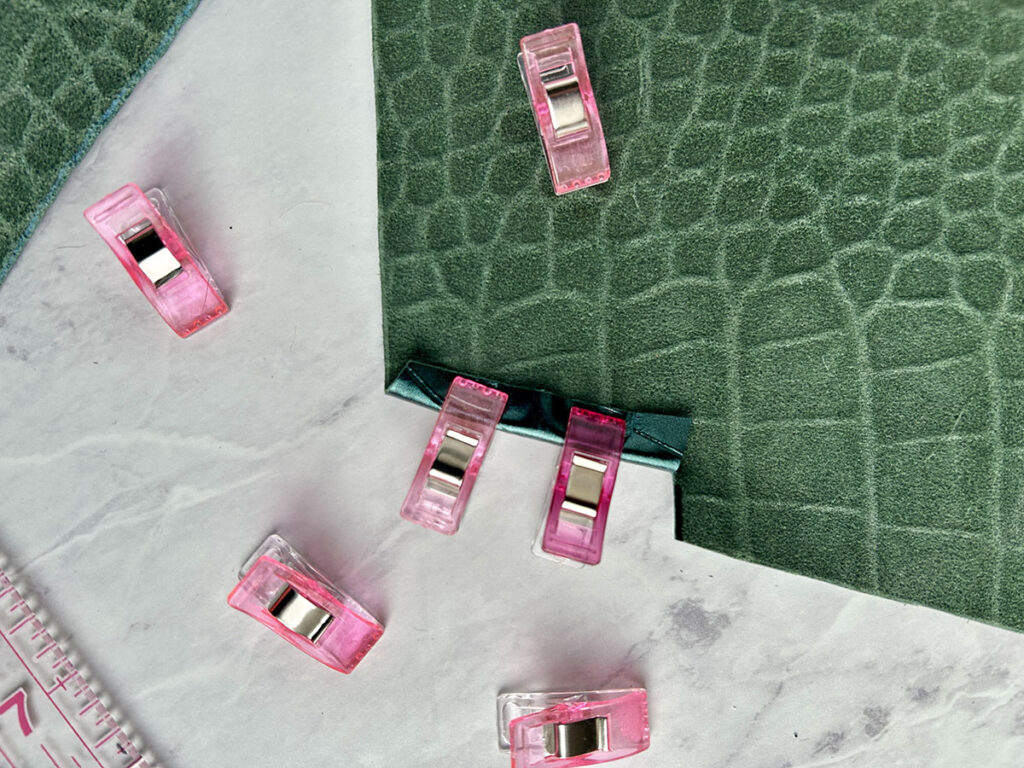
Stitch using a 1/8″ seam allowance. I recommend using a leather needle in your machine and a non- stick teflon presser foot. It makes seeing faux or real leather alot easier, and make your flex frame bag look more professional.

Next fold over the top of the bag, pin with clips and sew the channel you will insert the flex frame into.
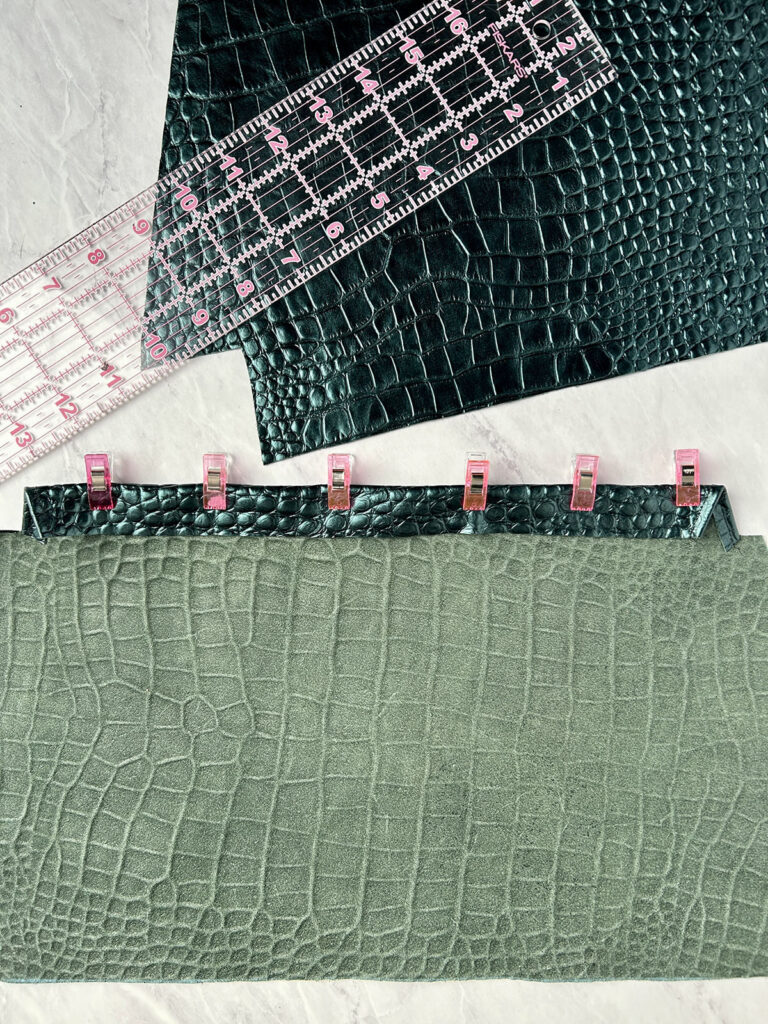
Now you are going to clip the two pieces of the bag together right sides facing at the sides and bottom of the bag and sew with a 3/8″ seam allowance. Apologies I didn’t take a picture of this.
Pinch the corners together and stitch again with a 3/8″ seam allowance. Due to the thickness of the leather you won’t be able to sew over where all four seams meet. Sew as far as you can then secure the center seam with super glue. Following these instructions will make your flex frame handbag project sturdy and polished.
Putting it All Together – Installing the Flex Frame
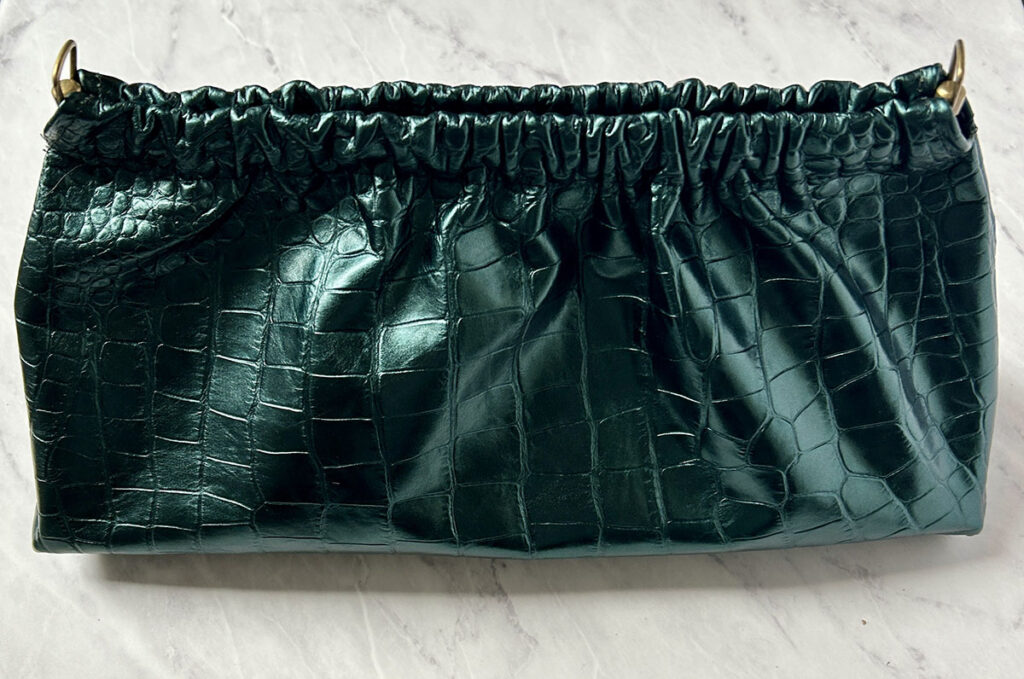
You can see I made the top of the bag pattern longer than the actual frame. Then when I insert the frame it gives it a ruched look which I like. Be careful when choosing your fabric. If it’s too stiff you won’t be able to ruche it. I speak from experience!
Now it’s time to insert the flex frame. Unscrew the small washer on the bottom of one side of the frame. The two halves of the frame will separate. Slide one side of the frame into each of the channels you sewed on the top of the bag.
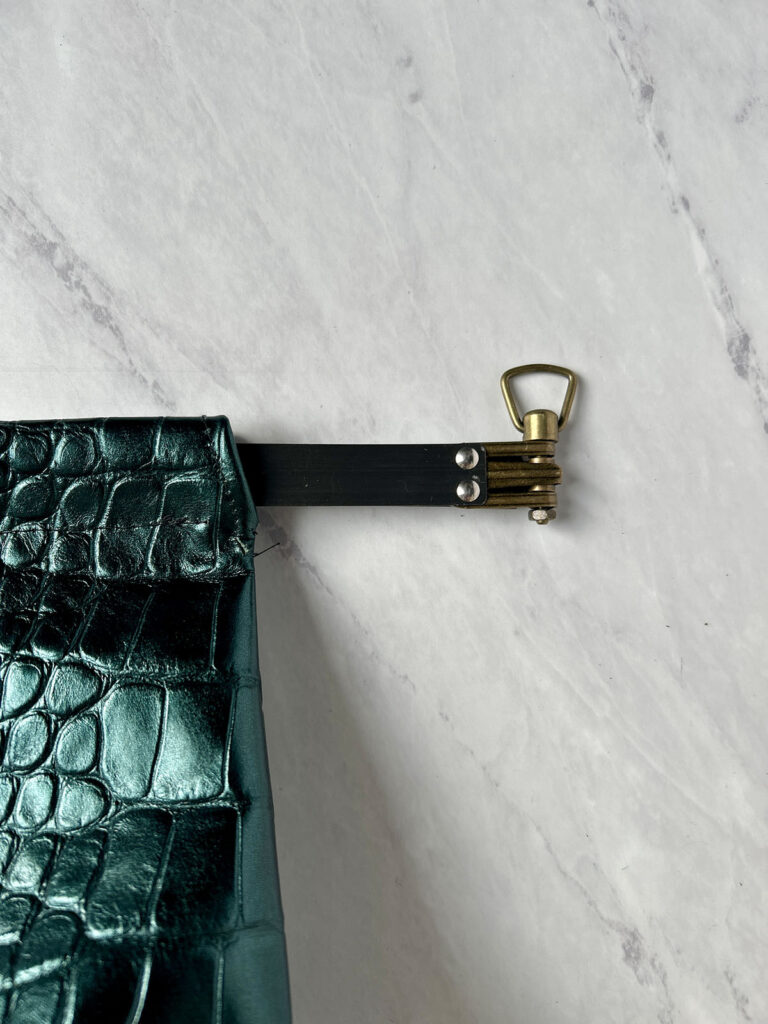
Once the frame is all the way through, insert the pin and tighten the screw. You want to give it a twist with a pair of pliers just to be sure it’s secure. This is what it will look like when the frame is all the way in.
This next step is optional but I highly recommend it. Otherwise when you put everything your amazing flex frame bag the bottom will look saggy, and that is the last thing want after you made you gorgeous flex frame bag.
Creating a Bag Bottom
Listed at the top of the post are the items you need to make your bag bottom. I make a bottom for almost all the bags I make. They just look nicer when the bottom is not sagging.
Measure the bottom of your bag from side seam to side seam. If you used the same pattern as I did, it should measure 13″ x 4″.
Mark and cut this measurement a half size smaller than the actual bottom of the bag. Next trace the measurements on one of your cutting boards and cut. . Then wrap a piece of your fleece fabric or foam around the cutting mat and sew in place. I recommend using a leather needle for this.
Now do the same thing and wrap the coordinating fabric around the fleece-covered cutting board and fold the edges to one side. Clip the coordinating fabric in place. Using a 1/4″ seam allowance, sew all the way around.
Insert the bag bottom into your bag and you will no longer have a saggy bottom.
Final Thoughts
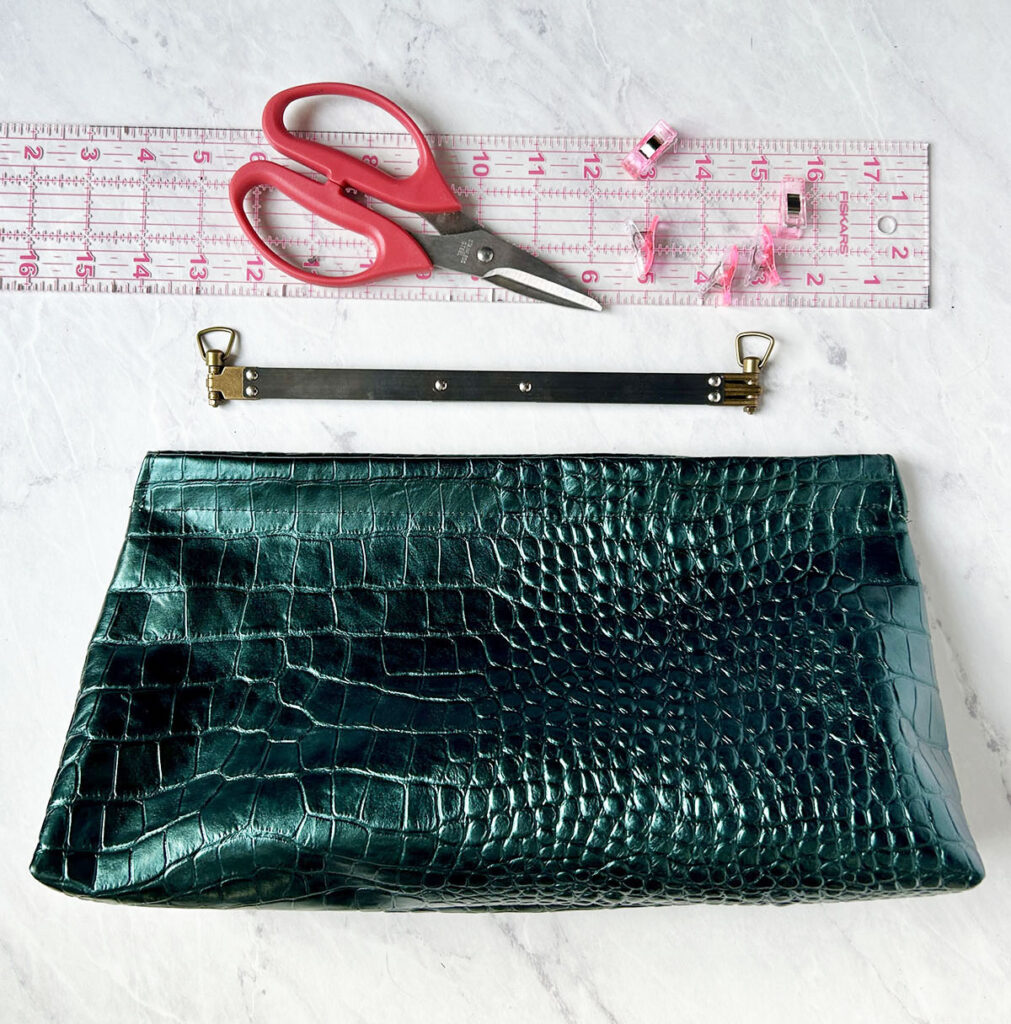
Attach a strap and you’re all set. This is the fun part of any DIY flex frame purse seeing your bag take shape! I made this one in addtion to a few more. Keep an eye out I’ll share them in some future posts.
Until next time!