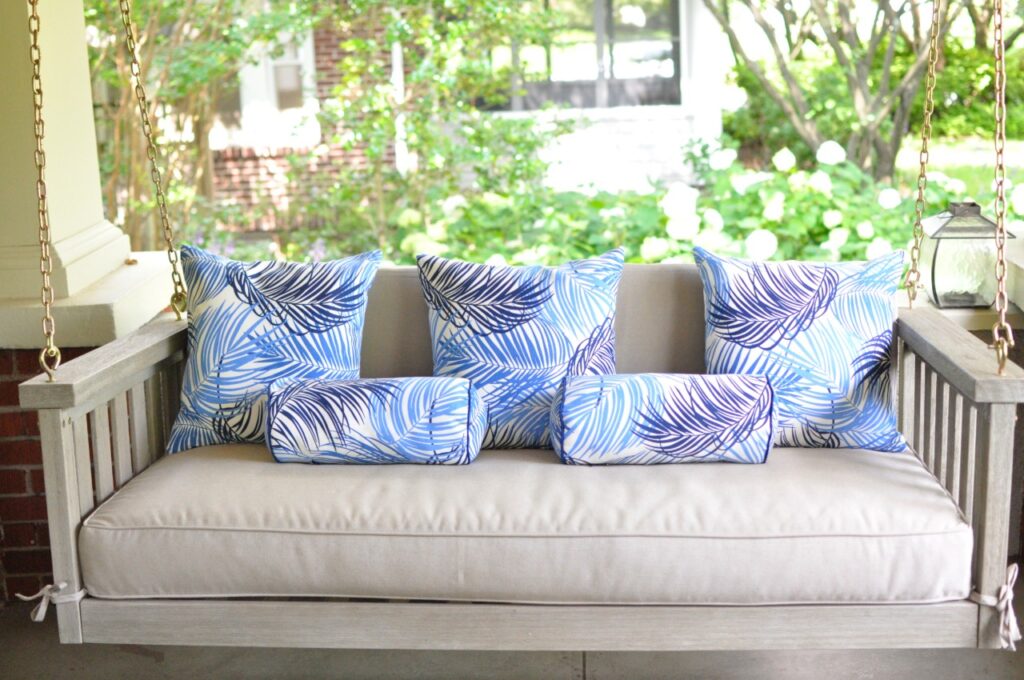
Last summer we moved into a new house that has a front porch. The first piece of furniture we bought for the space was this porch swing (currently on sale!) and it was by far the best piece of furniture we purchased for the space. You can read the post here. The swing came with a seat cushion and various throw pillows and bolsters. The only problem is that they were all white, AND there was no way to take the covers off to wash them. By the end of the summer they were filthy. So this summer I added a back cushion (at the request of my hubby) and updated the throw pillows. Today post will show you just how easy it is to sew a pillow cover!
First things first. The cushion on the bottom is the original cushion that came with the swing, but I had it recovered was by someone else. The weather was getting warm and I was in a bit of a time crunch and i had never made a box cushion before, so I took the easy way out and had it made. However the, back cushion, throw pillows and bolsters I covered myself.
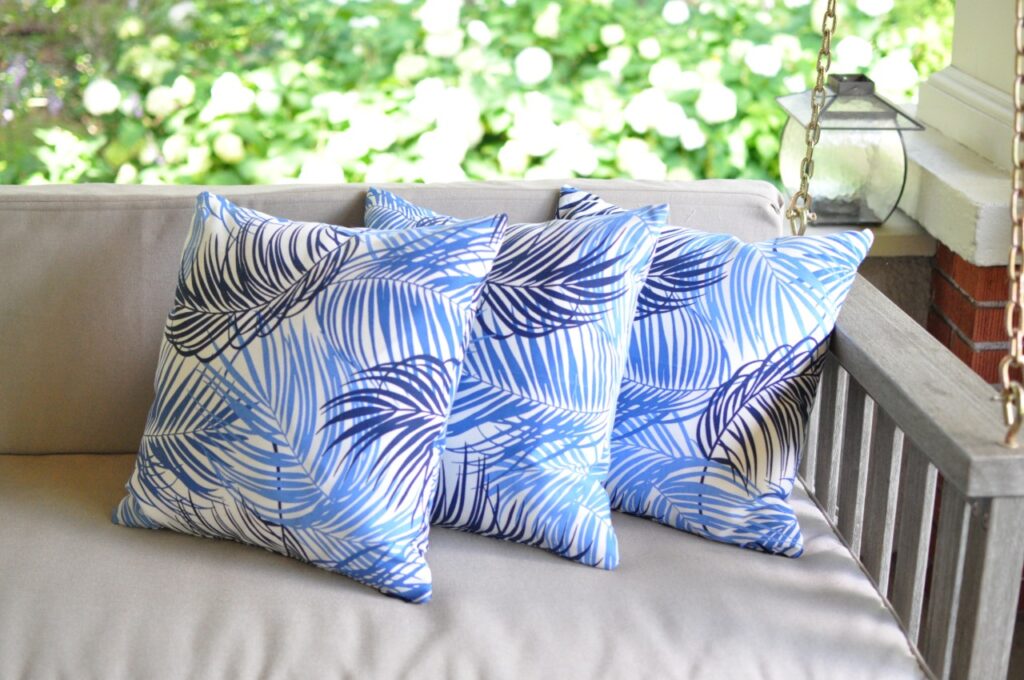
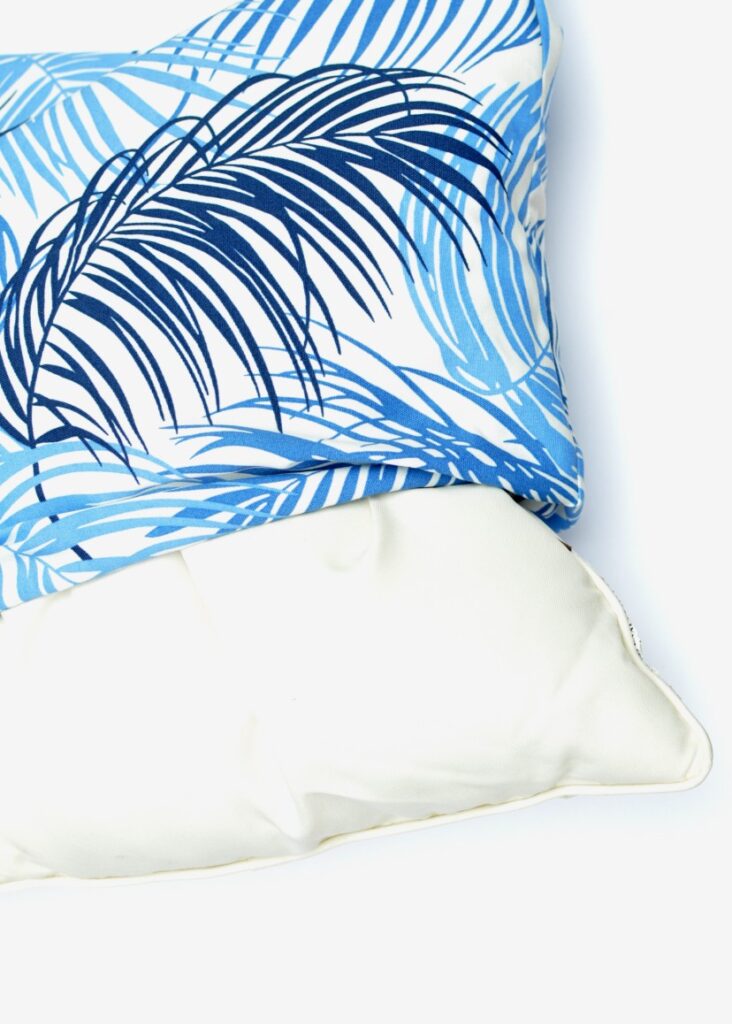
When I made the pillow covers for the throw pillow last year I used this great Tommy Bahama blue and white palm print material. Even though it is described as indoor/outdoor fabric it didn’t do so well on my porch. Unfortunately, the fabric faded. I recommend using fabric that is described as outdoor fabric only. That is why I am making new pillow covers. As a side note Sunbrella fabric is always a great option for outdoor cushions, but can be pricey, however they will last forever.
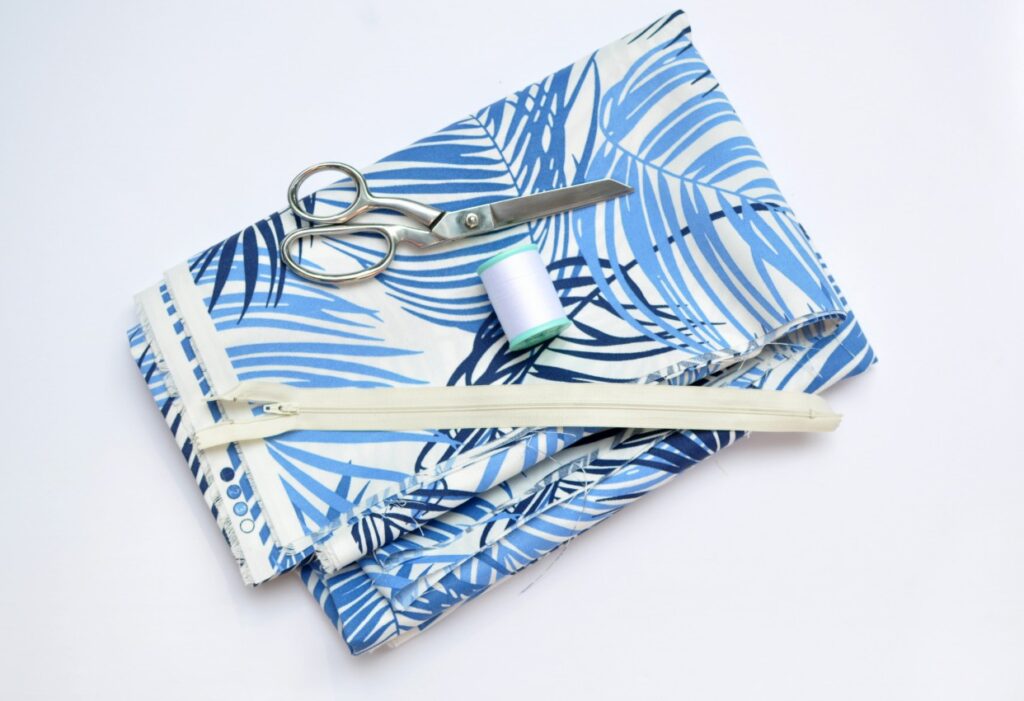
How to Sew a Pillow Cover – Materials
- Fabric – Make sure it’s outdoor fabric
- Zipper – 2 inches shorter than the length of the pillow form
- Pillow insert
- Matching thread
- Scissors
- Sewing Machine
How to Sew a Pillow Cover – Instructions
The first thing to do is measure your pillow. Most throw pillows are square shape. Mine happen to be 18″ x 18″.
Cutting your Fabric
When you cut your fabric, you want to cut it a half inch smaller than the size of the pillow. Since my pillows are 18″ x 18″ I cut my fabric 17.5″ all around. If you cut the fabric the same size as the pillow form the pillow won’t be very poufy. By cutting it a half inch smaller the pillow will look nice and plump when you put the pillow form in.
I cheated a little when I made my covers the first time. Usually you cut out two pieces of material the same size and sew them together. For these I cut one piece of fabric and folded it at the bottom. This way I only had to sew three seams per pillow instead of four. When making the new pillow covers, I just traced the old pillow cover. If you choose to do it this way you still need to cut the fabric a half inch smaller around. You will still get a nice plump pillow.
Sewing the Zipper
After you cut your fabric the next step is to sew the zipper. Not to worry it’s very easy.
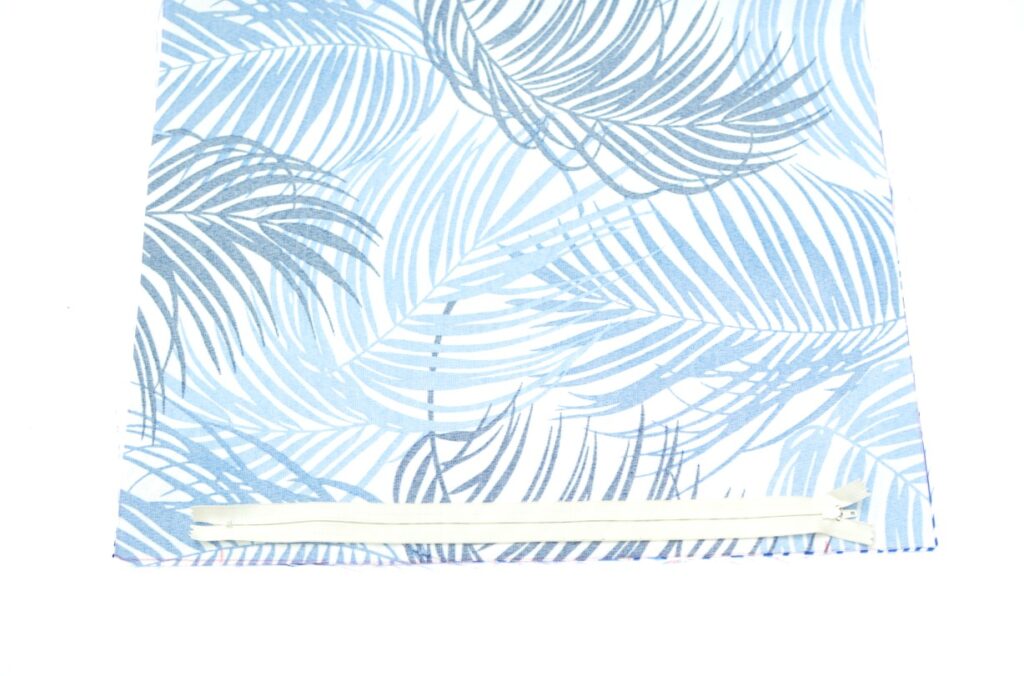
If you chose to cut one piece of fabric for your pillow instead of two you will need to fold the fabric in half with the right sides facing. Lay your zipper along the top of the fabric and mark where the zipper begins and ends on the fabric. It’s a little hard to see, but I marked my fabric with a red pencil. These two marks will be the length of where the zipper can be opened and closed.
After you have made your marks, remove the zipper and pin the fabric together with right sides together.
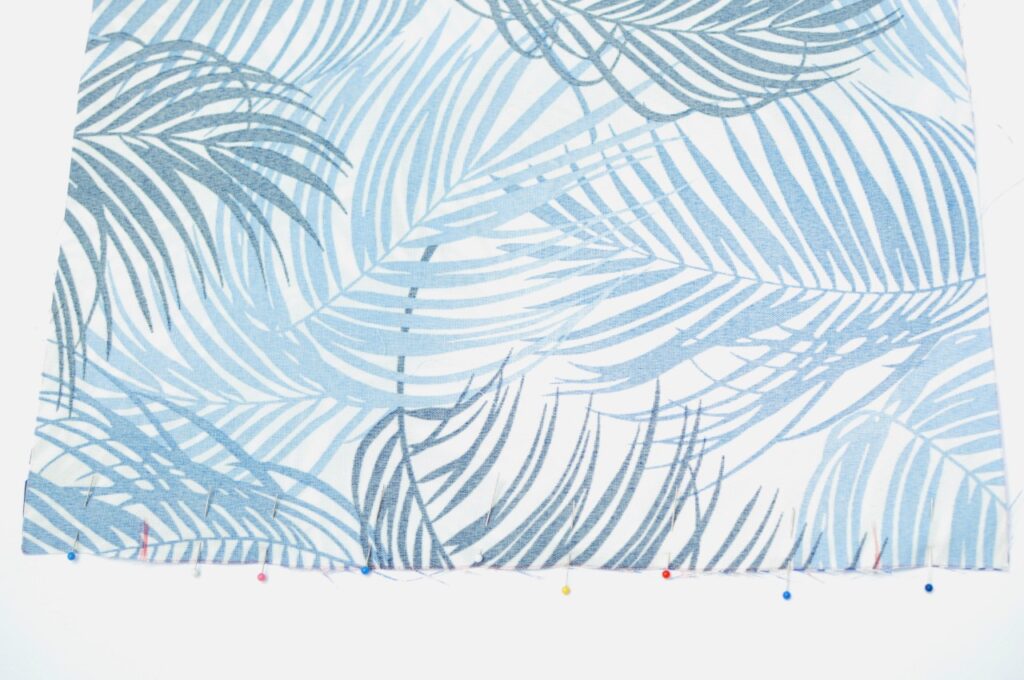
Using a half inch seam allowance, sew using a regular stitch length (about 3.5) until you reach the mark where your zipper starts. Remember to back stitch at the beginning of the seam. Then switch to the longest stitch length and continue sewing until you reach the mark where the zipper ends. Then, go back to a regular stitch length until you reach the end of the fabric. I recommend back stitching a few times at each zipper mark.
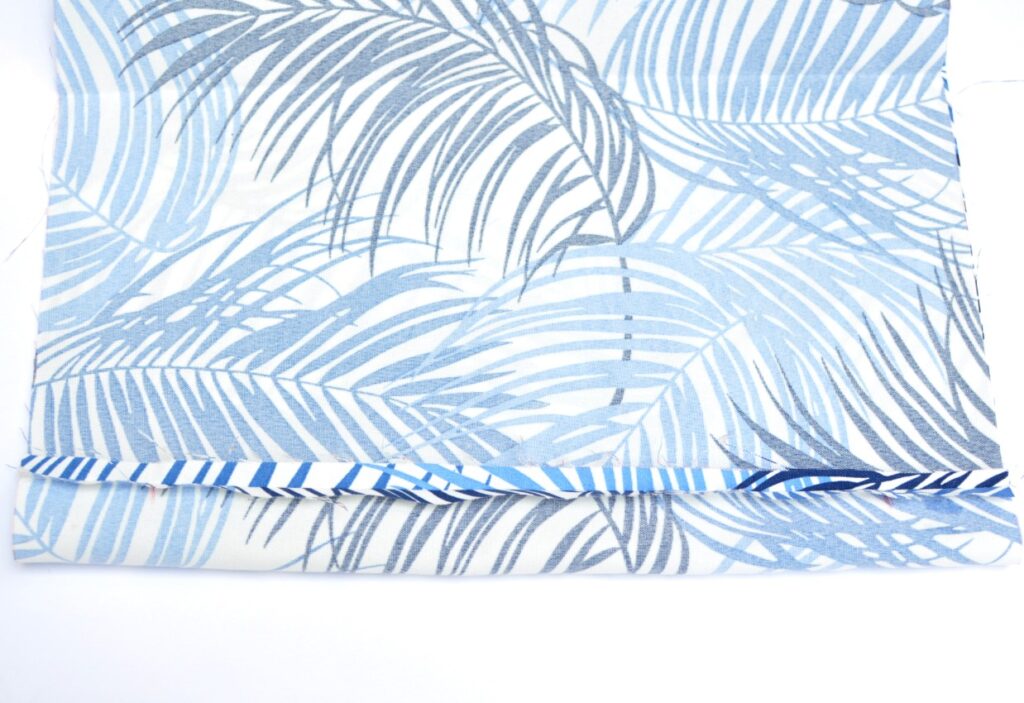
Now, open the fabric and press the seams. Next, you are going to lay the zipper face down over the seam you just ironed making sure to place the zipper teeth right down the center of the seam. Clip or pin in place.

Using a zipper foot, stitch all the way around the zipper being sure to back stitch. Using a seam ripper, carefully remove the stitches inside your stitching.

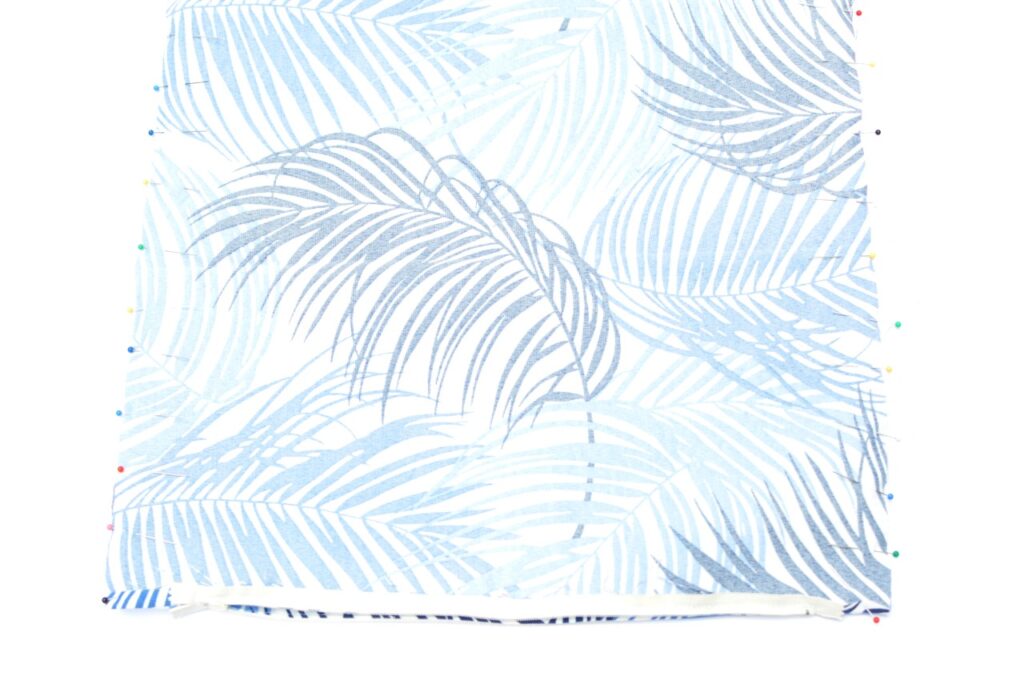
Next, pin and stitch closed the remaining sides using a half inch seam allowance.
Turn your pillow cover right side out, stuff your pillow form in and zip it up!
Ta da! How easy was that?! Now you have a fabulous new pillow cover! I put a small piece of navy ribbon on the zipper pull of mine to make it a little easier to open and close it.