Have you ever heard the statement “if you find something you like buy it in every color?” That is sort of what happened with the statement sleeves on the tops I made in this week’s post.
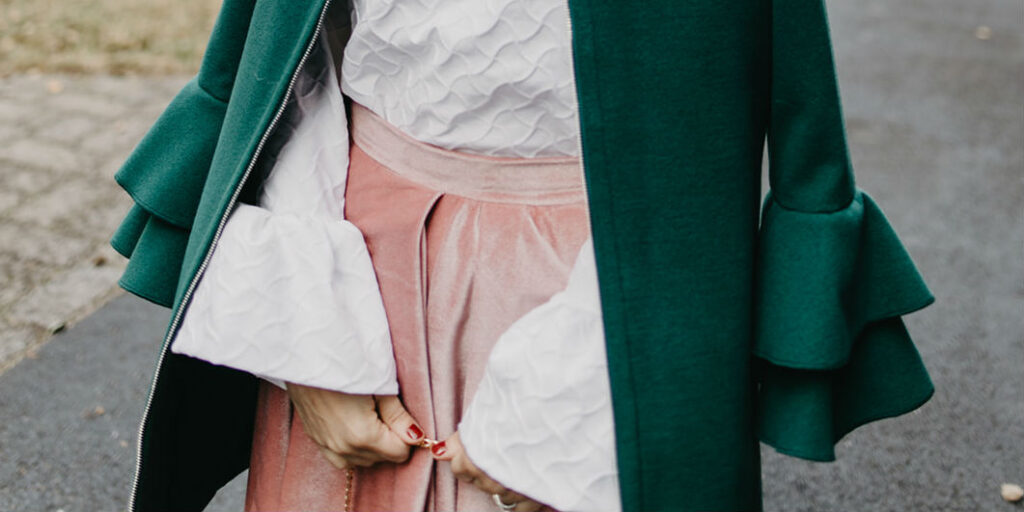
Statement sleeves are everywhere right now. It seems the bigger the better is true when it comes to these trendy shirts with the exaggerated sleeves. This week I’m going to show you how I made these two shirts and how simple it is to make your own. But, before we go any further, I want to tell you I did not make the green coat in the photo above, only the white shirt. However, I love the way the sleeves lay on top of one another. It’s almost as if they were designed to be worn together.

Statement Sleeve Pattern
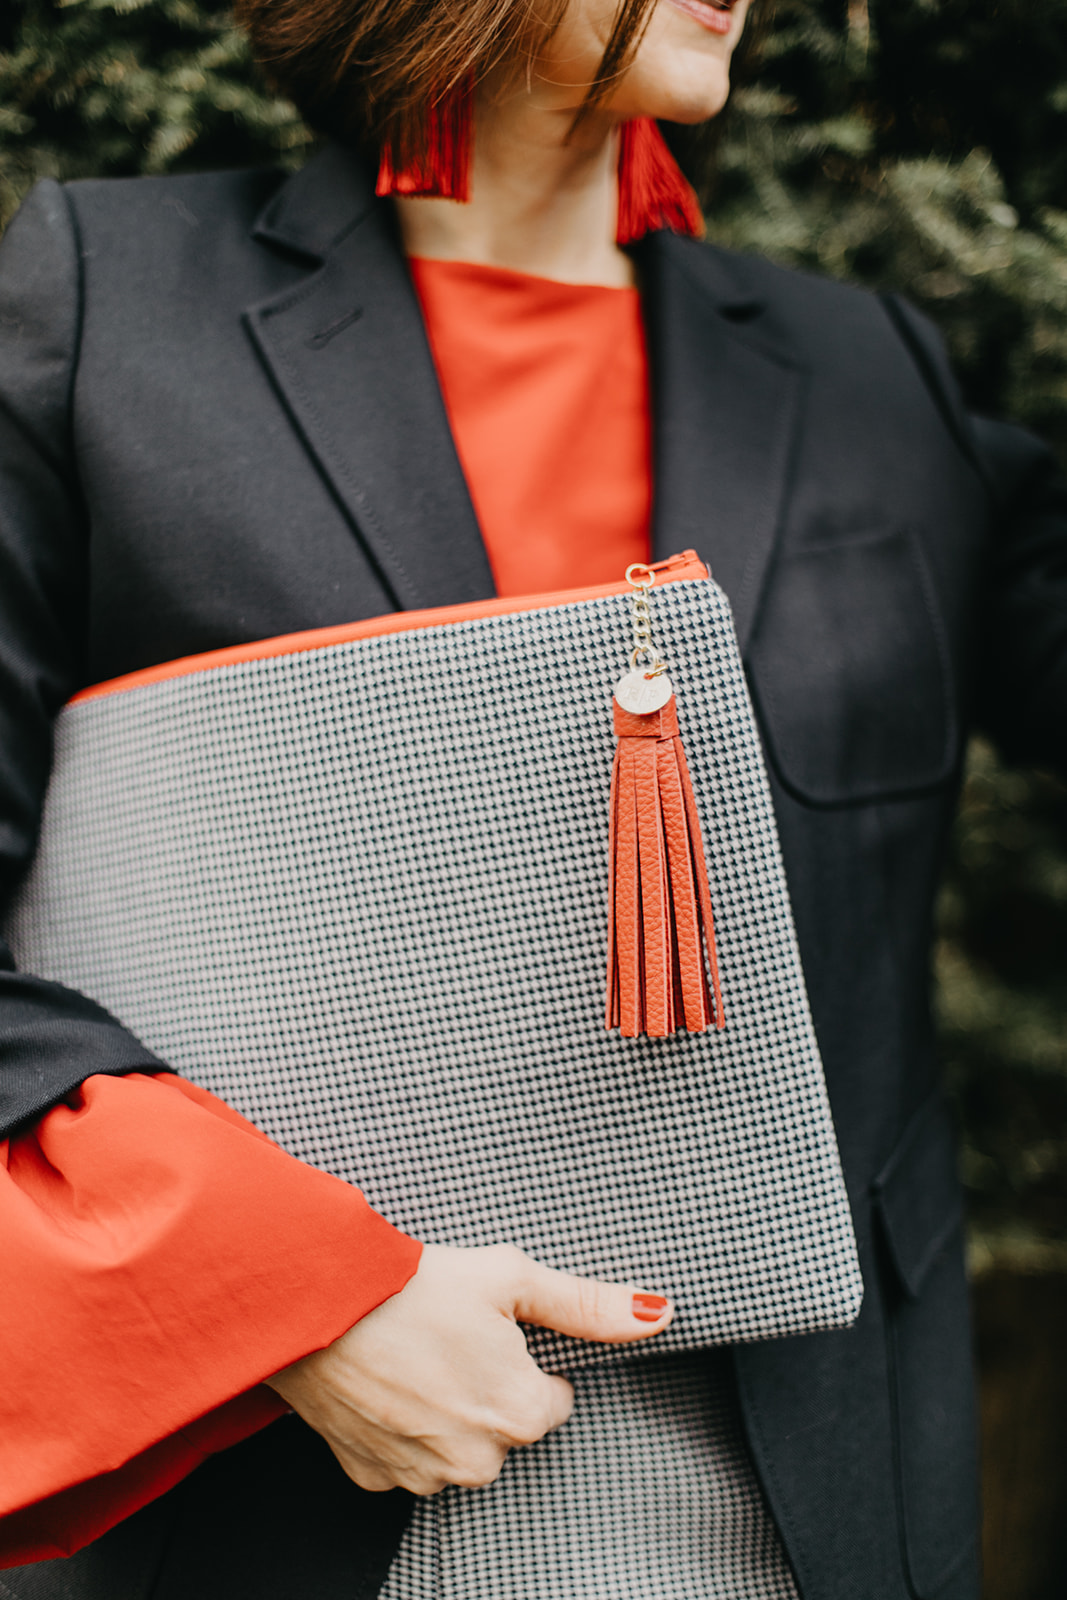
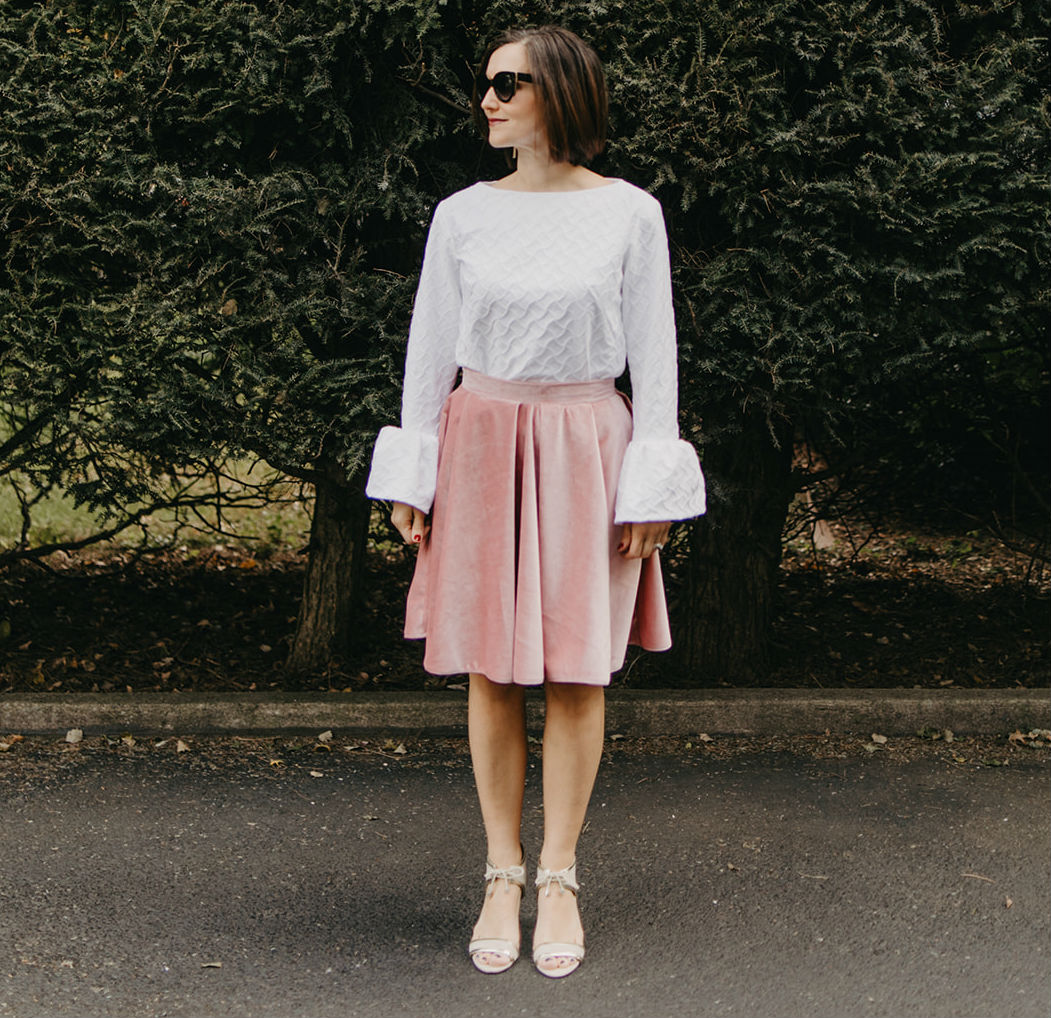
When I saw this designer version of this shirt, I realized it wouldn’t be too hard to replicate. I used a re-issued vintage Simplicity pattern 1364. It was very easy to make and it’s a great classic cut. I’m a big fan of the boat neck neckline. It’s very retro. You don’t find a lot of off the rack tops or dresses with this cut. I’m not sure why because it looks great on everyone. I loved the look so much I made two of the same shirt, one in white denim and one in red rayon. You can see the original posts below. Both shirts turned out so great that I’ve already made a third version without the cuffs. Stay tuned for the post.
Sewing Pants and Why I avoided Making Them for So Long
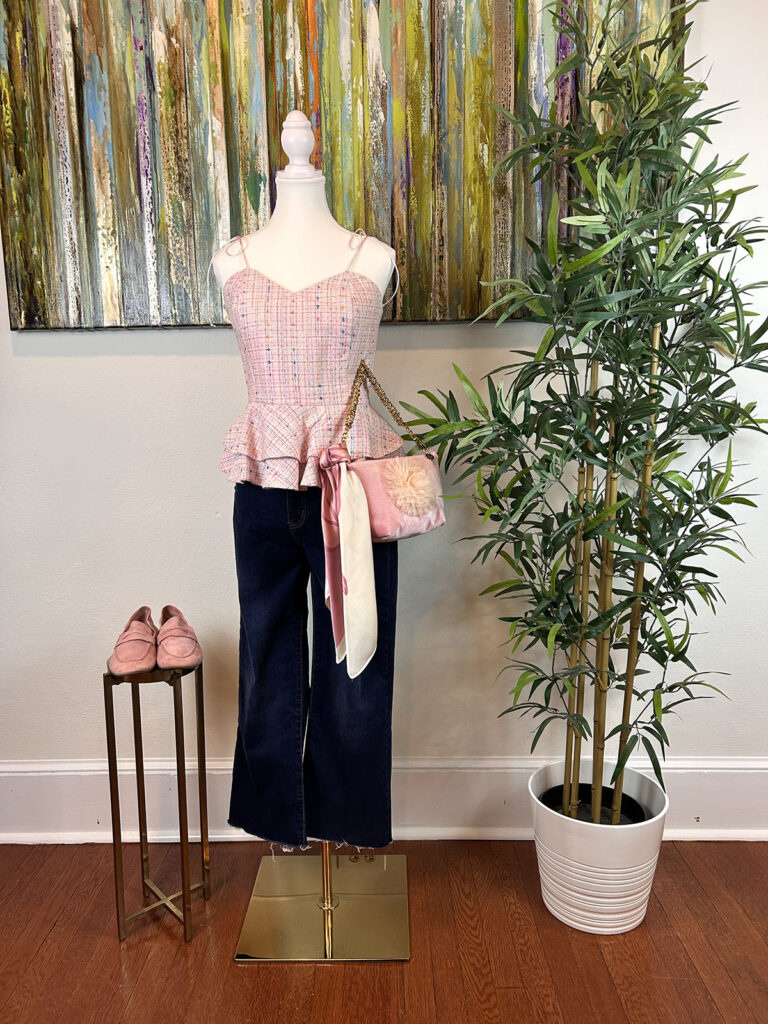
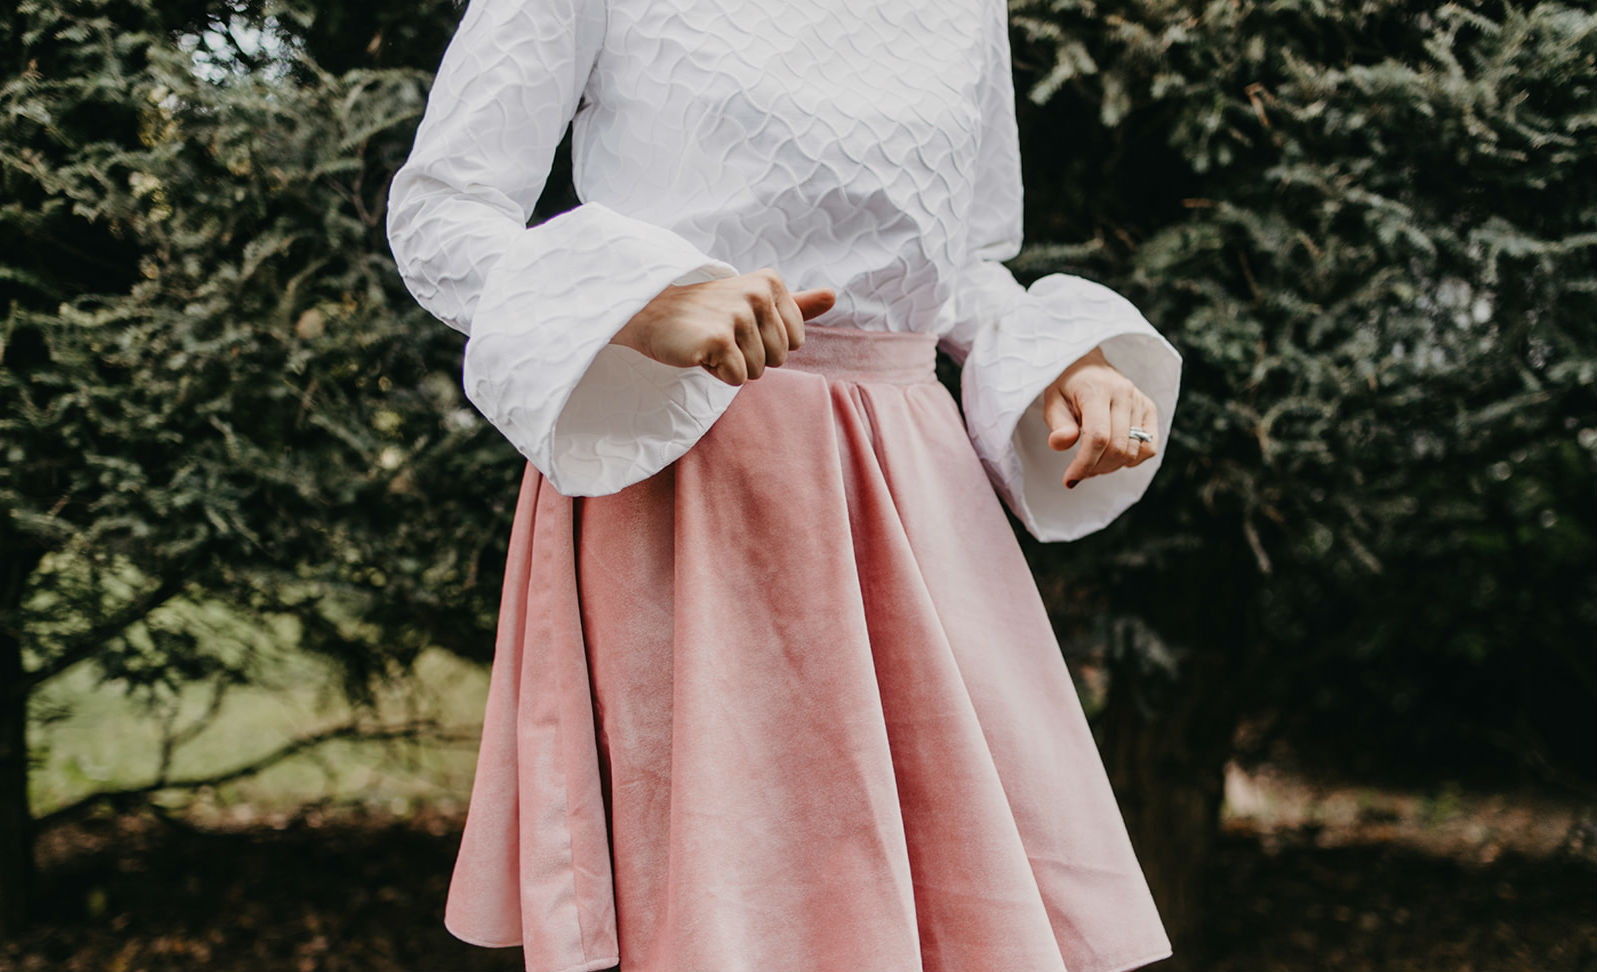
Pink Velvet Skirt – I accidentally Sewed it Backwards

Statement Sleeves Fabric
I bought the fabric for both of these shirts at Joann. To be honest I buy a lot of things at my local Joann but not usually fabric. In my opinion it’s either over priced for what it is, or the quality isn’t great. However, that is not the case with these two fabrics. I spotted the white denim and actually made a special trip back just to buy it. Unfortunately it’s not available online. It looks like you can only get in stores. I had trouble linking the red fabric, but you could use any rayon or challis fabric to get the same look.

Statement Sleeve Oversized Cuff
The cuff was very simple to make. I cut a piece of fabric 10” by 22”. I folded it in half with rights sides together matching short sides of the fabric and sewed it together. Next, I pressed the seams flat and flipped it so the wrong sides were facing and folded it in half. Then, I sewed a basting stitch around the top. Next, I gathered the top until it fit inside the sleeve. I then put the sleeves inside the cuff right sides together and stitched around the top. The last step is to flip the cuffs down and press. Be sure to go slow while sewing the cuffs to the sleeves. You are sewing a lot of fabric together so take your time.
If you want a less dramatic cuff, you can always make shorter. If you made it 10″x 18″ it would be easier to sew but the cuff wouldn’t be as dramatic.
Since rayon is a soft fabric I used some lightweight interfacing in the cuff so it didn’t look floppy. The denim fabric was stiff enough that I didn’t need to do it on the white version.

Here you can see the entire shirt.
That’s it for this week. I hope you enjoyed today’s post. As always if you would rather buy than DIY you can shop similar styles below.
Thanks for reading! Hope you are off to a great week!
Photos by – Chloejane Photo + Film