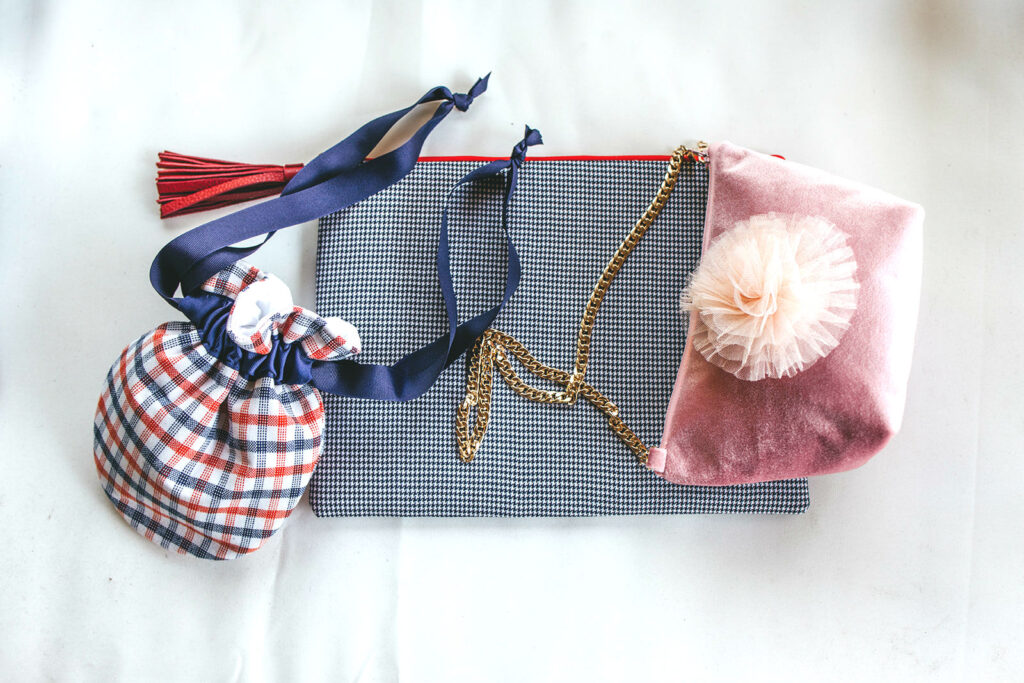
If you are a frequent visitor to the blog you would know that I love handbags. Hello, my name is Melissa, and I am addicted to handbags. Yes that’s me, but I’m okay with it. I sewed up a bunch of new outfits in the last few weeks and I made a matching bag for each of them. This week I’m going to talk about the three new Winter handbags and how to make them. If you would like to check out the original posts you can read them below:
Navy and Orange Wool Plaid Skirt and Matching Drawstring Bag
Pink Velvet Skirt – I accidentally Sewed it Backwards
Sewing Pants and Why I Avoided Making Them for So Long
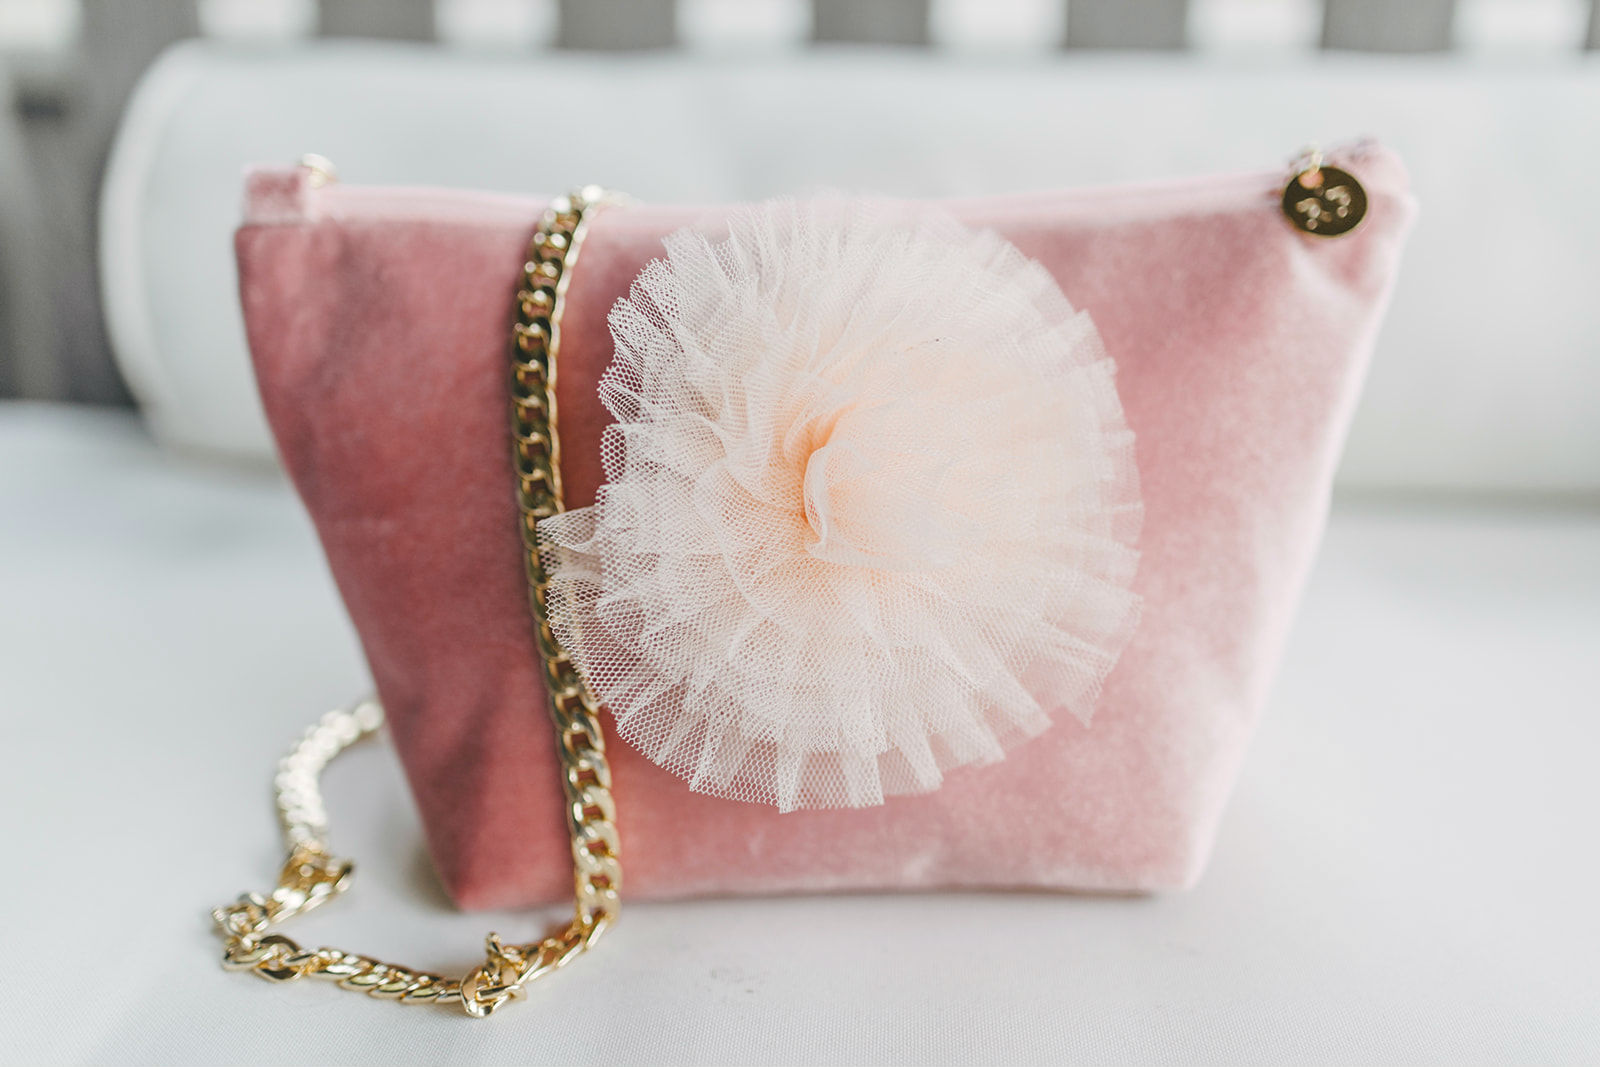
Pink Velvet Shoulder Bag
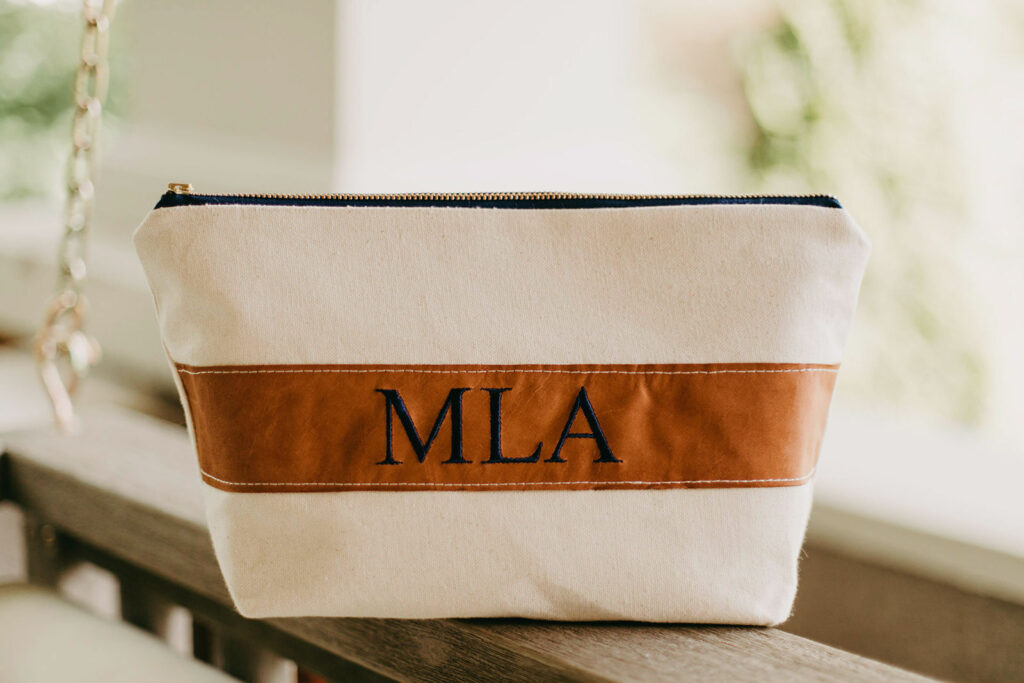
First up is this cute little pink velvet shoulder bag. I drafted my own patter for this. You can read my tutorial for how to make this here – DIY Monogrammed Mark & Graham Canvas Cosmetics Bag. It’s about the same size as the pink velvet one. The only difference is that I attached a chain strap. You can read my tutorial on how to attach a bag strap here. Jump down towards the end of the post. It’s one of the last steps – Green Leather Crocodile Tote Bag New Season New Bag. I also added the tulle flower pin. I didn’t make the pin but there are a lot of tutorials out there about how to make them. My plan is to make some of my own at some point. I think they are stylish and elevate the look of the bag.
Fabric – Pink Velvet Shoulder Bag
I bought this fabric from fabric.com. It’s upholstery fabric, so it’s thicker than most garment fabrics, which makes it perfect for handbags. It also doesn’t really fray which makes it very easy to sew. This little cutie is just the right size to hold all the essentials plus a few extras. The best part is that the strap is removable and you can carry it as a clutch. Win Win!
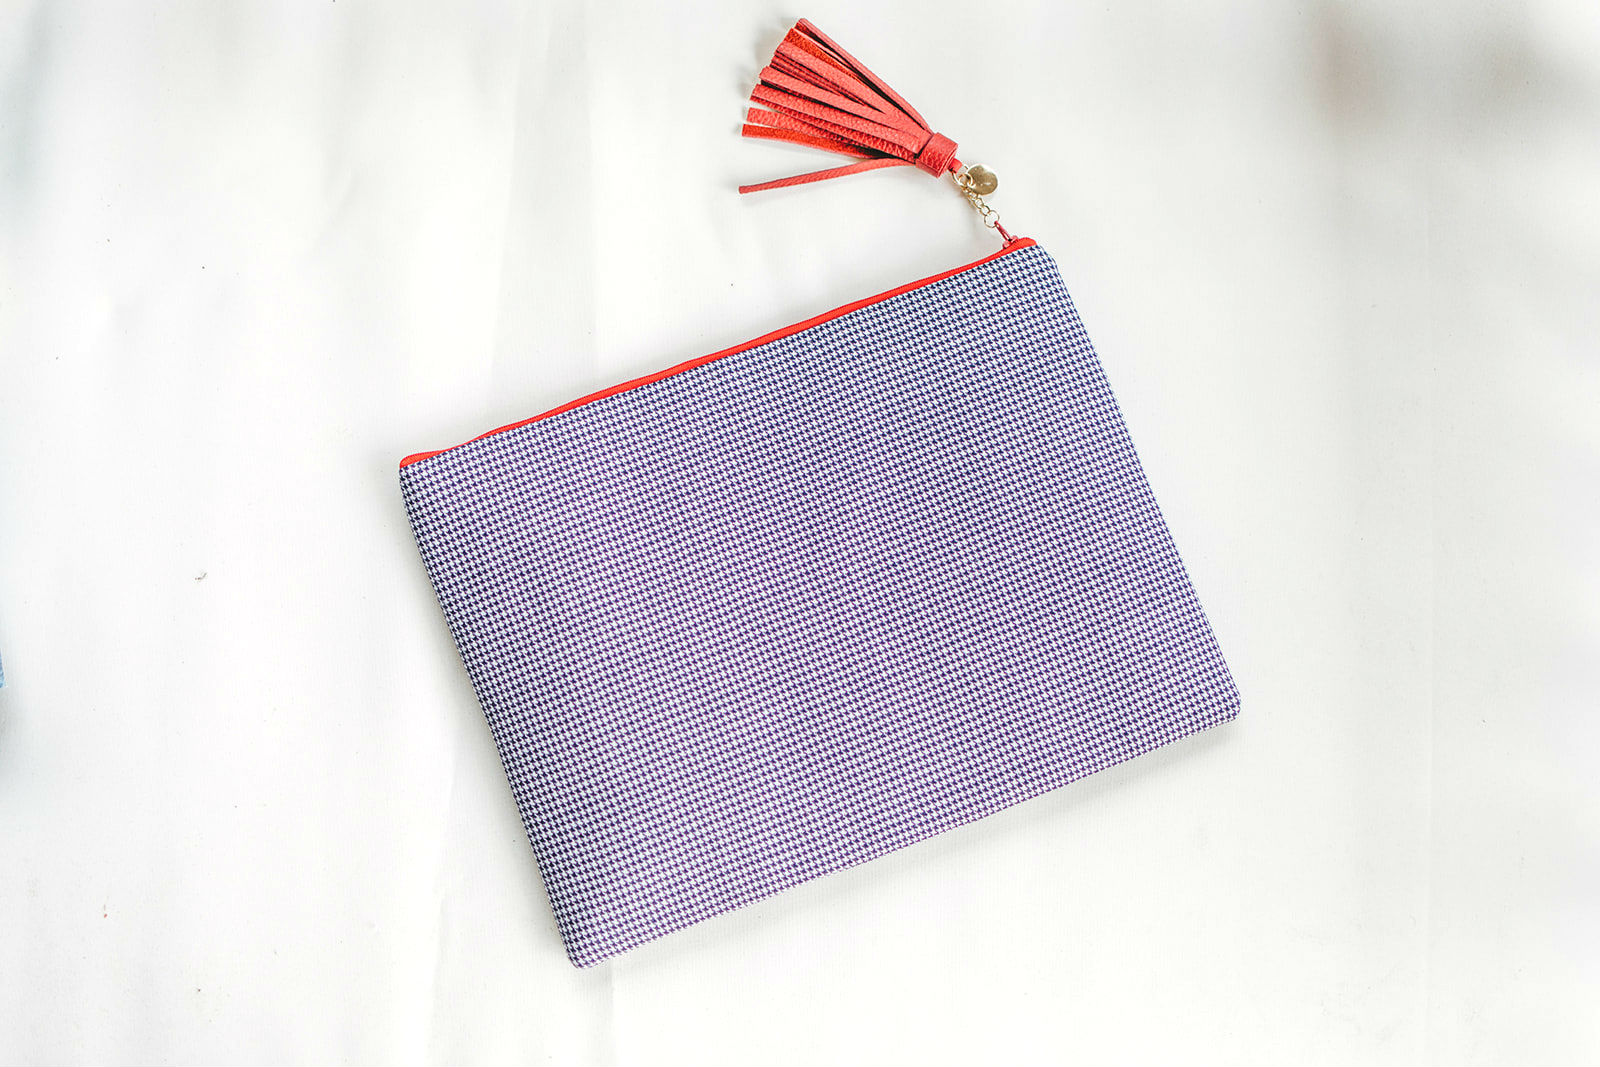
Navy and White Wool Hounds Tooth Wool Oversize Clutch
This bag turned out great! I have never sewed a bag with wool fabric but I have seen plenty of them and I really like them. Now that the weather is turning cold and it’s snowing, (yes it has already snowed here in the Northeast in case you hadn’t heard), now is the perfect time to break out the wool fabrics! Not only is this a great big clutch that can hold all of your stuff, but I also sewed a layer of thin foam into the lining. That means it can double as a tablet/laptop case. I’m all about making things that are versatile and can do double duty. If you are going to take the time to make something why not get as much use out of it as possible? Am I right?
If you are interested in make a clutch of your own, you can read my How to Make a Simple Clutch tutorial here. The only adjustment you need to make is instead of using the fusible fleece you use fusible foam. You can find it at Joann’s.
Fabric – Navy and White Wool Hounds Tooth Wool Oversize Clutch
I bought this fabric on Etsy. It’s one of my favorite places to buy most of my sewing/craft supplies, especially wool. I like classic colors and simple plaid patterns when it comes to wool and Etsy has the best selection, by far. Not only did I find the wool I used for this bag on Etsy, but I also found the navy and orange plaid wool fabric I used for the next bag.
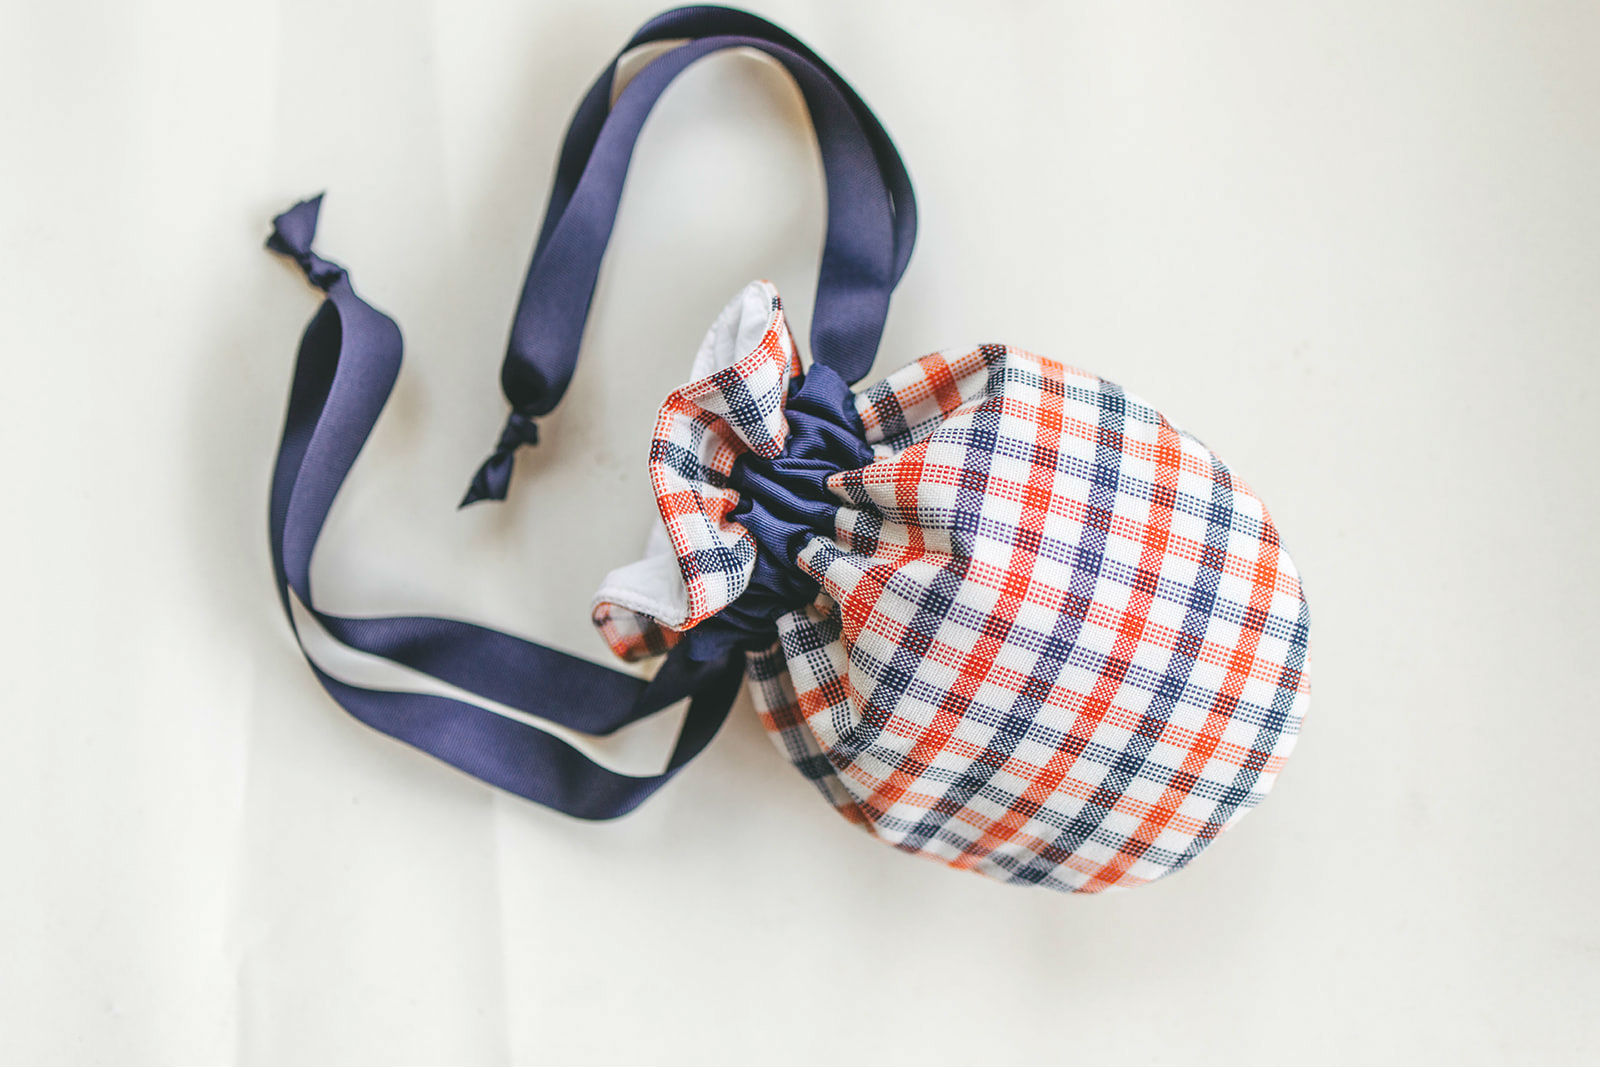
Navy and Orange Wool Plaid Drawstring Bag
I saved the best for last! Don’t get me wrong, I like all the bags in this post, but I love this little drawstring one the best. I made this using a vintage Vogue pattern 1981. It’s funny because the style of the pattern is definite from the 80’s and it makes me laugh that the pattern number matches the decade. It also makes me laugh that anything from the 80’s is considered vintage. I grew up in the 80’s and remember it well. So I guess that means I’m vintage too?
Fabric – Navy and Orange Wool Plaid Drawstring Bag
As I just mentioned, I purchased this fabric from Etsy. I barely had enough material to make the midi circle skirt for this post. I knew I wanted to make a matching bag, so I had to scrounge all my scraps just to do it. The pattern for the bag is actually larger than the one I made, but had to make do with what I had. I ended up piecing together the top and the bottom sections of the bag. The pattern tells you to make the casing on the outside by stitching the pieces of cord around the bag. That wasn’t an option because you would see the seam where I pieced the fabric together. So I used a wide piece of grosgrain ribbon is to cover it up. I also didn’t like the way it looked. I mean look at it, it just screams 80’s right?

Whew! Well, there you have it, three new winter handbags and how to make them. My apologies it this post is a bit long, but it didn’t make sense to write a separate post for each bag. If you have any questions on any of these bags please let me know in the comments at the bottom. If you decide to make any I would love to see them so please send me a photo.
DIY not your thing? If so you can shop similar items below.
Thanks for reading! Hope you are off to a good week.
Photos by – Chloejane Photo + Film.