Today we are taking about a diy shirred dress…again. I know I did a shirred dress post recently, but they are great dresses and simple to make. This one was a bit more involved, and I learned the hard way that you shouldn’t always follow the directions.
Have you ever been so determined to finish something that you kept at it, even though you knew you should just throw in the towel? That is how I feel about this dress. Oh man…it nearly killed me. And just to be clear I’m not calling this the orange crush dress because I love it. I’m calling it that because it nearly crushed me while I was making it.
DIY Shirred Dress…Again – Pattern
Okay so here’s the deal. The pattern I used for this was Simplicity S9194. It’s a pattern designed by Cynthia Rowley for Simplicity patterns. The dress is very cute. I bought the pattern the second I saw it. There is a lot of shirring involved, and I knew it would take a while but I was okay with that. I loved the look of the dress and was excited to make it.
Round 1
So I followed the pattern instructions and made the dress accordingly. It took a loooonnngggg time. The pattern requires about 5 yards of fabric for the dress. However, instead of shirring the bodice like I did here and here. It instructs you to make casings for each row of shirring and insert elastic into the casing. The easy way to shirr a bodice is to cut one long piece of fabric that will fit around your body, shirr it and you’re done. But this pattern tells you to make a front and back bodice and sew 7 rows of casings for each piece.
Oh and it also tells you to use self-made bias tape to sew the casings. Now, I have never made my own bias tape and I’m sure I could have used store bought, but I thought “no, no I’m going to do this their way a learn something new”. Well I ended up sewing 14 casings out self made bias tape. It took FOREVER!
But I soldiered on and continued to make the dress. By the time I was done I was exhausted but excited I stuck with it. Then came the moment of truth. I tried it on and it looked…terrible. I looked like I was pregnant. The bodice was too high waisted on me, and you use so much fabric to make the skirt that it just looked awful. I even took pictures of it thinking it would look better…nope! Still a disaster.
Everything about this pattern is over complicated. The bodice is designed to have half an arm hole, so it’s not straight across all the way around. This combined with all the elastic made it pull in an unflattering way which made the dress look worse. So, I put it aside, and let it sit for about a year.

DIY Shirred Dress….Again – Fabric
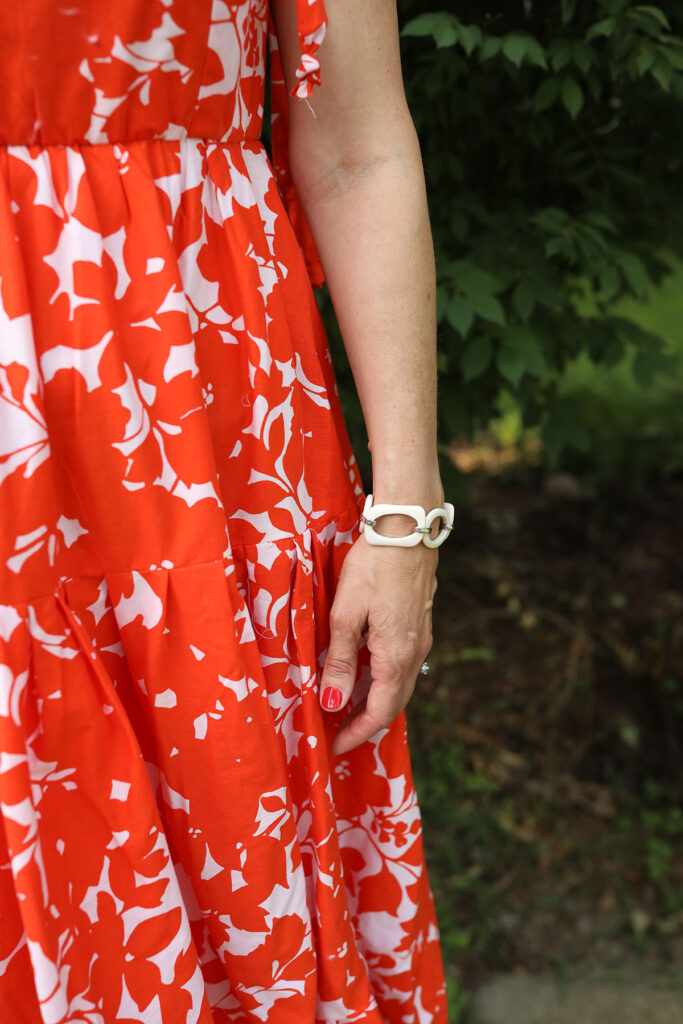
I was really bummed about using all of the pretty orange floral fabric I bought from Fashion Fabrics Club. It was really inexpensive like $5/yard, and unfortunately they didn’t have anymore. So I just chalked it up to a loss.
Round 2
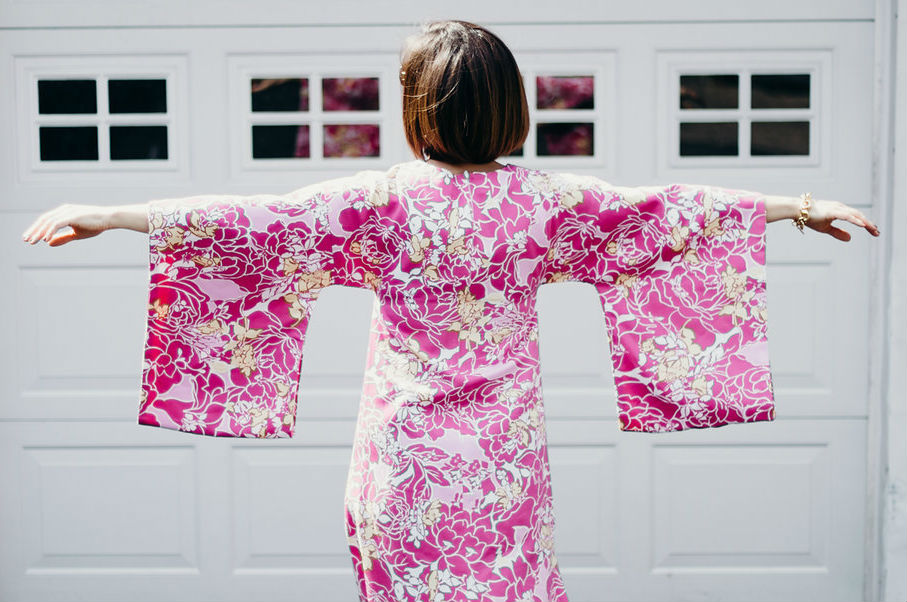
I pulled out the fabric recently and decided there had to be a way to make something out of the fabric. So I sat down and removed al the shirring to see if I cold save the fabric. I laid out the piece to see what was usable and decided that I was going to make a version of this dress. This pattern is my favorite pattern of the summer, by the way. I have used some part of it for about 5 different projects, this one and a few others I haven’t posted yet.
I decided to just shirr part of the back of the bodice and removed some of fabric in the ruffles. All in all it’s okay. Not one of my all time favorites, and for the amount of time I spent on this I would have liked it to be amazing, but that’s okay. I definitely feel like I was able to make lemonade out of lemons. The bodice is a little looser than I would like, but it’s very comfortable, so I guess that’s a win.
Styling
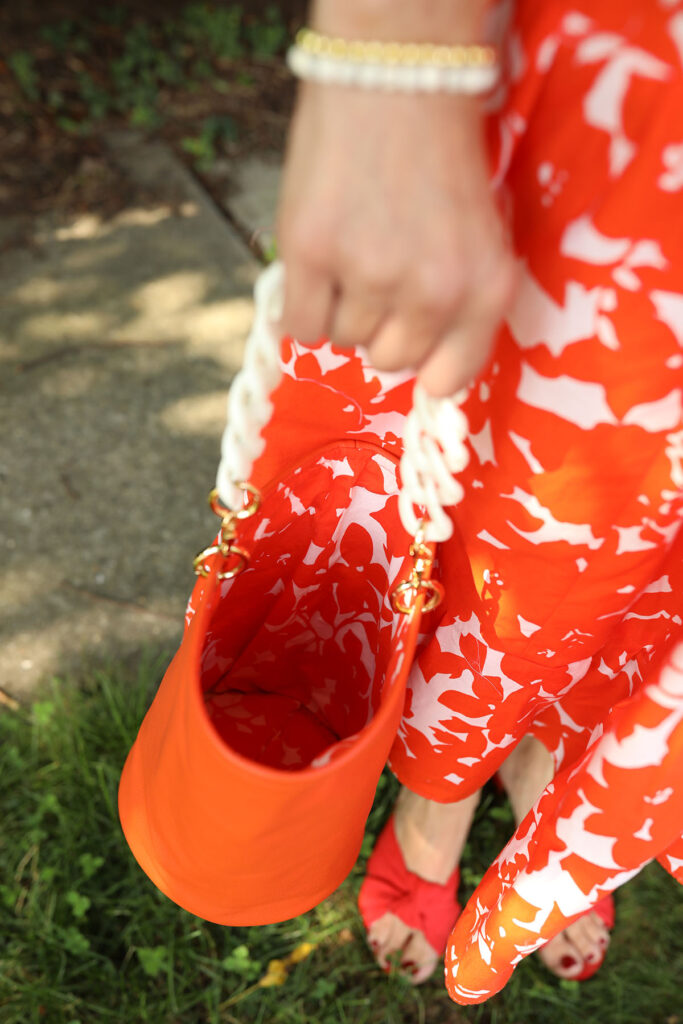
There is a lot of orange going on here, I know, but I think it works. I have some orange slides from old Navy I bought last summer, and an orange leather bucket bag I made last year. You can read the post here. I lined it with some of the dress fabric and I bought the white acrylic link strap on Amazon. I think the strap in the post is clear, but I think the white looks much better.
Thanks for reading. Hope you are having a good week!
Photos by – Chloejane Photo + Film