Fall reared its cool head here in the northeast. Mornings are suddenly crisp and my iced coffee feels like a bad life choice. That means it is officially time to drag out the cozy clothes and, in my case, figure out how to make a quilted tote. Think of it as my version of a back to school backpack but with fewer math textbooks and more snacks. You can check out similar handmade tote bags below if you want to see how deep my seasonal tote obsession runs. Apparently, I really lean into making tote bags this time of year. Quilted bags are having a major moment, so naturally I decided this fall’s project needed to be quilted. So today I am going to show you how to make a quilted tote bag that’s equal parts practical and Pinterest-worthy.
Other Seasonal Tote Bag Tutorials
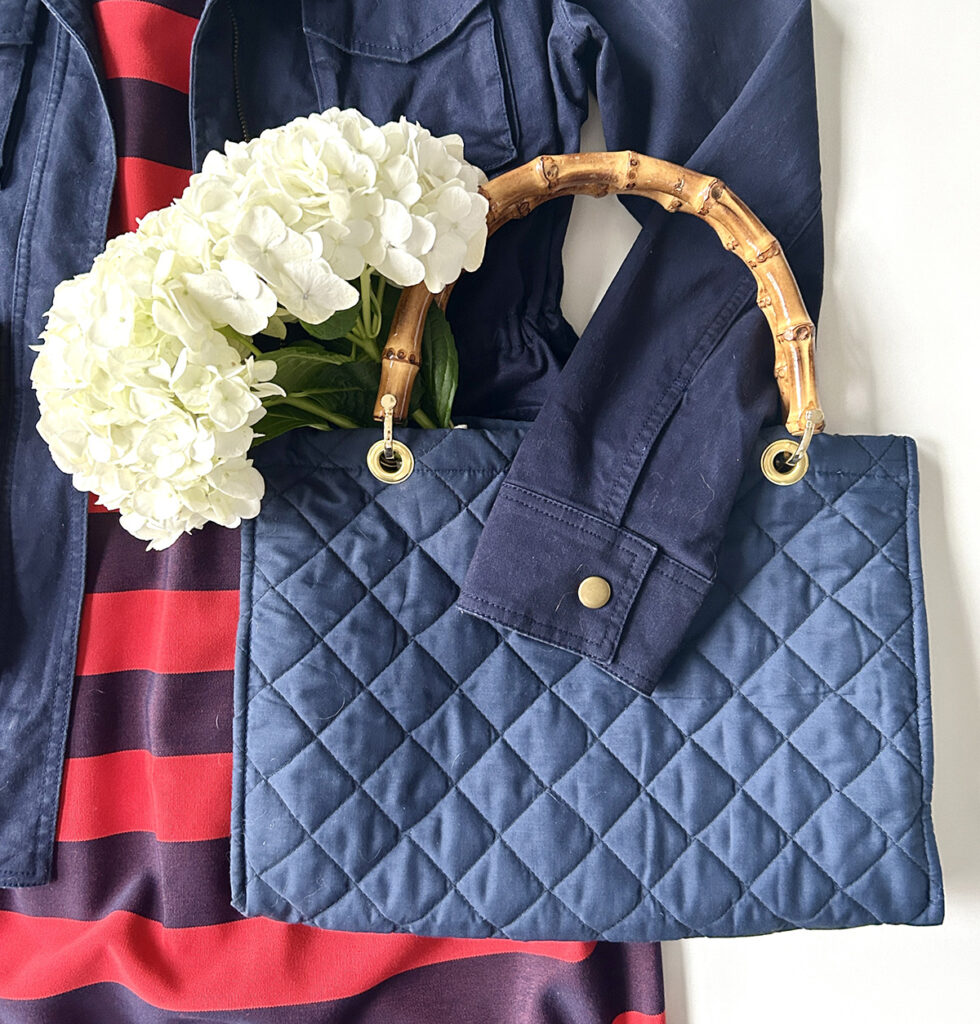
I found this quilted fabric at Joanns before they went belly up, and fell in love because it is double sided which means no lining. Translation less work for me. This fabric is no longer available but you can try this or this gold fabric could be fun too. I also ordered some white quilted vinyl fabric from Amazon because clearly I cannot be trusted around online fabric listings. Not sure what kind of bag that one will become yet but stay tuned for my inevitable oversharing. Honestly this DIY quilted tote bag tutorial might turn into a series at this point.
What You Need
- Quilted fabric or any sturdy cotton fabric
- Grommet press/grommet kit
- Wooden handles
Quilted Tote Bag – Making the body of the Bag
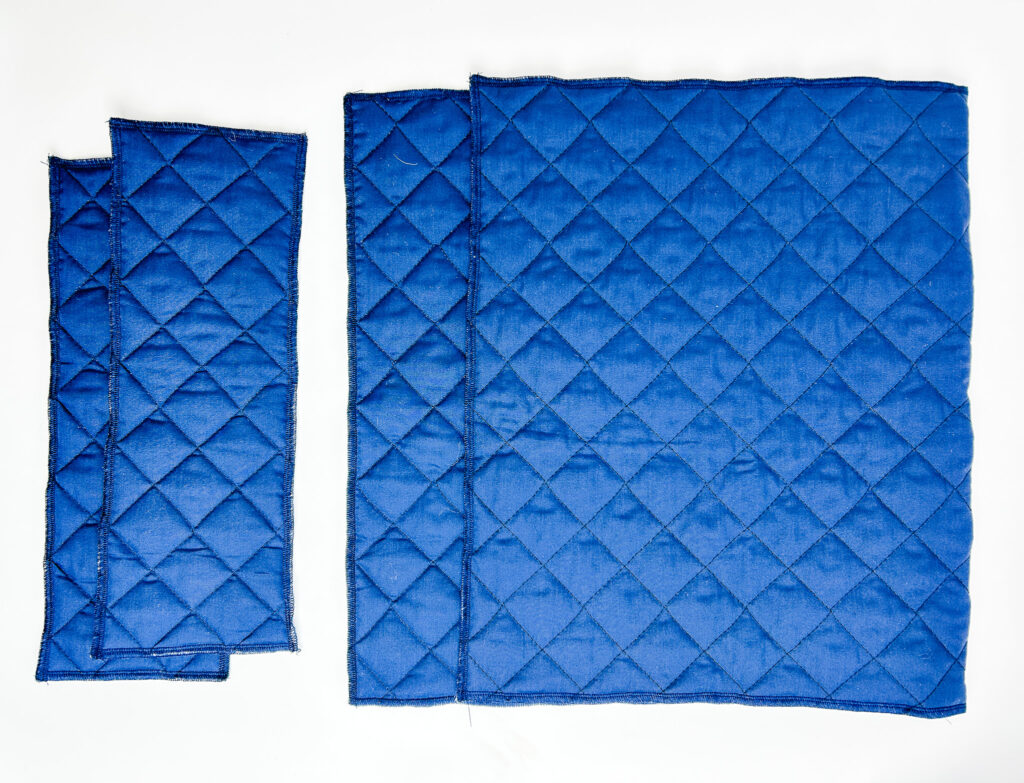
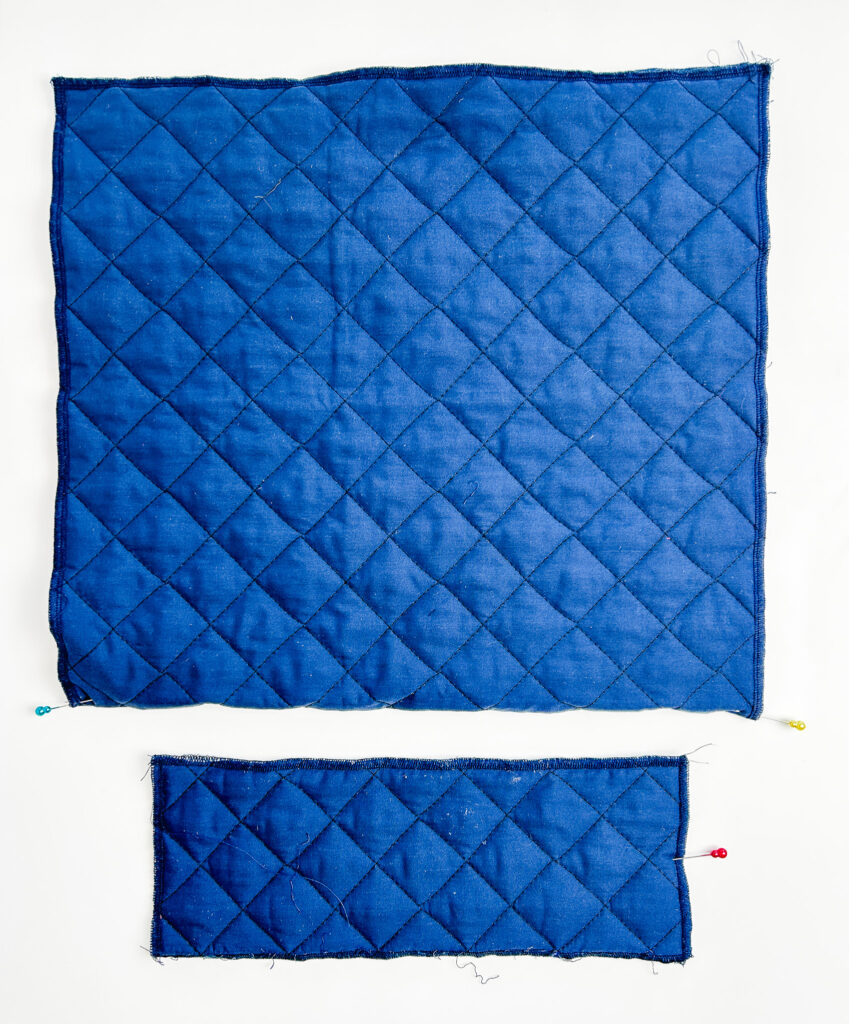
You need three pattern pieces for this bag. One main body piece that measures 27″ x 15″ and 2 side pieces 11″ x 4.5″. After you cut your pieces surge or zig zag the edges.
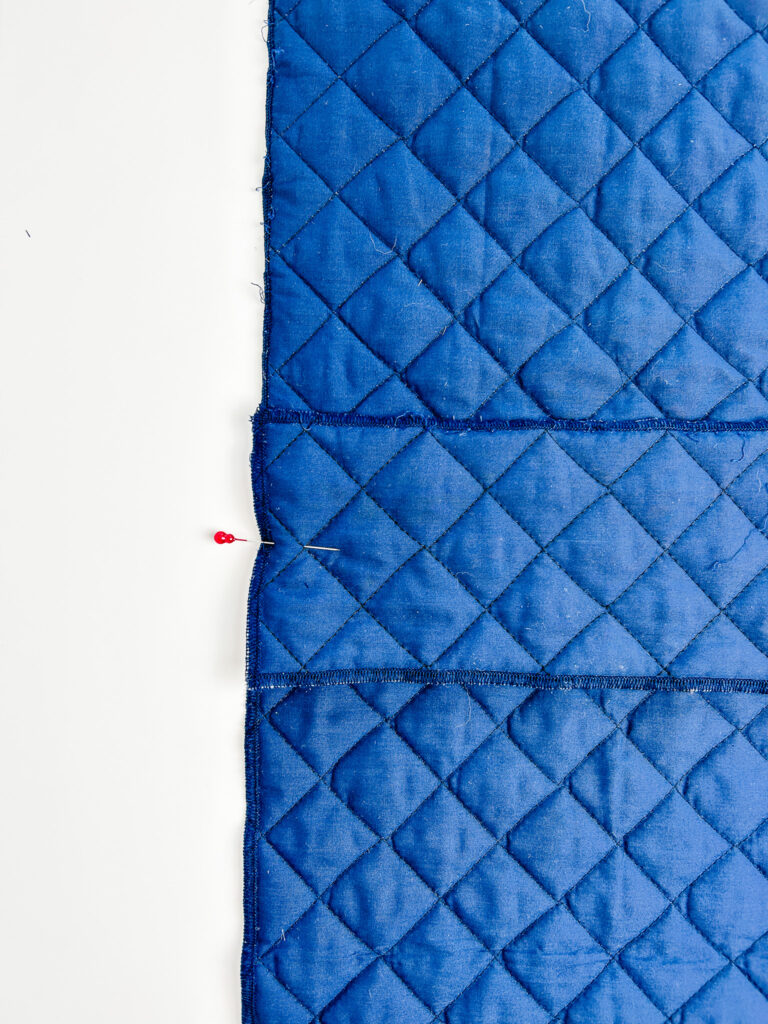
Next fold the main body of the bag in half and mark the center with a pin. Do the same for each side piece.
Place the center of the side piece on top of the center of the main body of the bag.
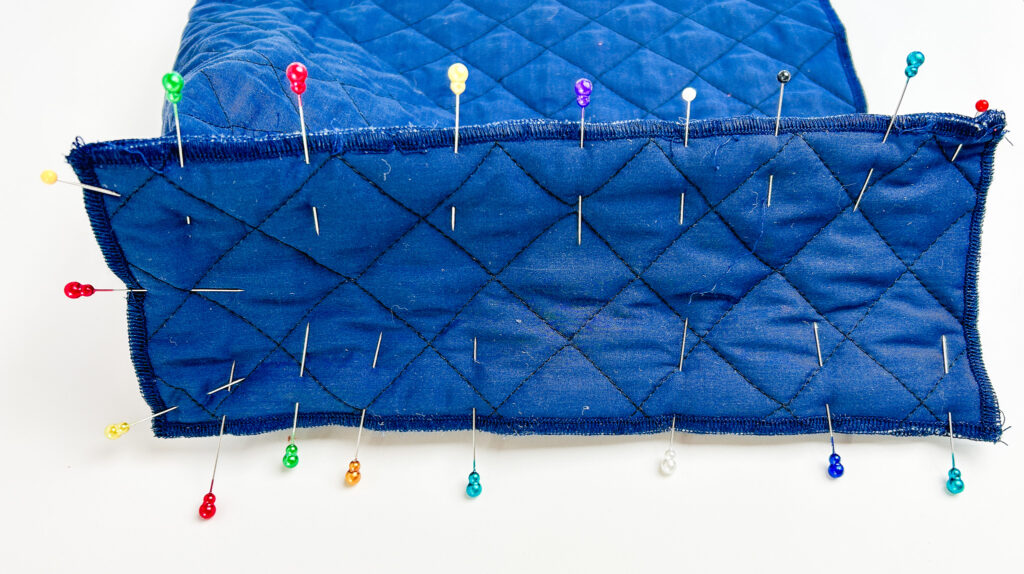
Then pin sides to main bag body and sew all the way around.
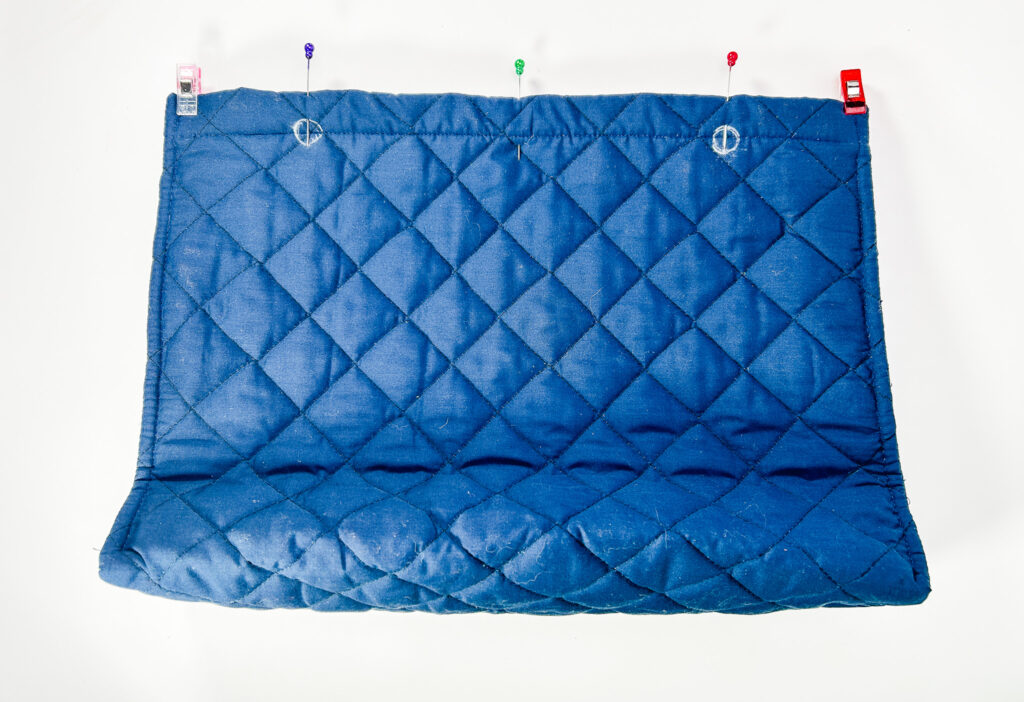
Serge or zig zag the top of the bag. Fold the serged seam under about 1/4 inch so its not visible, and then fold down again 1 inch and pin in place. Then stitch around the top on the inside of the bag.

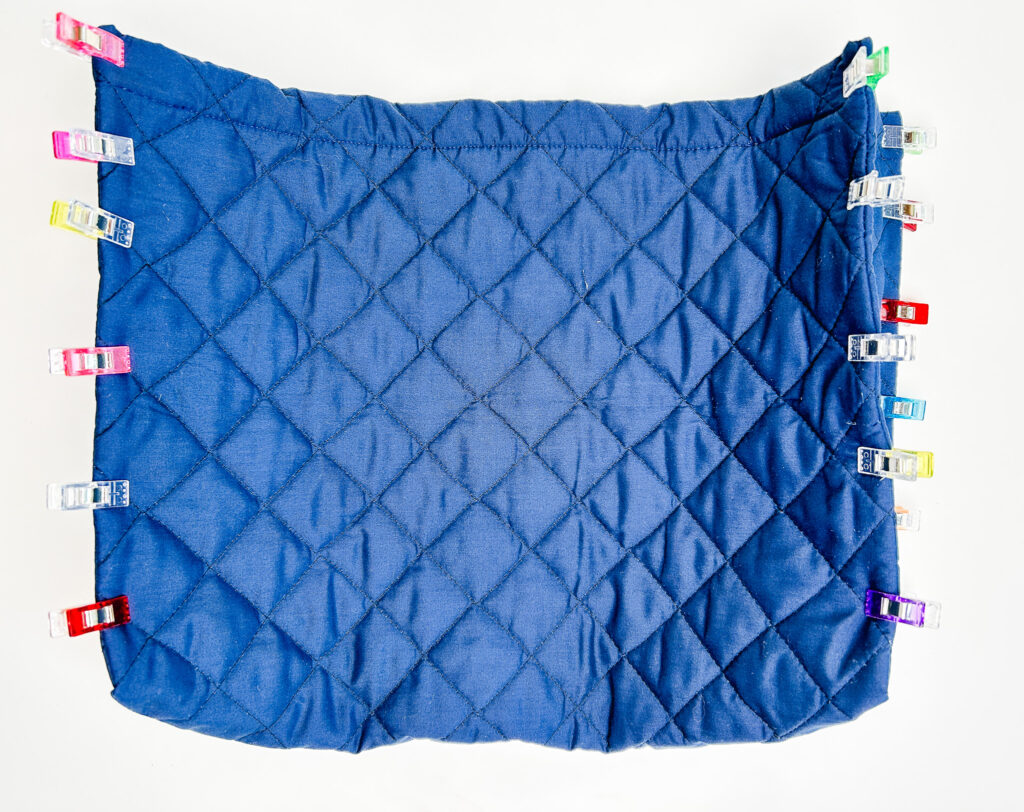
Next turn the bag right sides out, pin the four corners and sew 1/4″ down each side.
Attaching the handles
Measure where you want your grommets and make with chalk. I used my KAM grommet press to install my grommets, but you can buy a grommet kit and install them that way. You will need a hammer to do it this way.
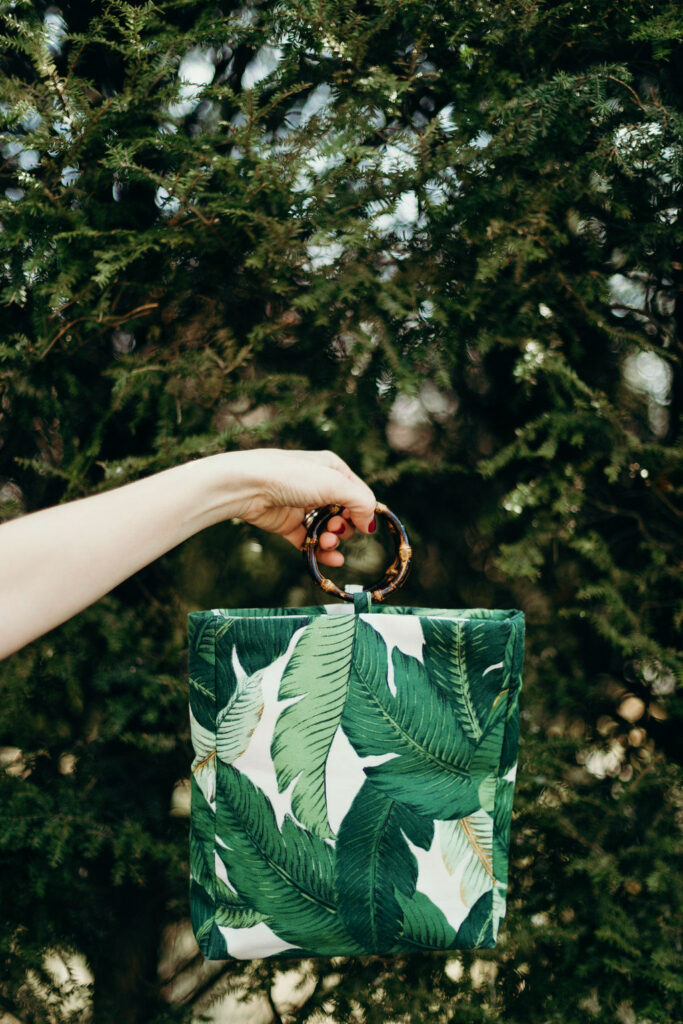
Lastly attach your wooden handles. Be sure to purchase handles with the holes drilled front to back (like the ones pictured here) instead of right to left. You do not have to use the wooden handles like I did. You can use any type of strap you like. I personally like the wooden handle look because it gives off retro picnic basket energy and I have made a few other bags with these same handles. You can see them here and here. If DIY is not your vibe you can also shop similar bags from Mark and Graham or Parker Thatch.

Until next time!